My first lighting project 😅
Gallery
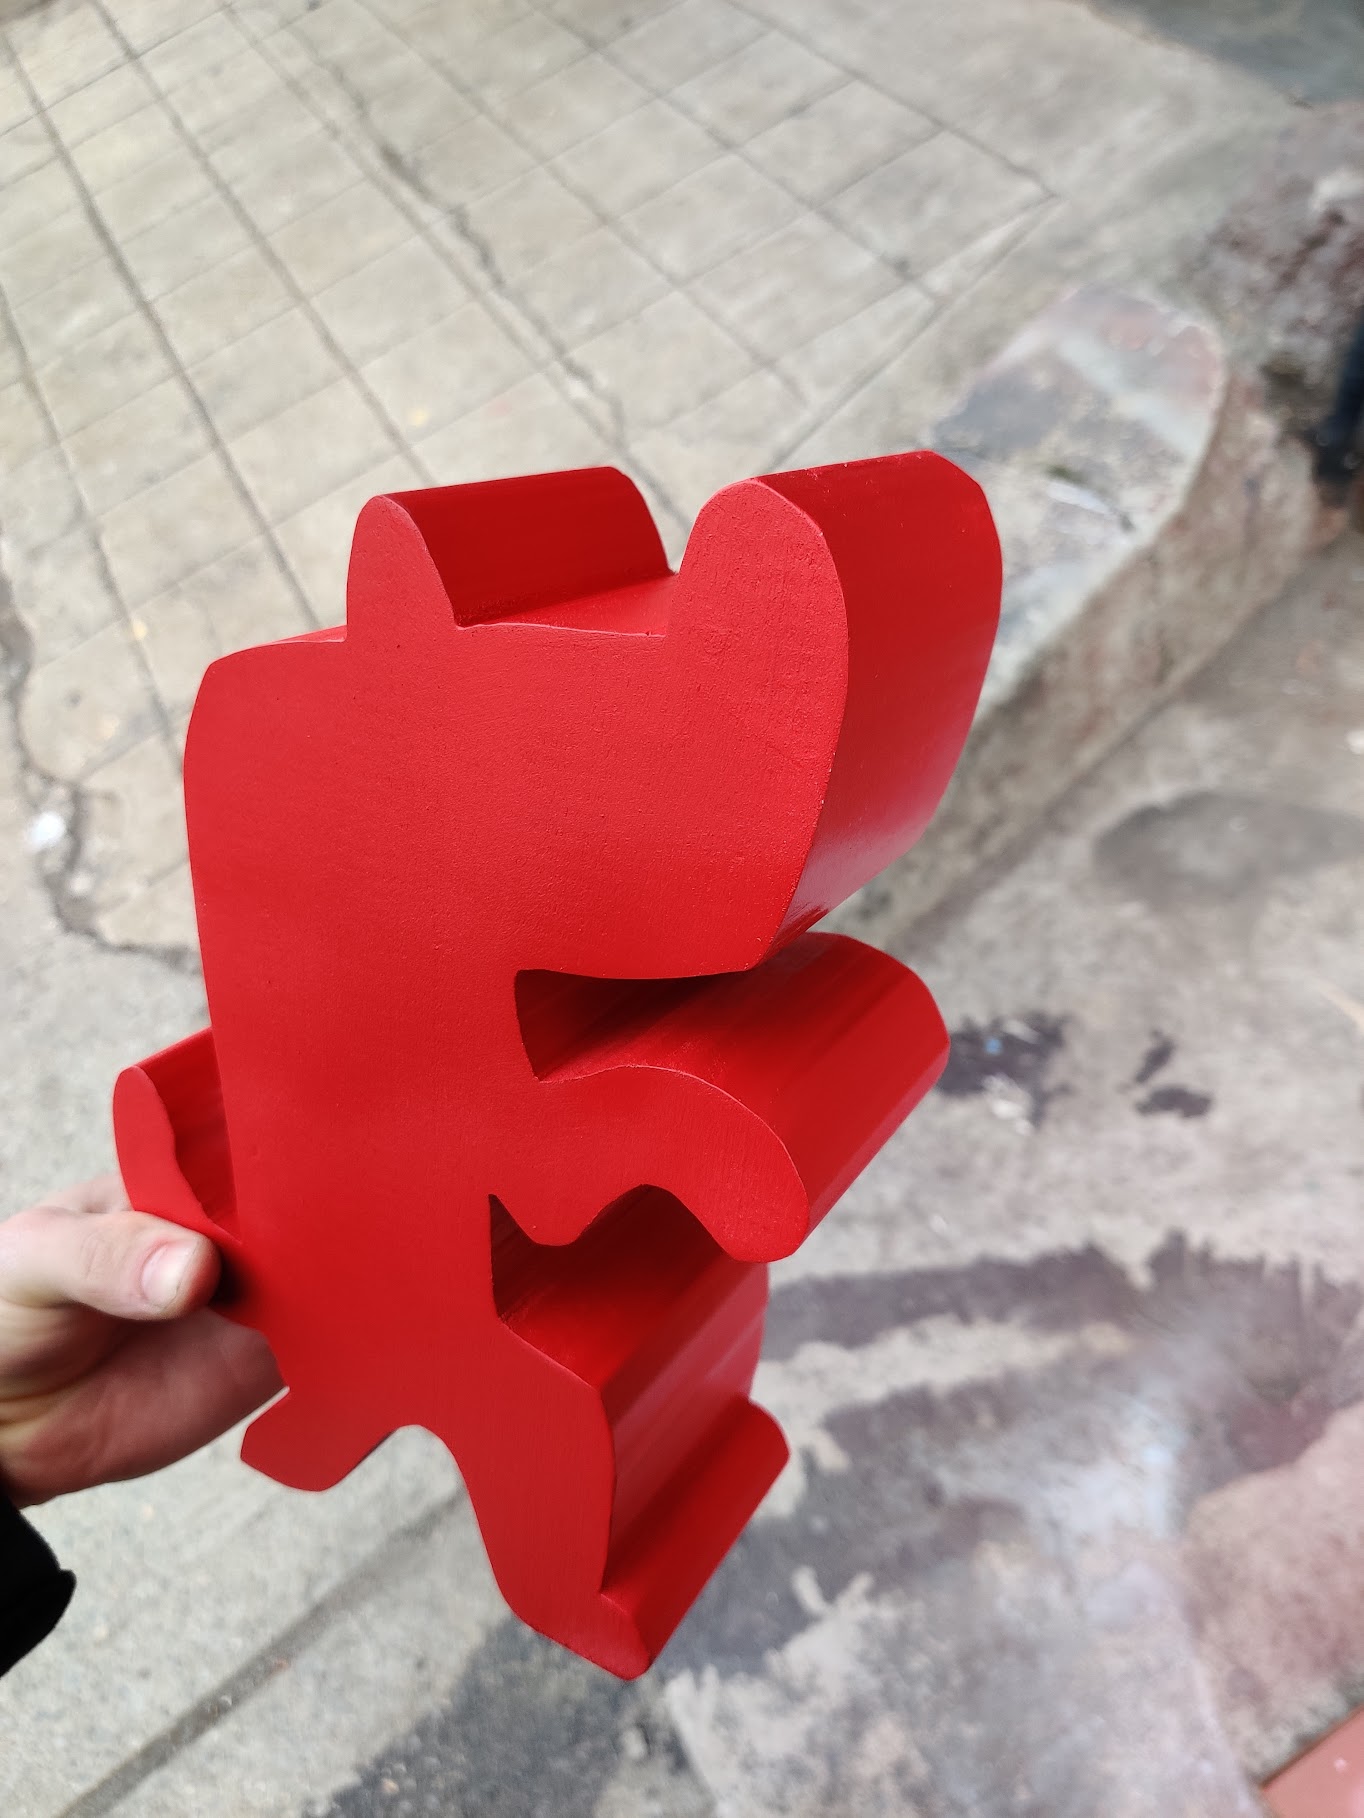
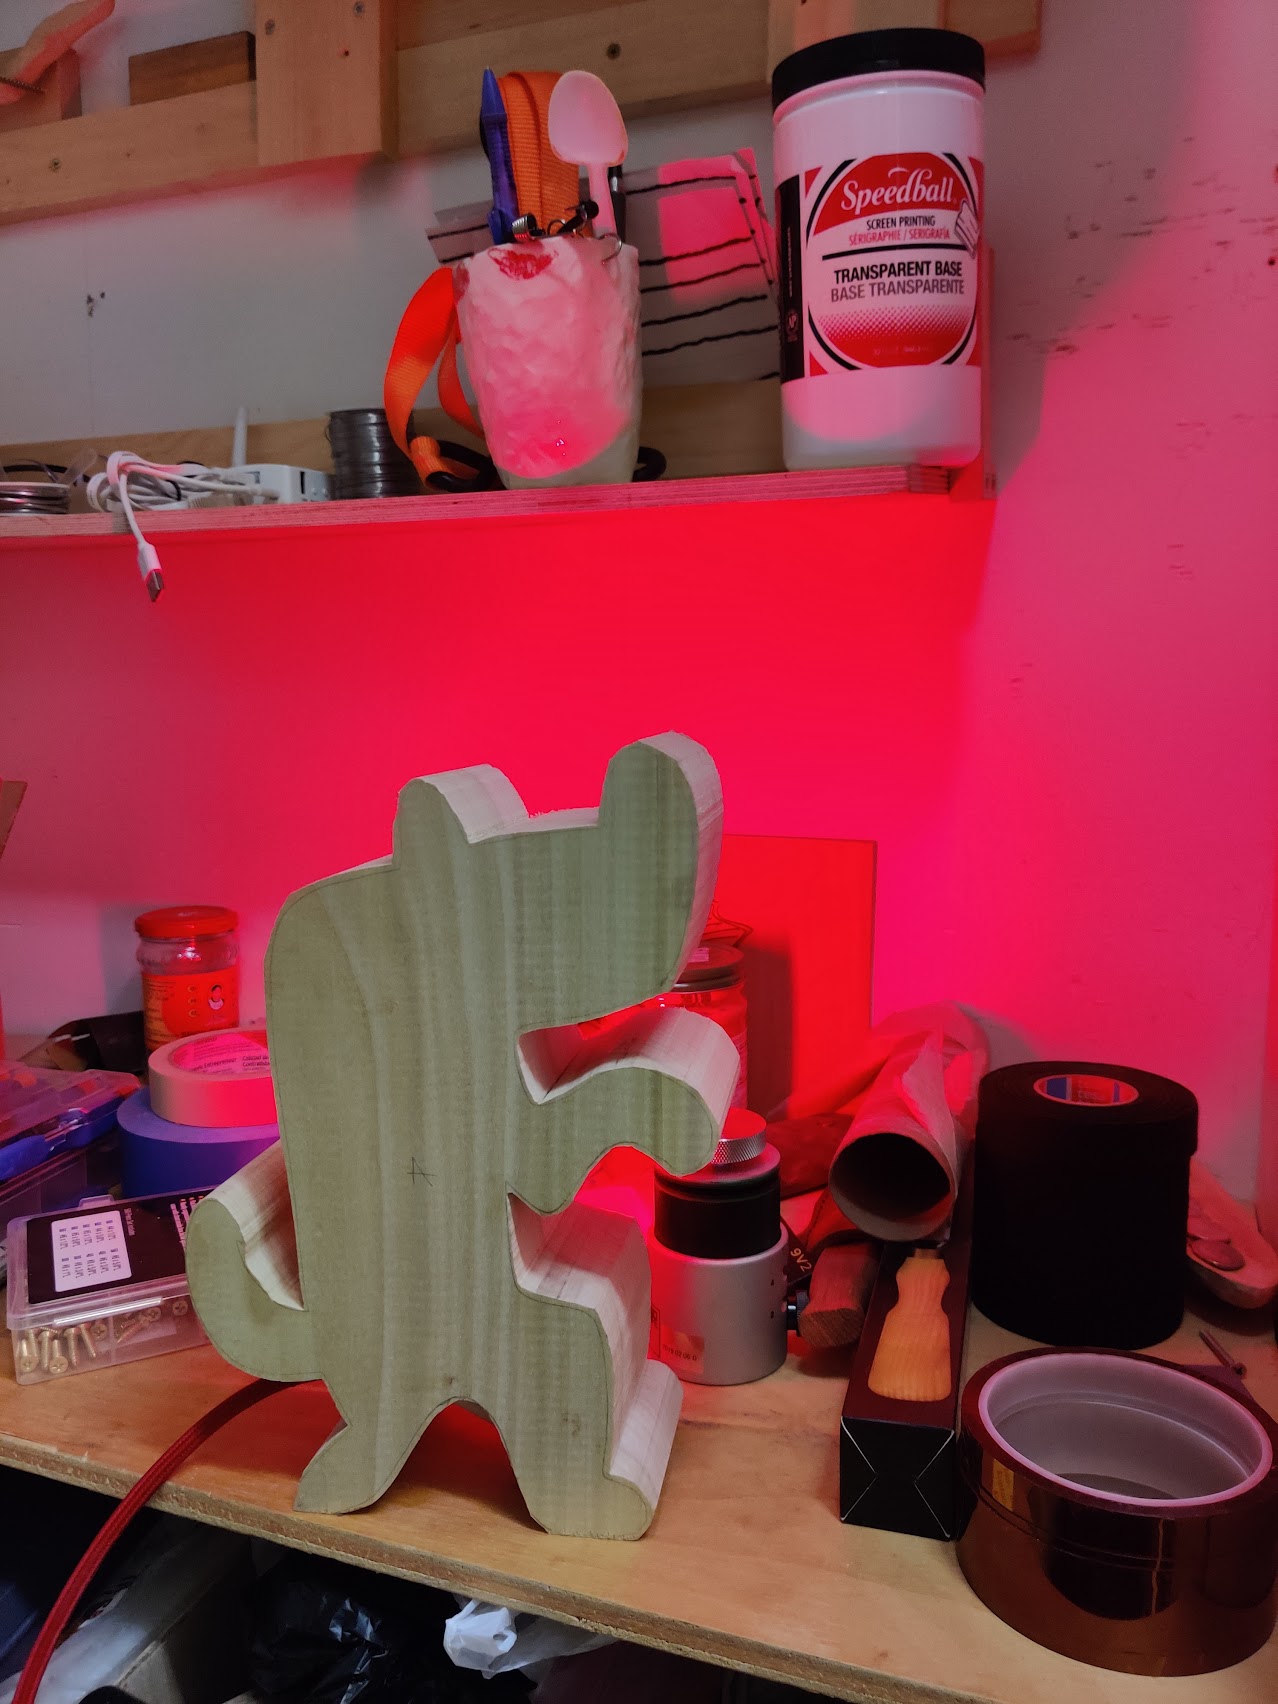
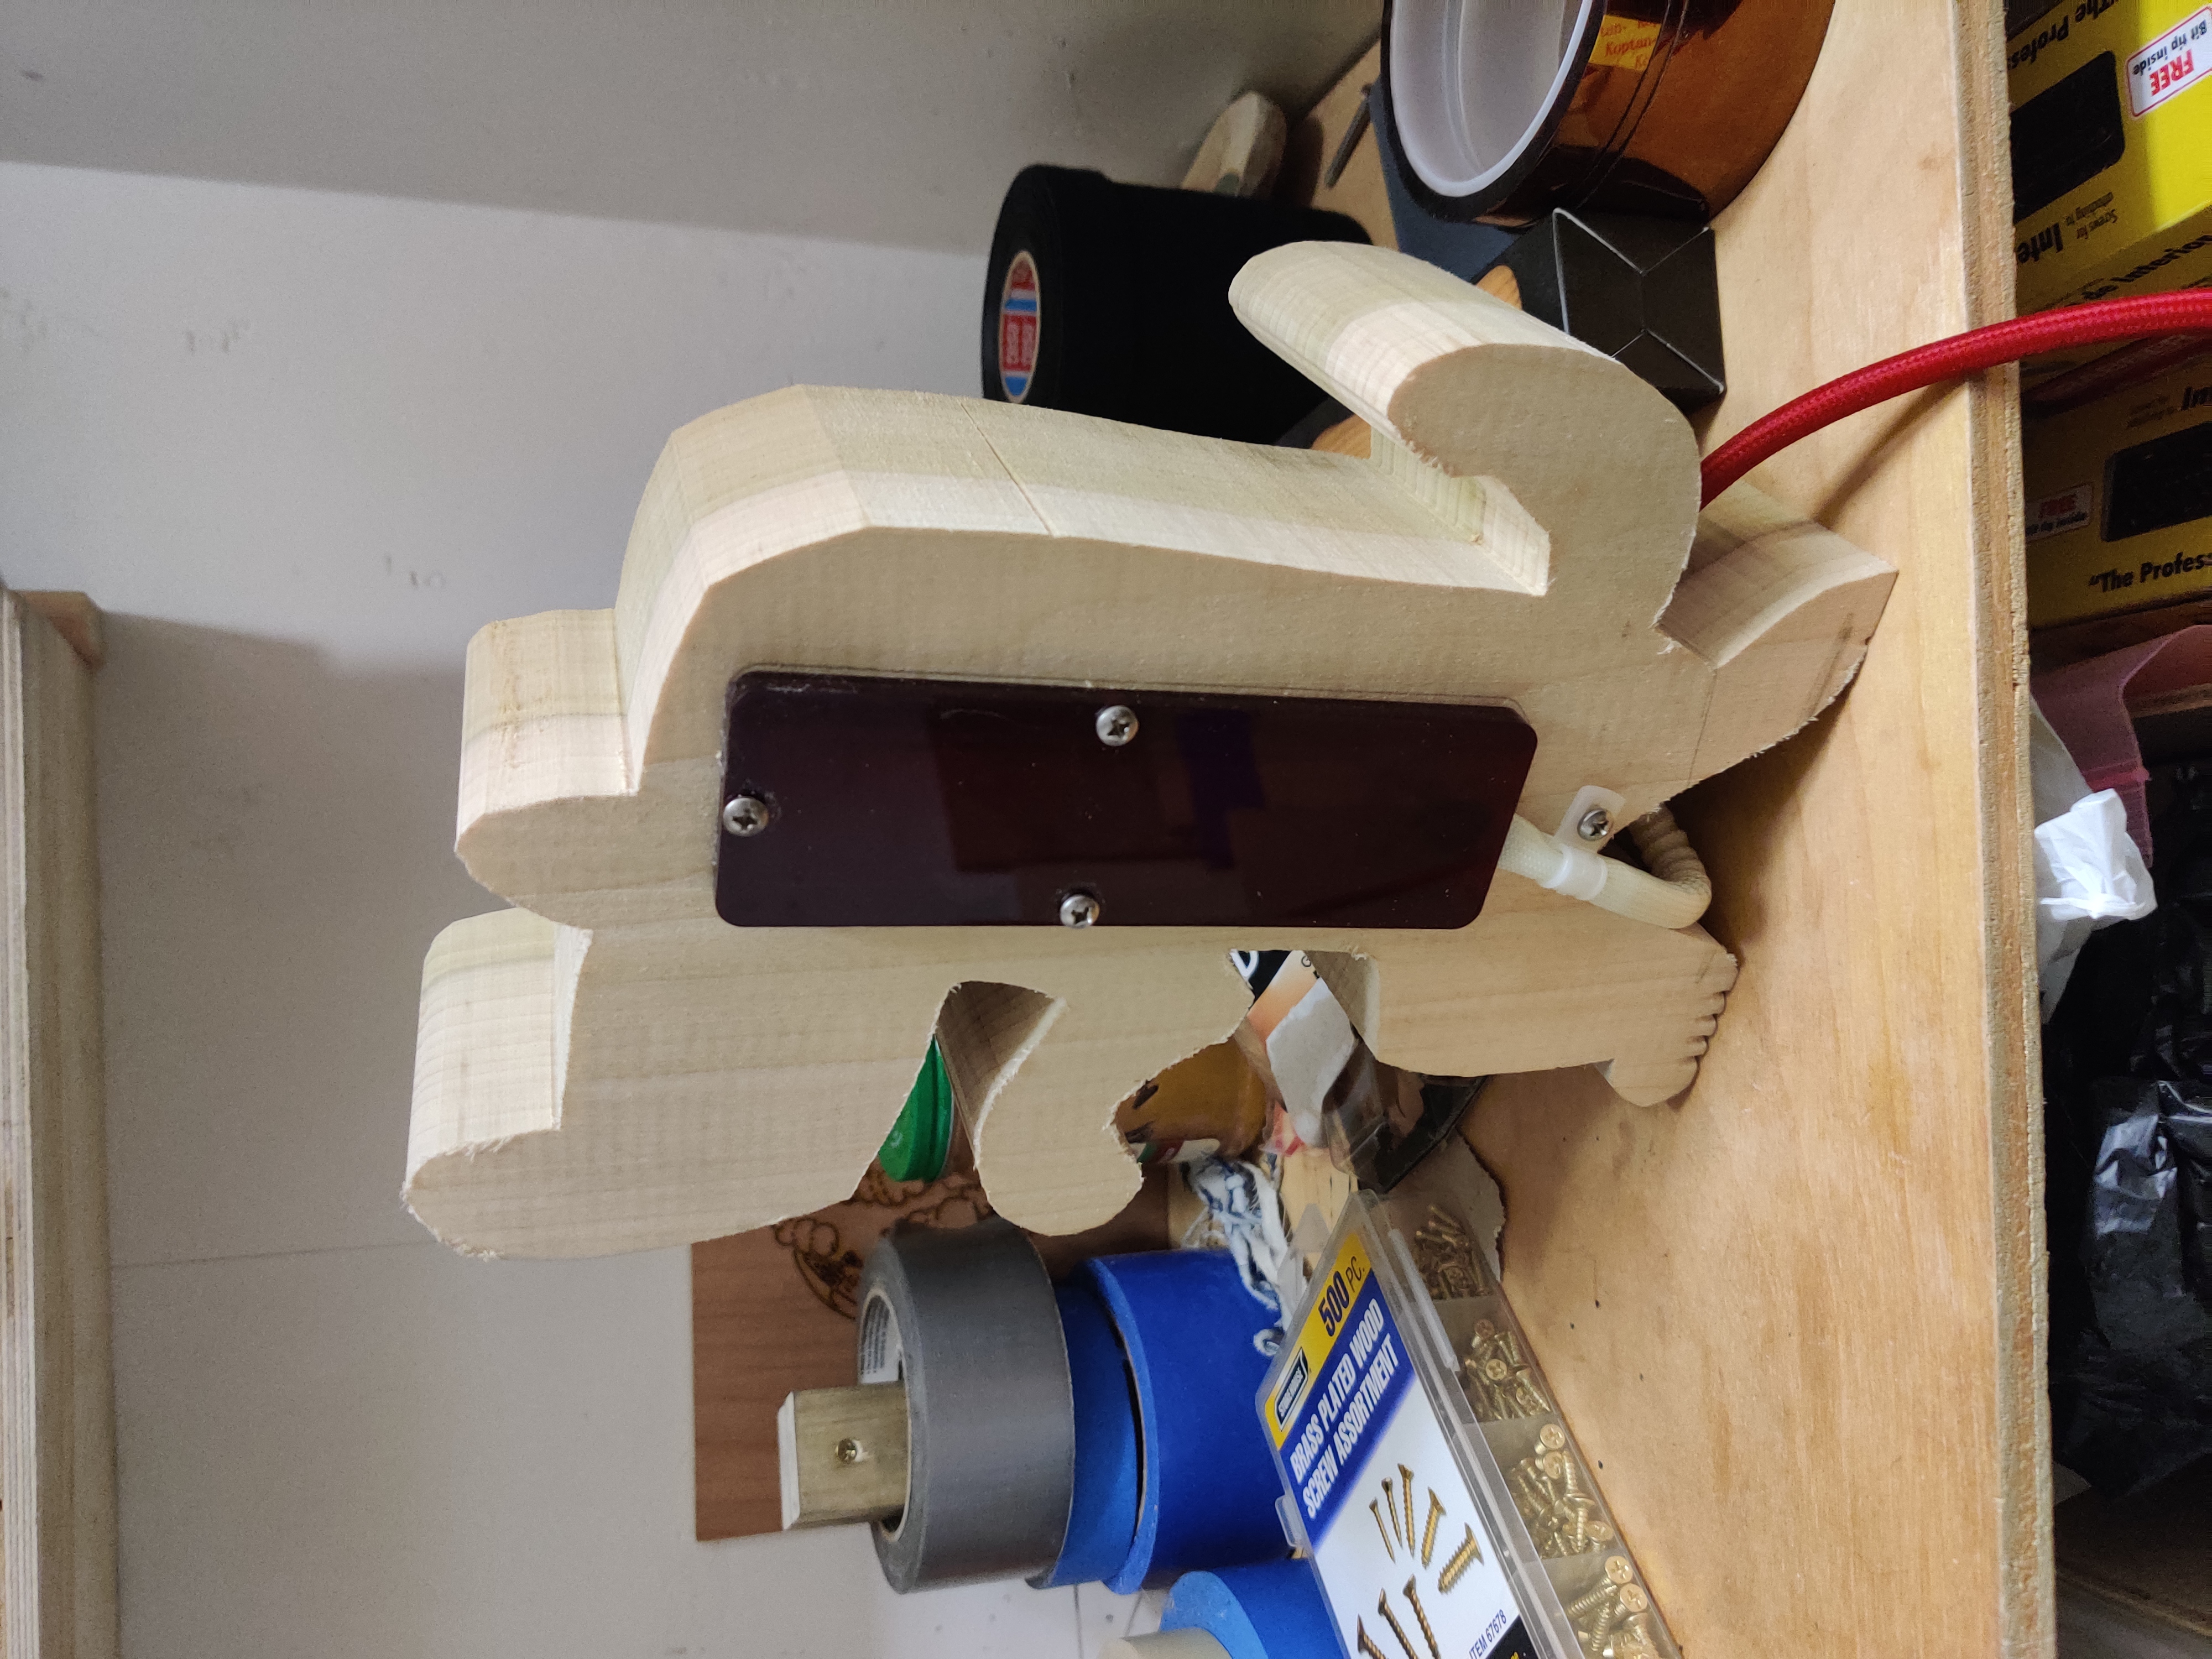
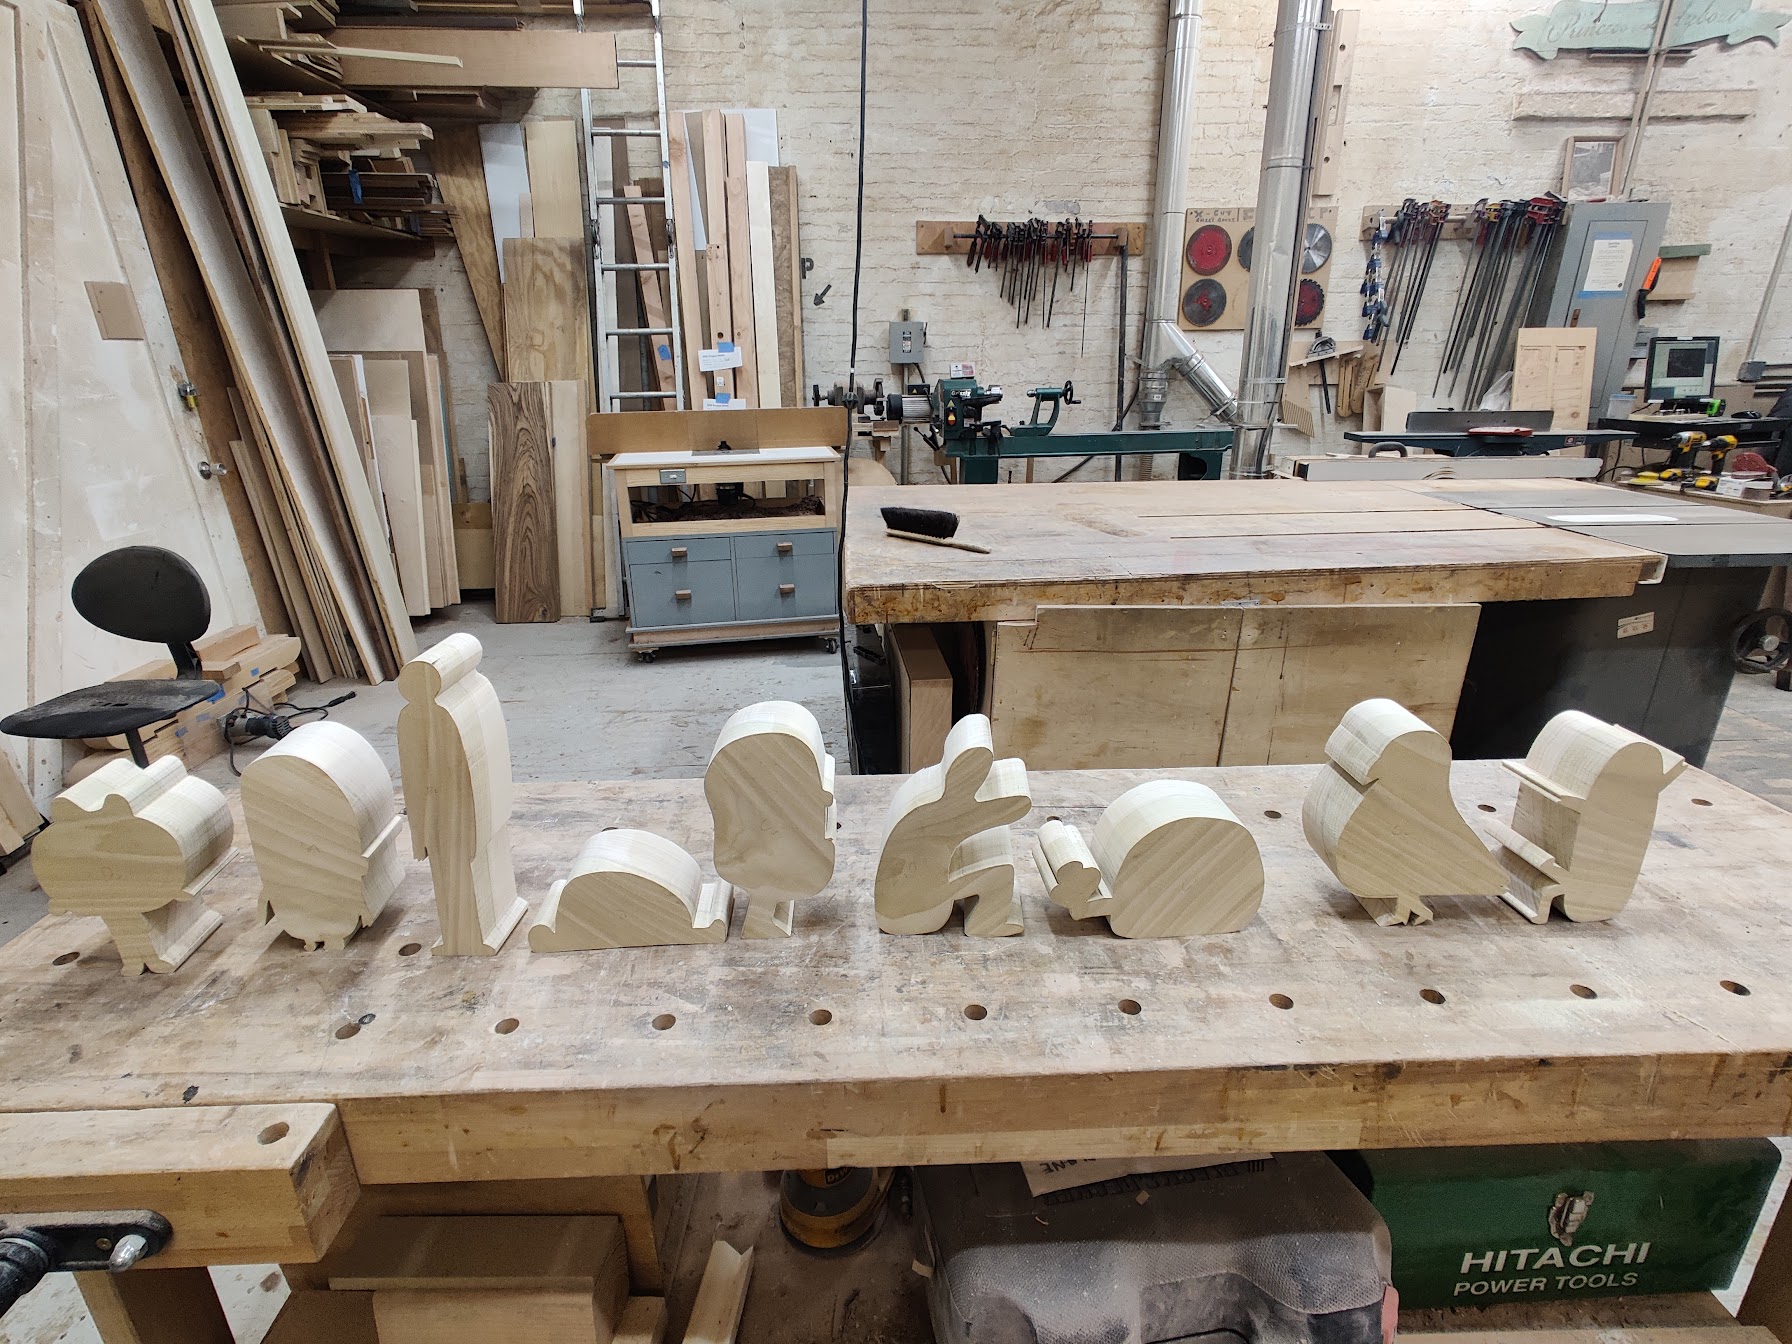
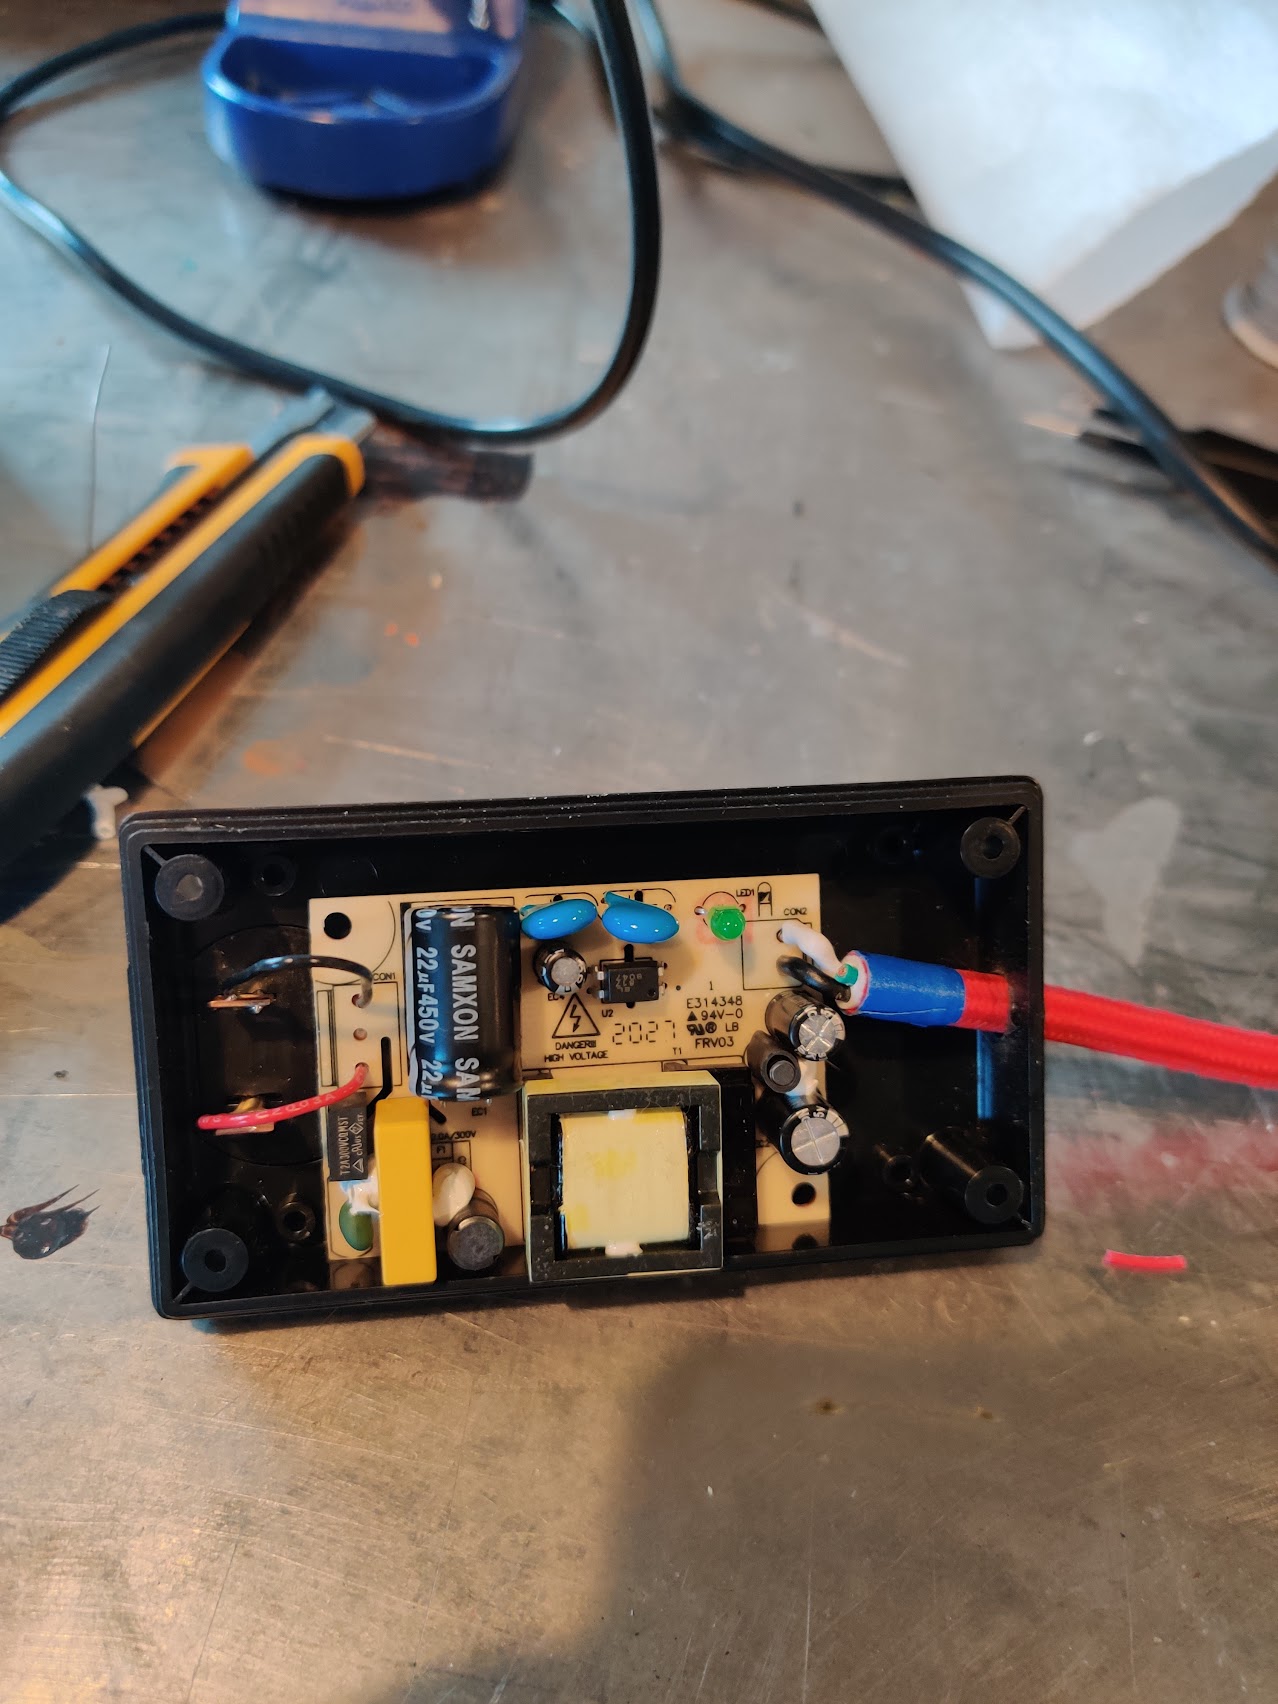
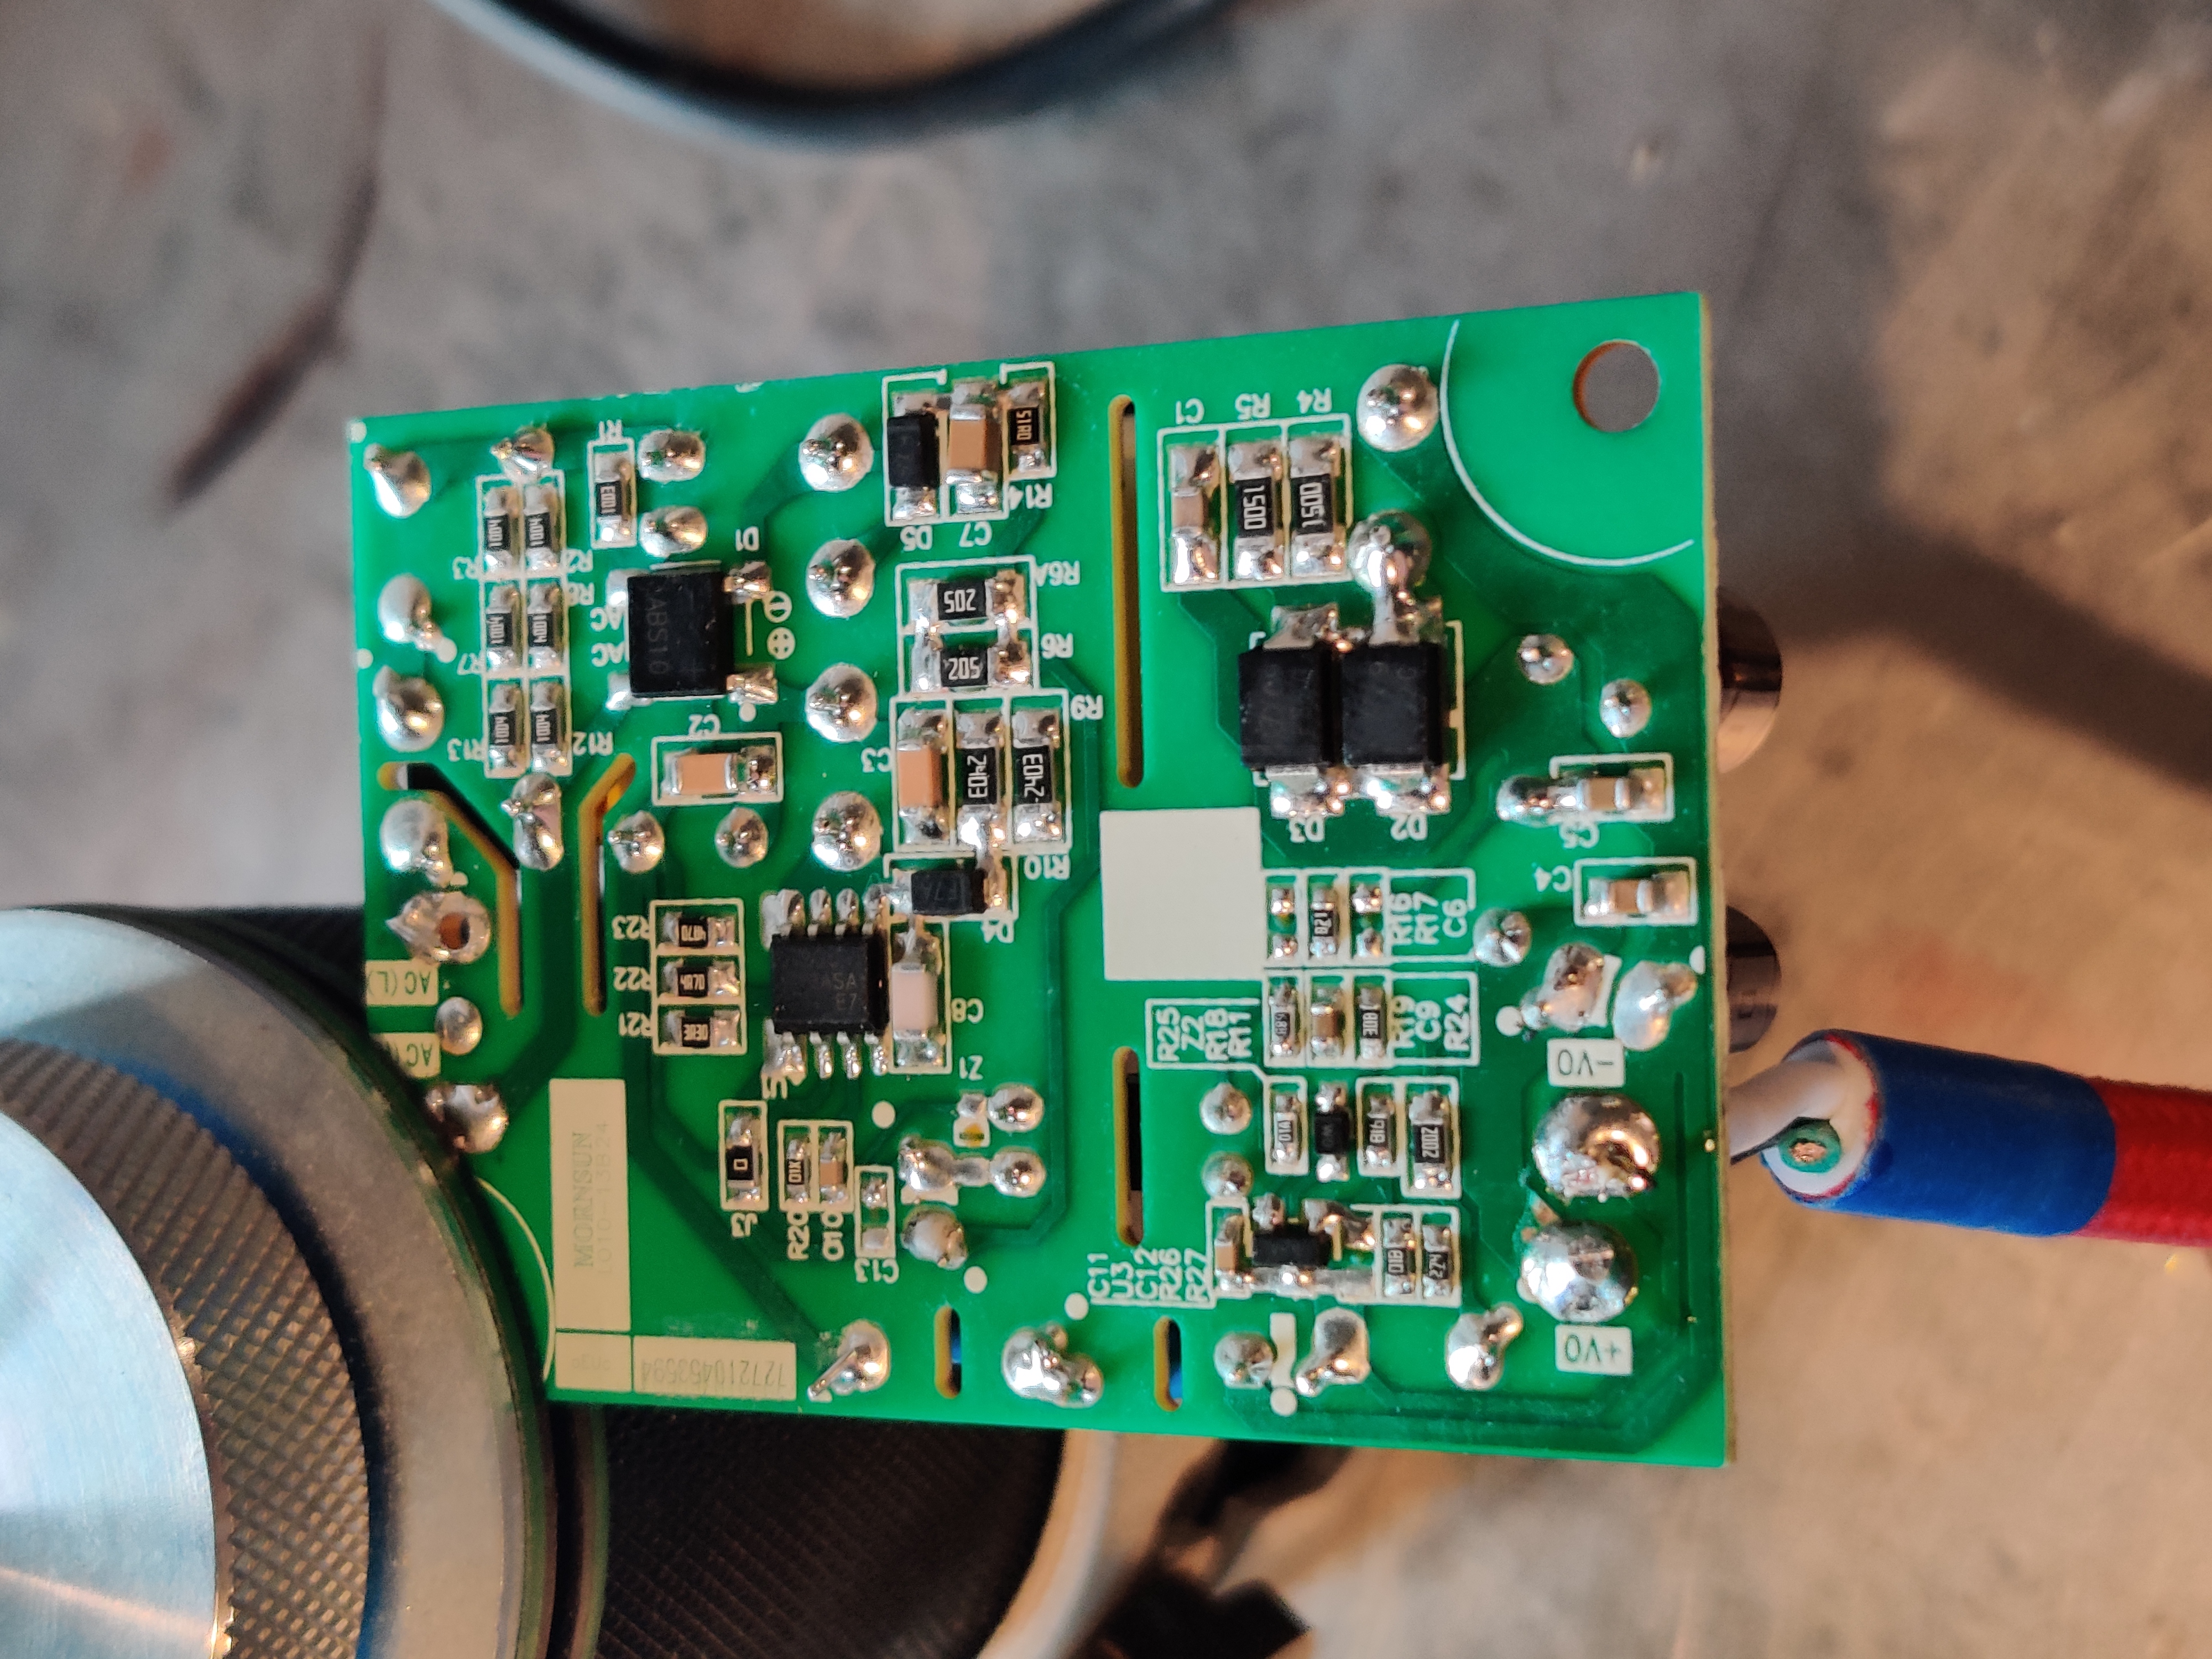
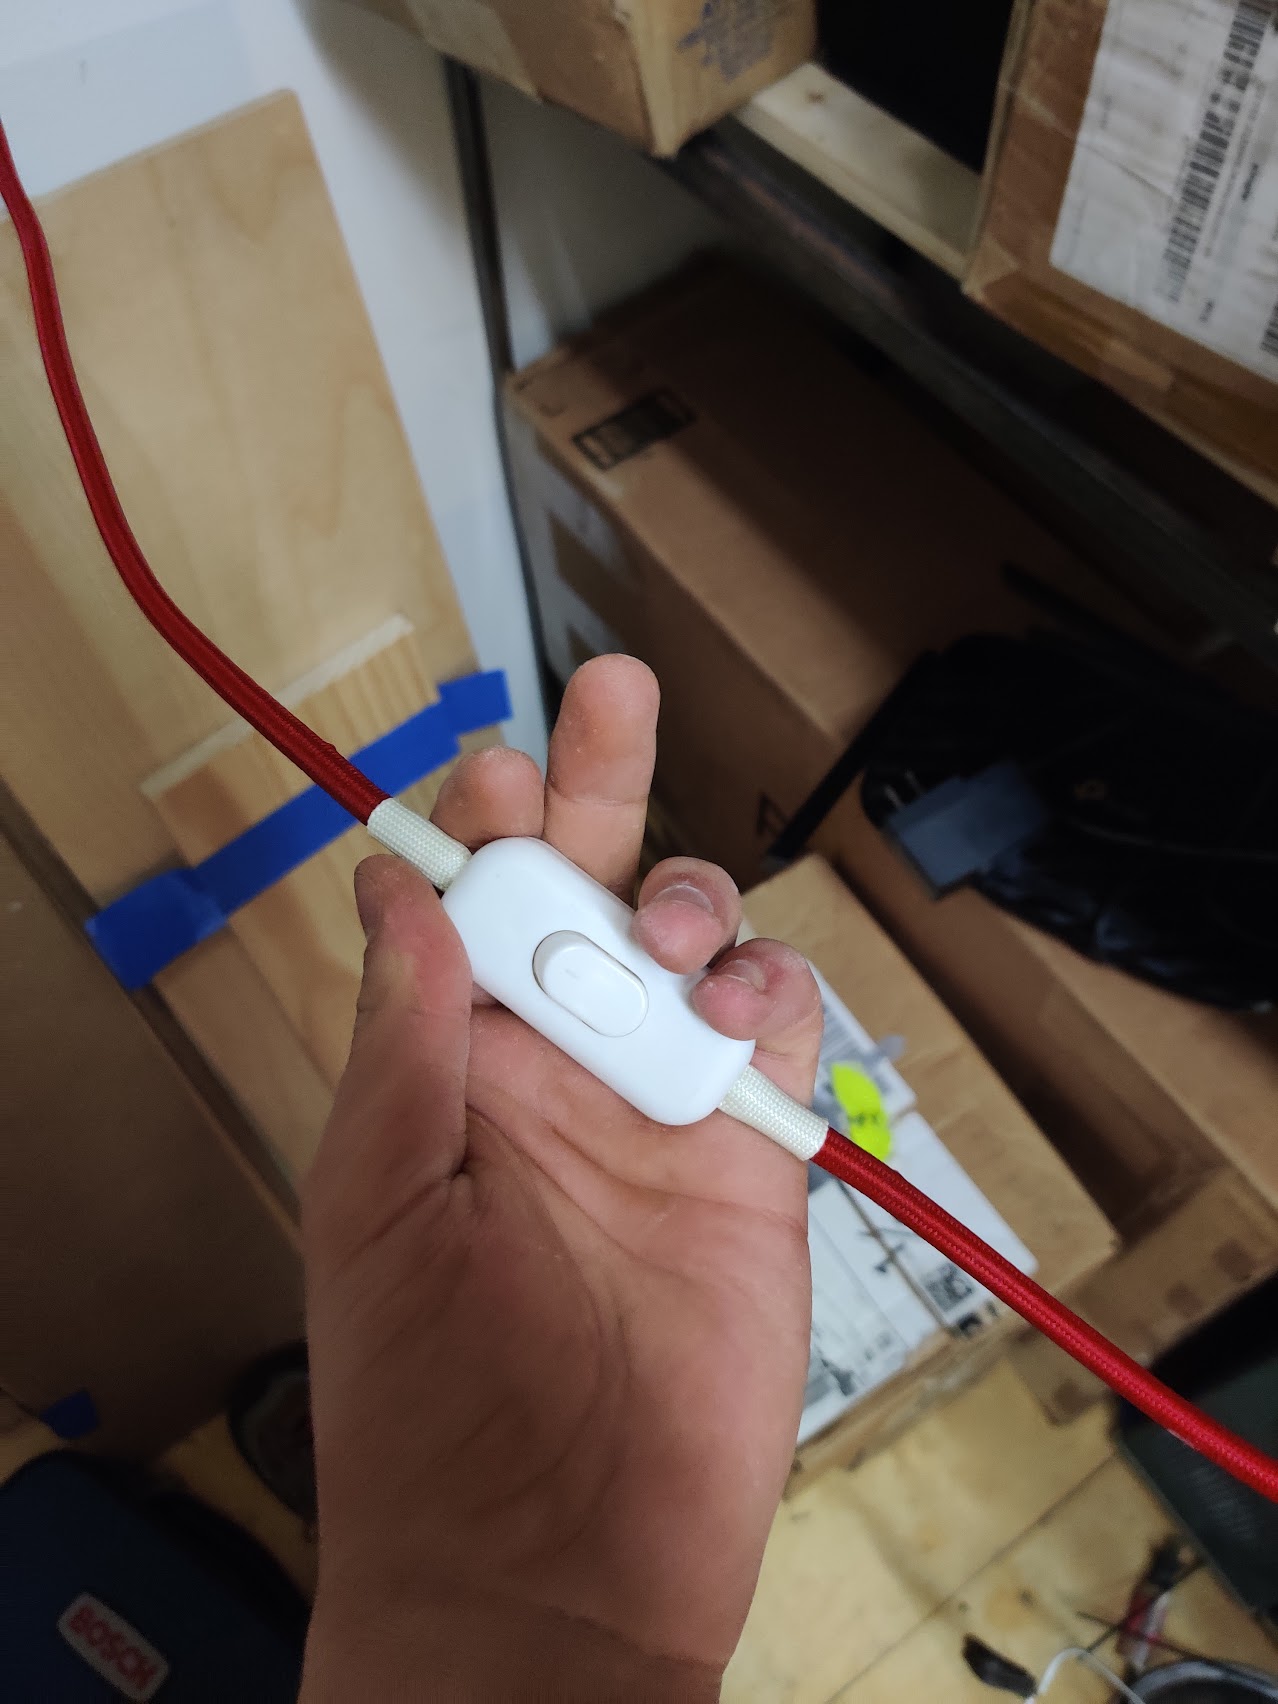
Starting off with a smaller job
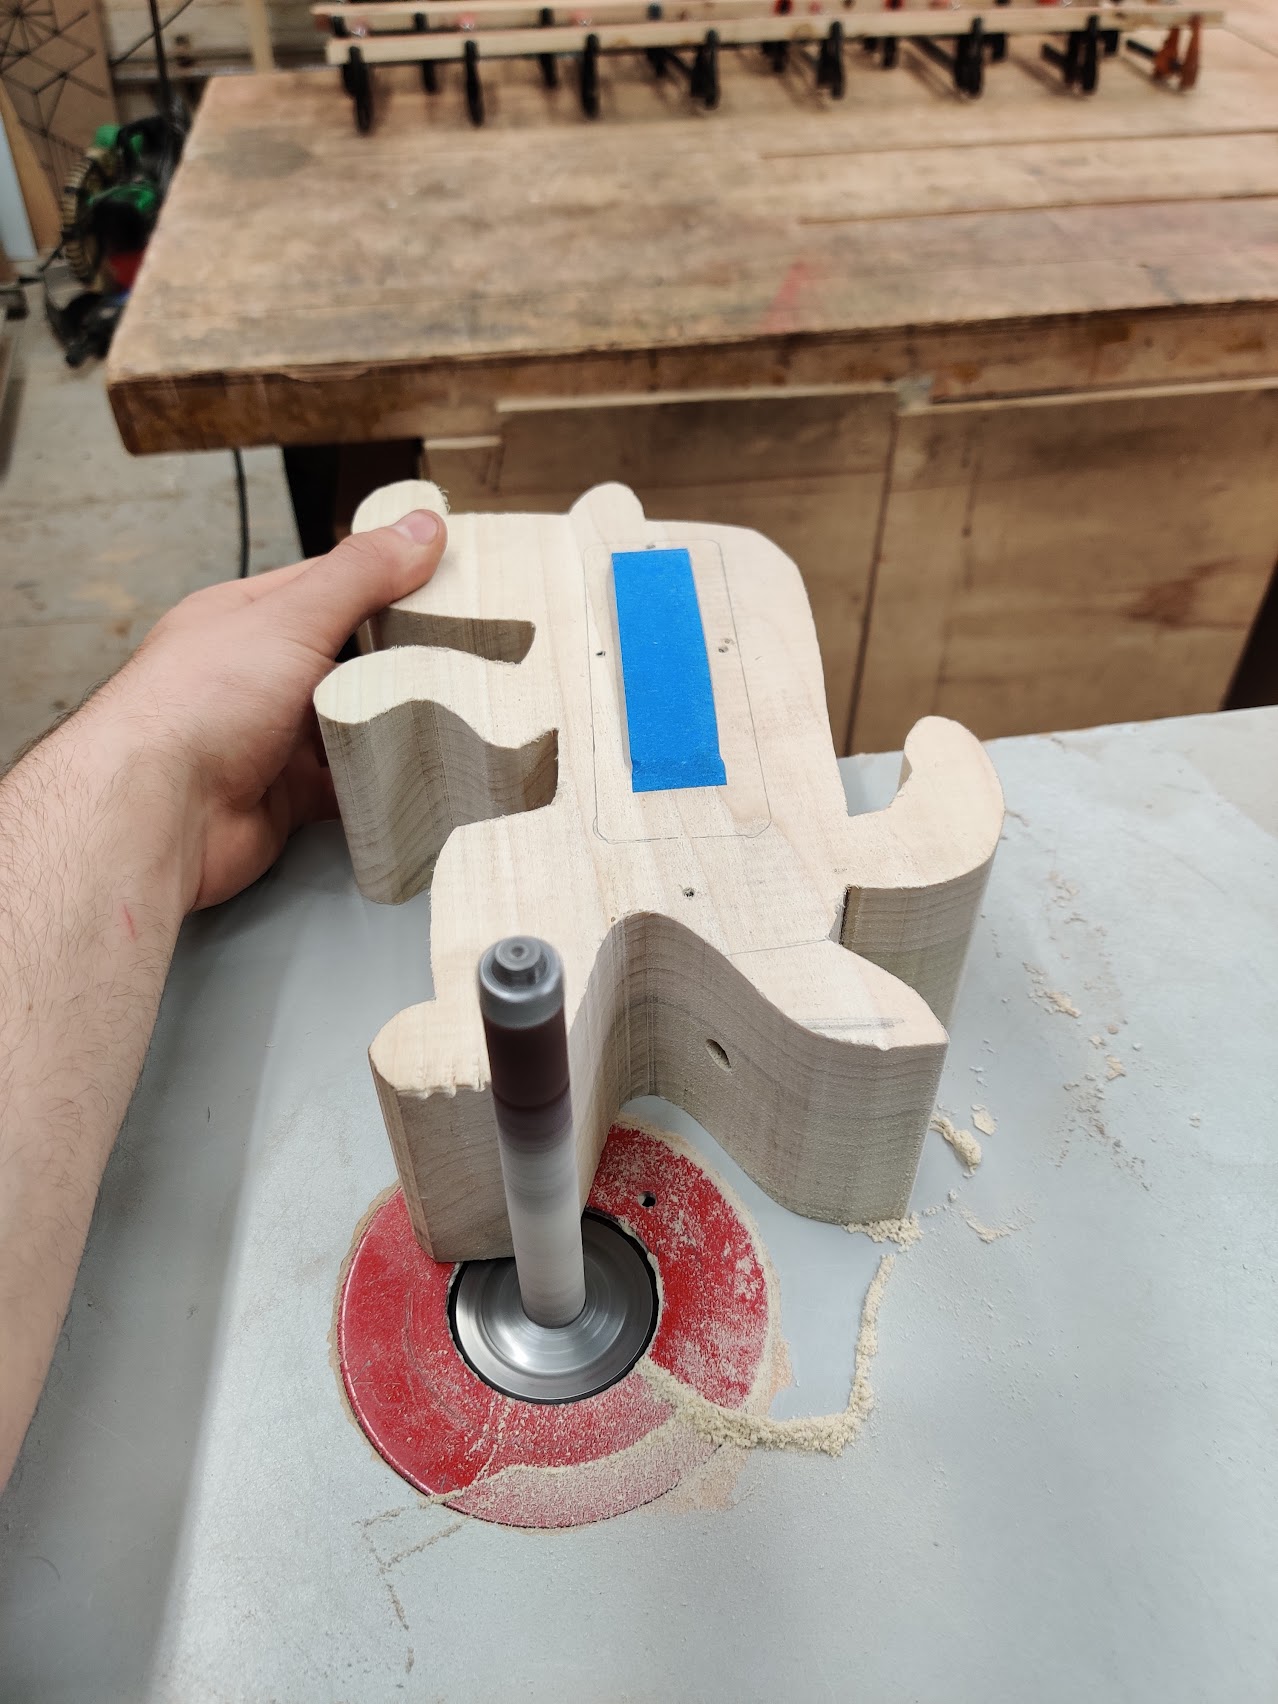
I met my partner in this endeavor through a friend at my studio. He had gotten a job and passed it to me. The task was to cut out illustrated blocks on the bandsaw (200+).
The originator of the job was satisfied with my work and learned that I had a background in electrical engineering. He showed me an instagram of some lighting he wanted to copy. That sounded fun to me! So I started to think about how to do it.

Getting excited about production
I was excited to put into practice concepts that I had become aquainted with from reading about The Toyota Production System.
I had read the work of Shigeo Shingo and became fascinated by problems the industrial engineers had faced, and the insights that they shared from their experience. They wanted to build flexible, low-waste production systems that could make a mix of different car models. They wanted to make work less stressful and more efficient. They believed in using human abilities to their fullest extent in the service of productive capacity. And they achieved it by thinking fully about what they were doing, planning hard, and using clear-thinking to make everything faster and smoother.
I wrote out some notes while I was travelling:
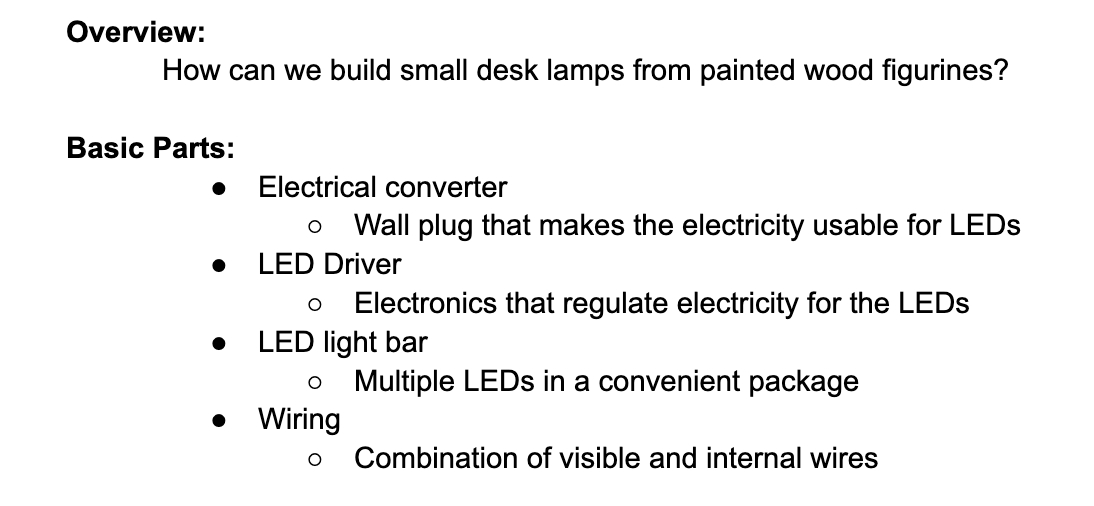

First prototypes
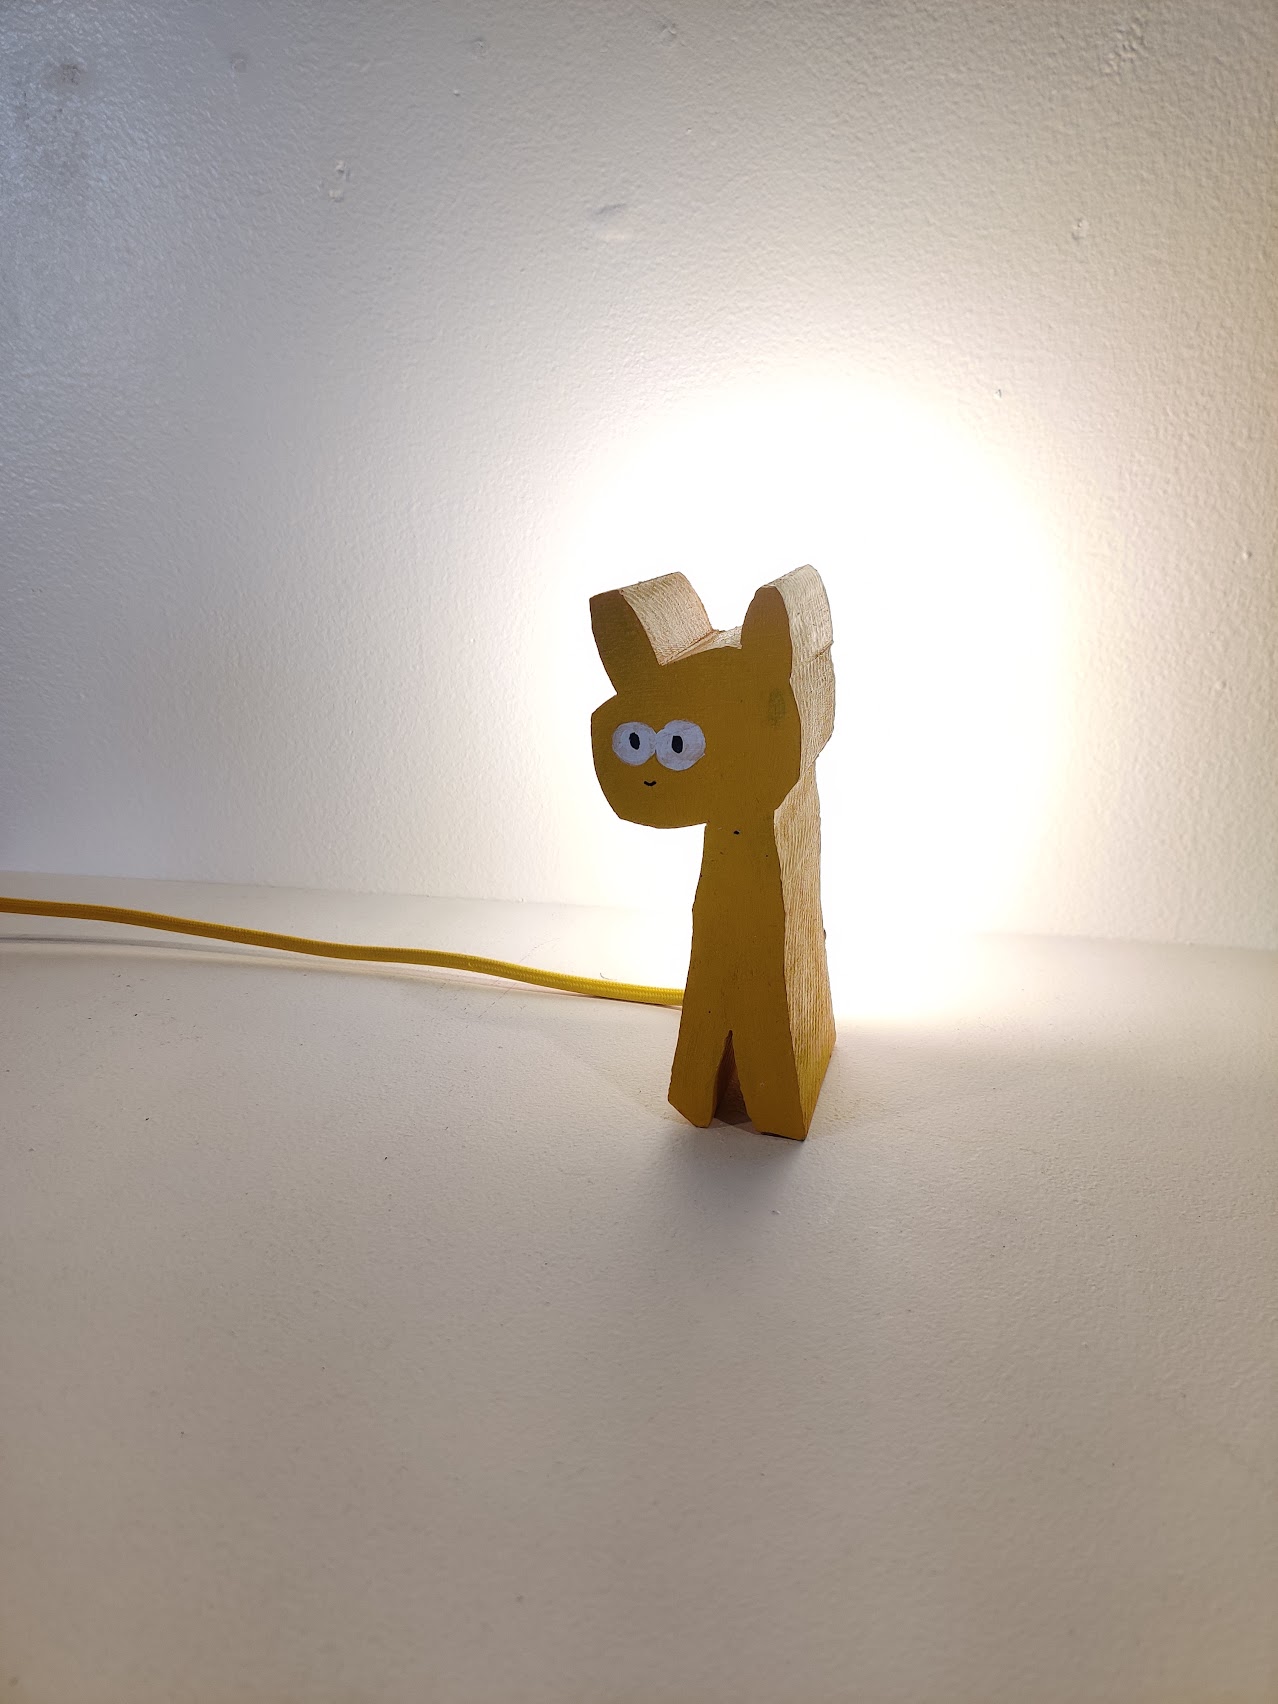
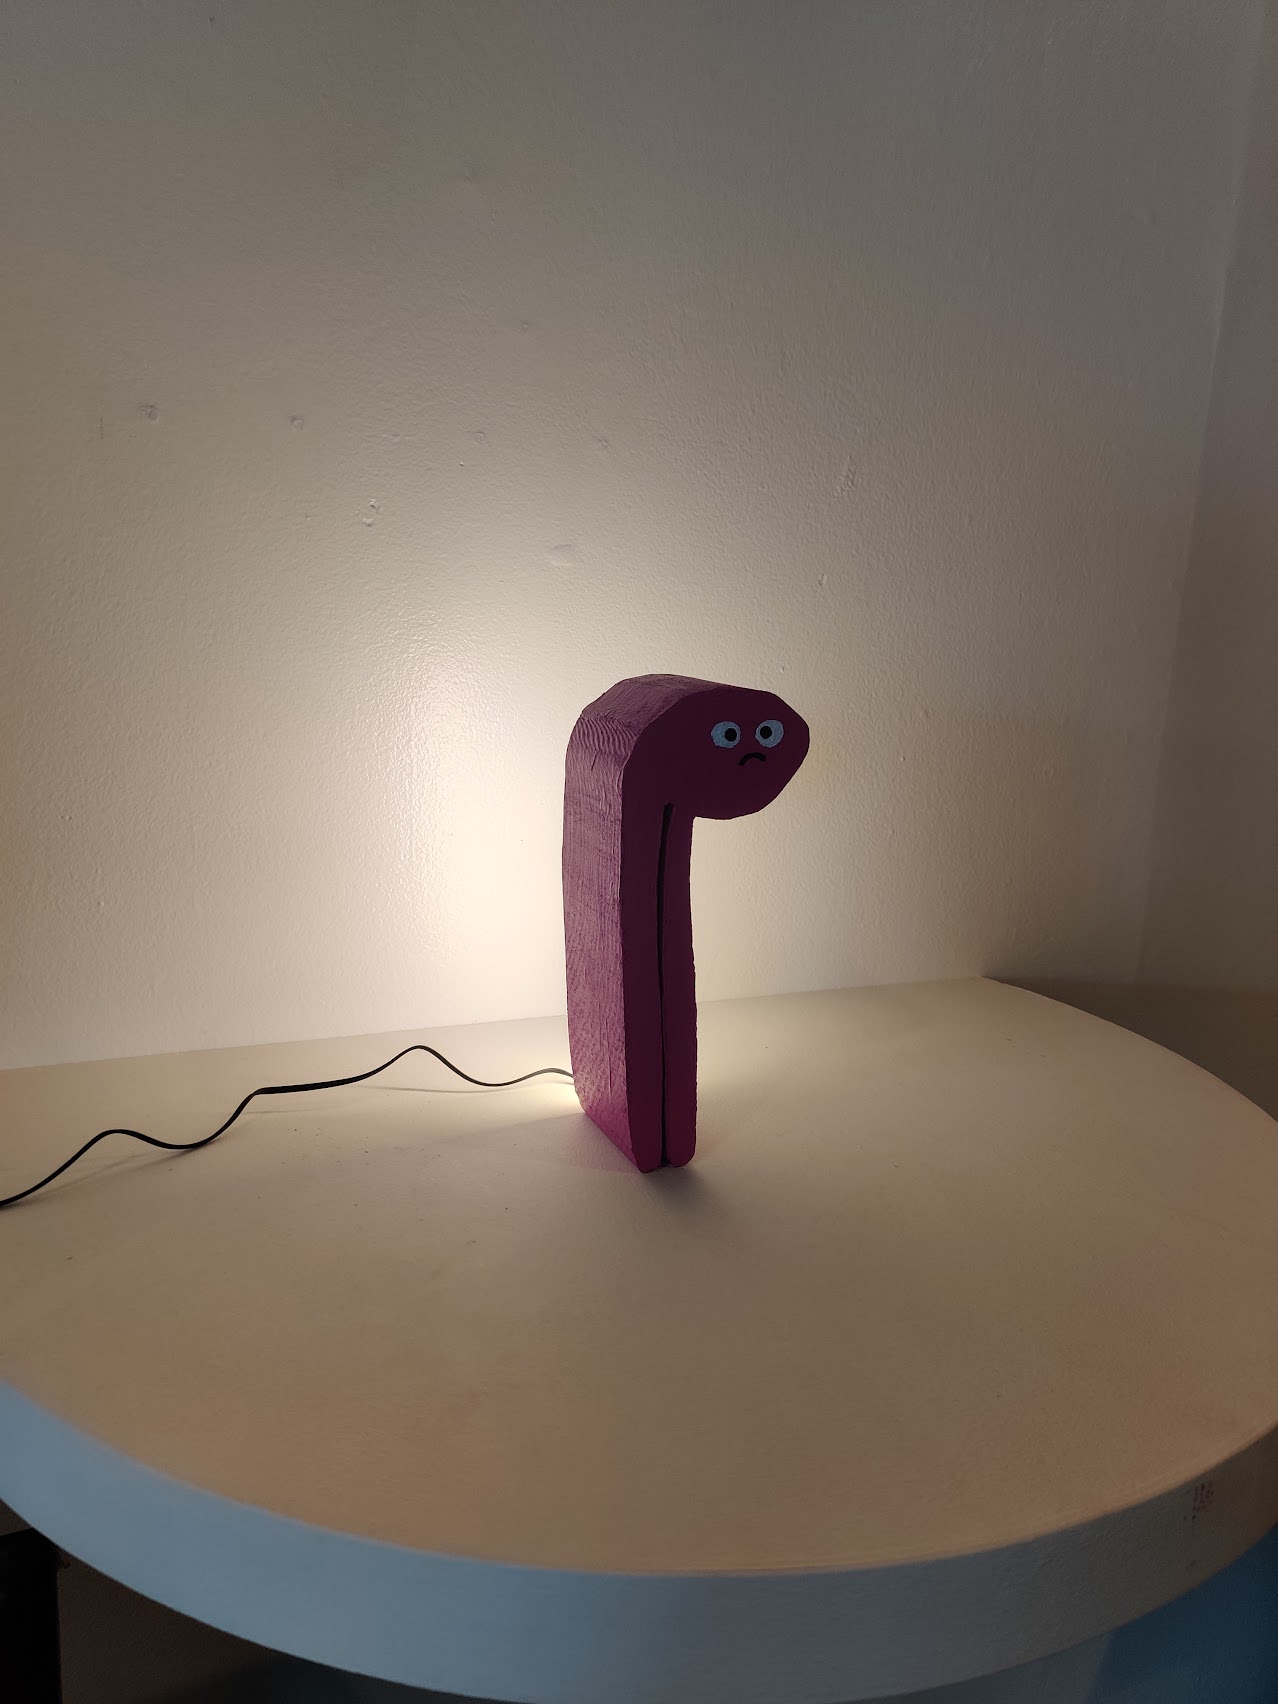
My business partner had painted with brush and acrylic some of the bigger figures that I had cut. Maybe the printing on them had chipped, or he just wanted to try it out. The original plan was to take those and illuminate them from the back.
We would get a matching lamp cord. And maybe even try to match the color of the light. Initially I thought that we be done by purchasing a LED with a different center wavelength.
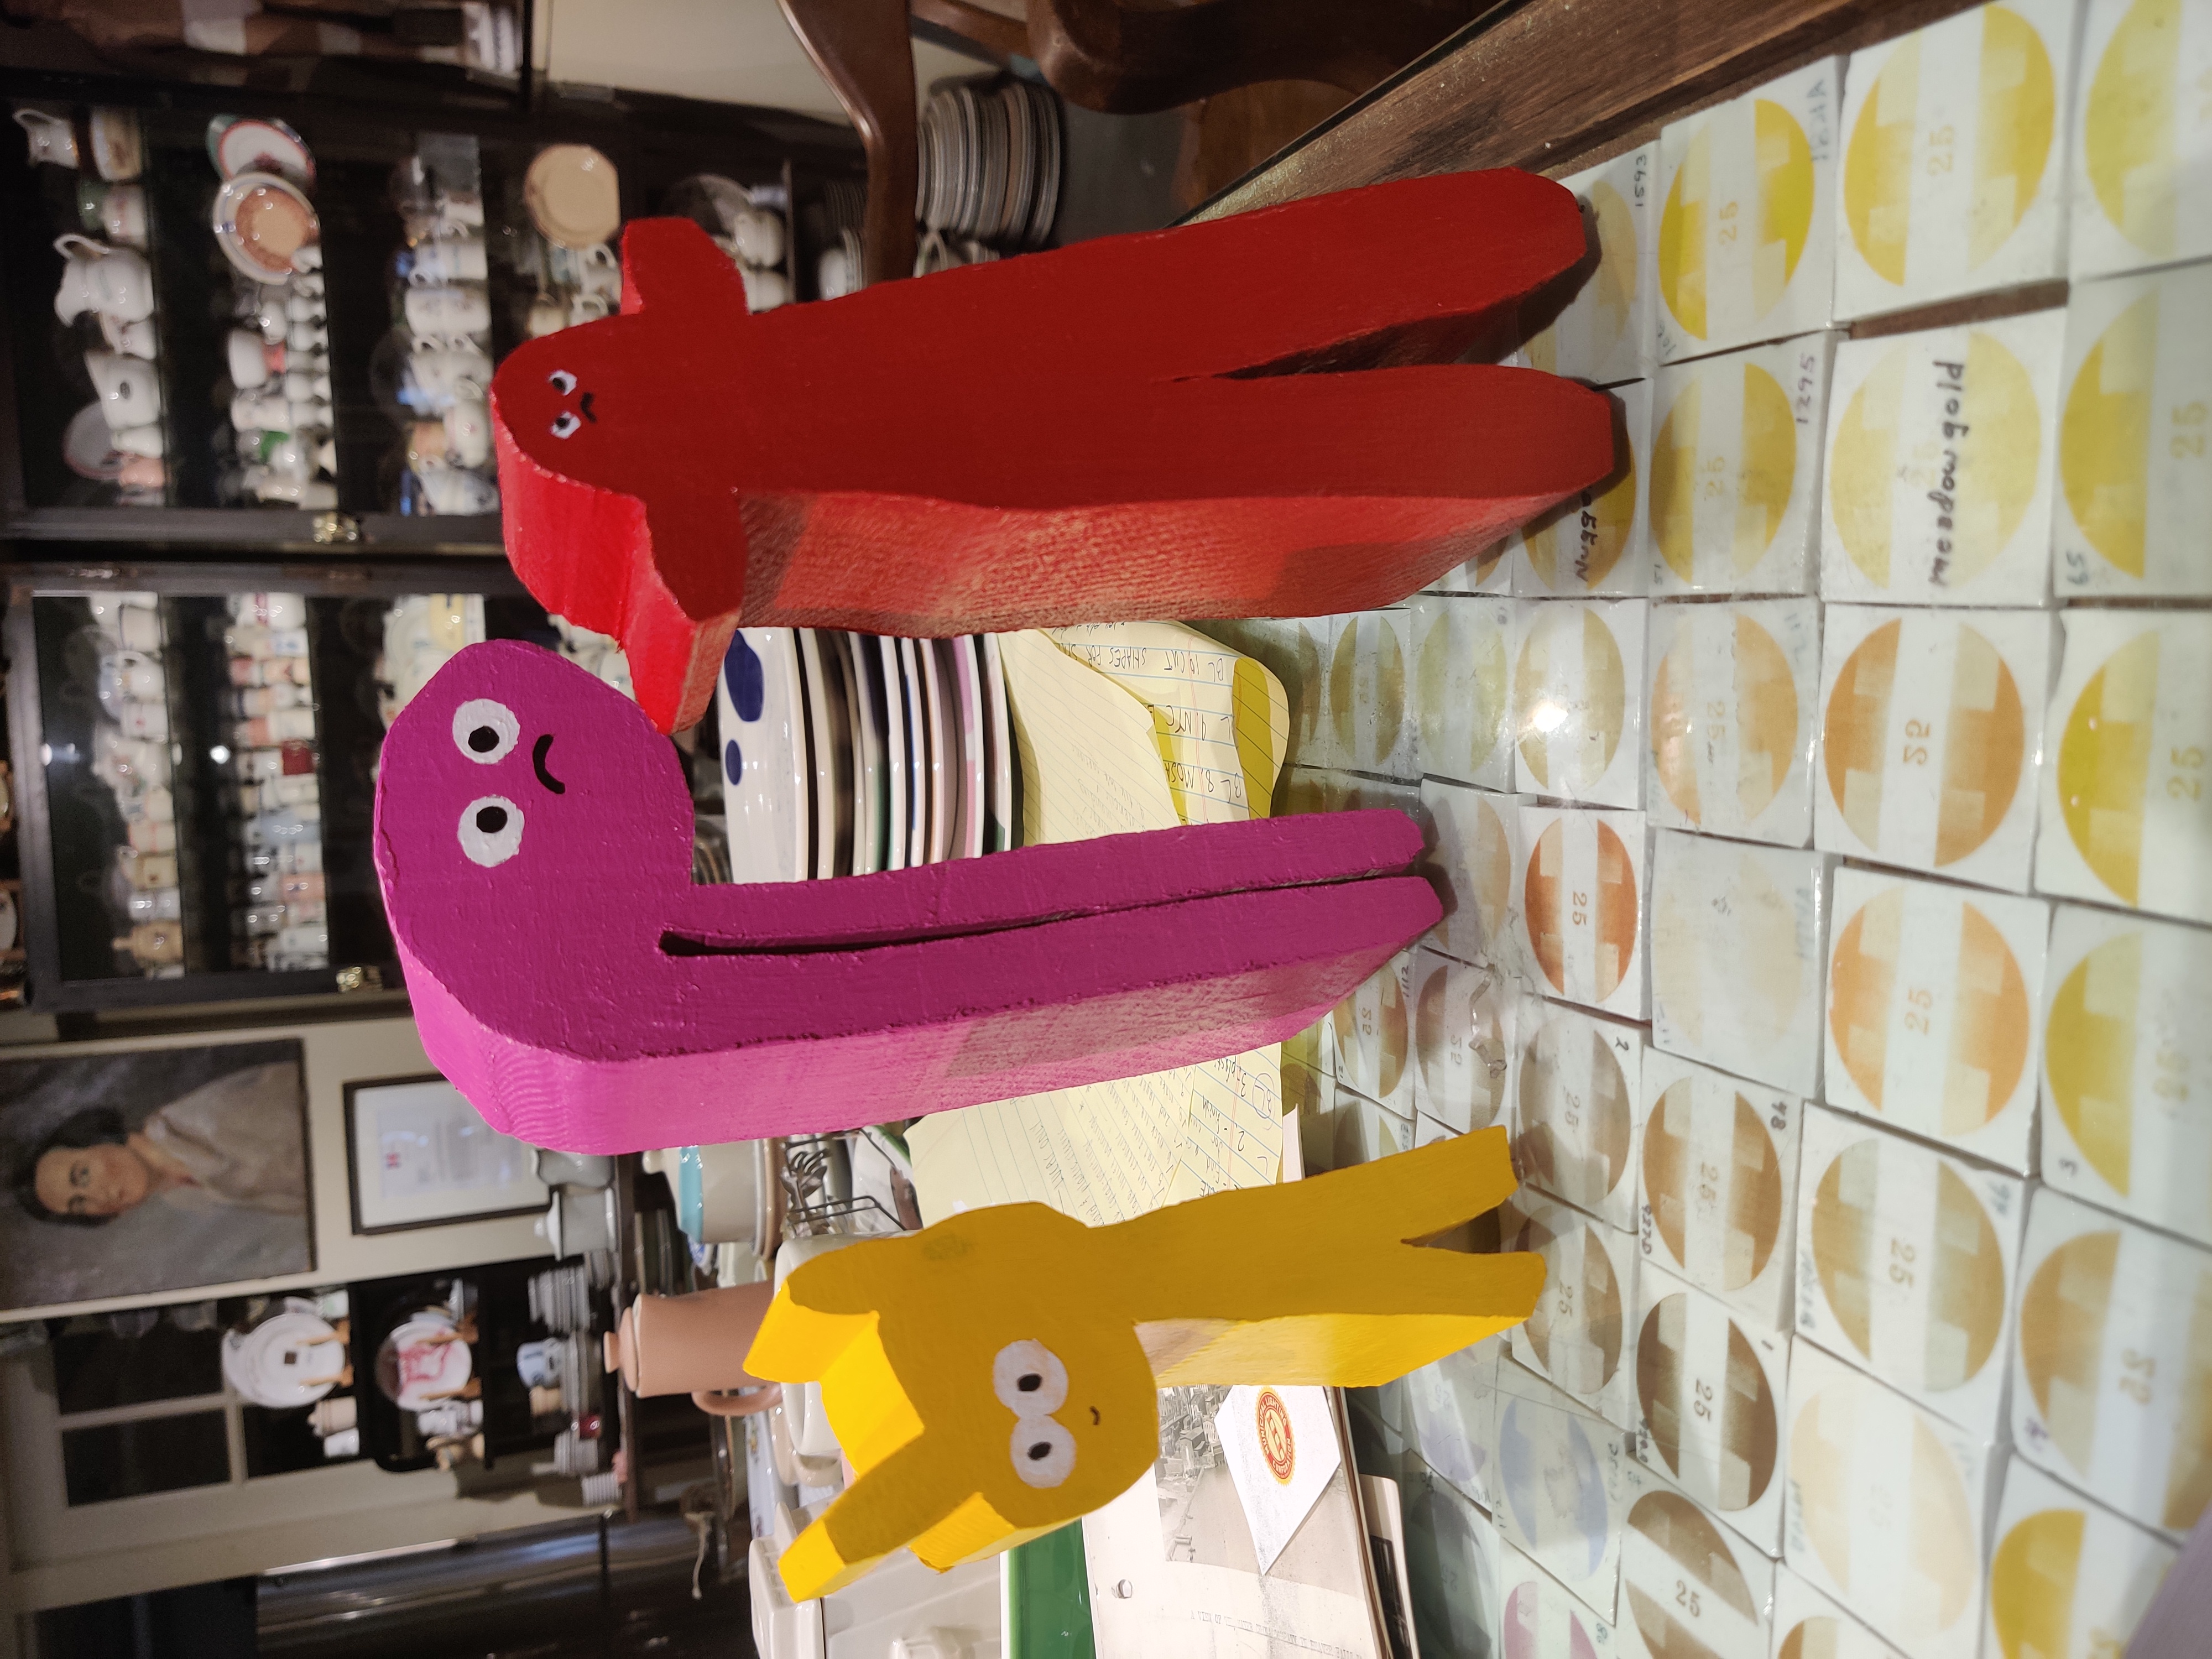
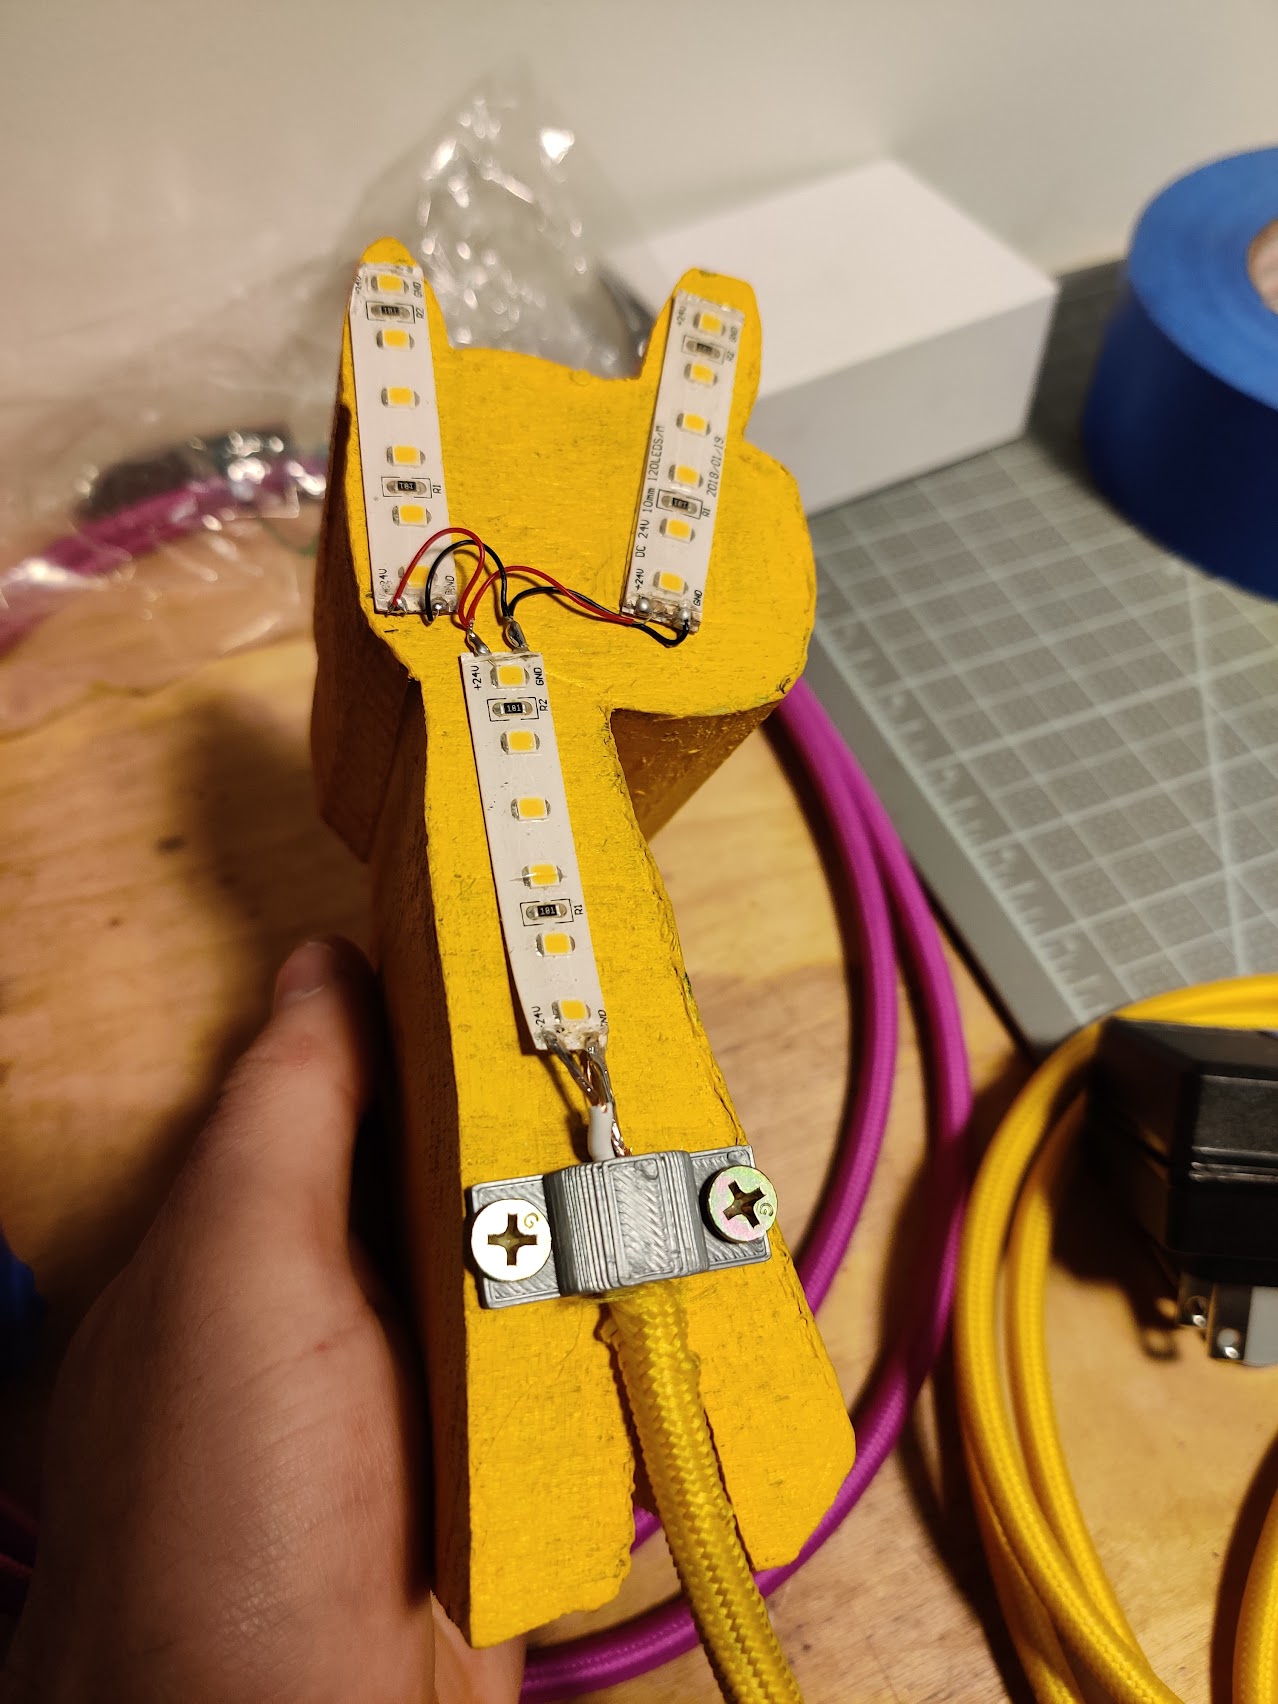
The very first prototype is the picture in the gallery of the yellow figurine with LEDs adhered to the back in a Y pattern. It was a good proof of concept, and it worked. But it was ugly as hell. And I didn’t like the 3D printed cable relief.
Iterating the design and planning production
I spent a whole lot of time thinking about the next steps. I wrote a lot in my two beige notebooks. Slowly things started to crystallize.
Finalizing important aspects of the design
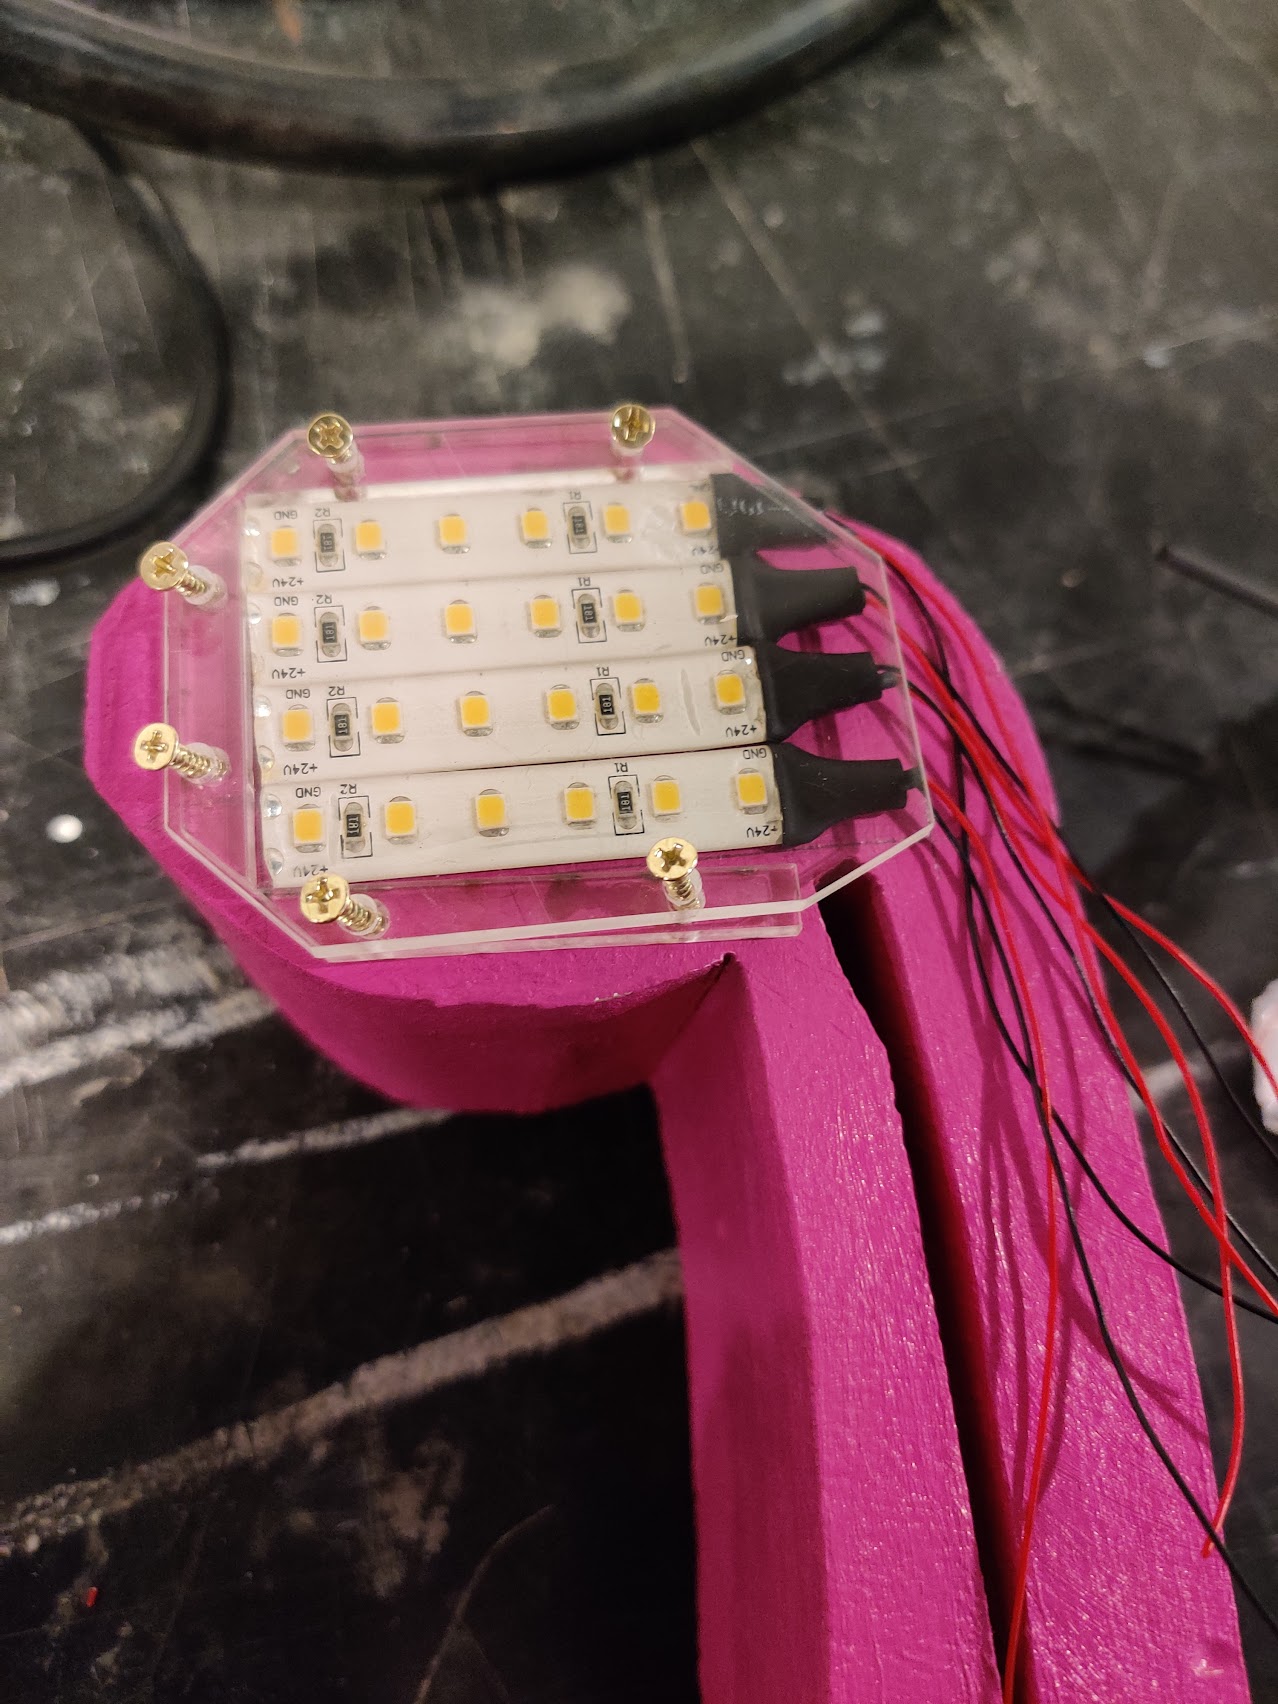
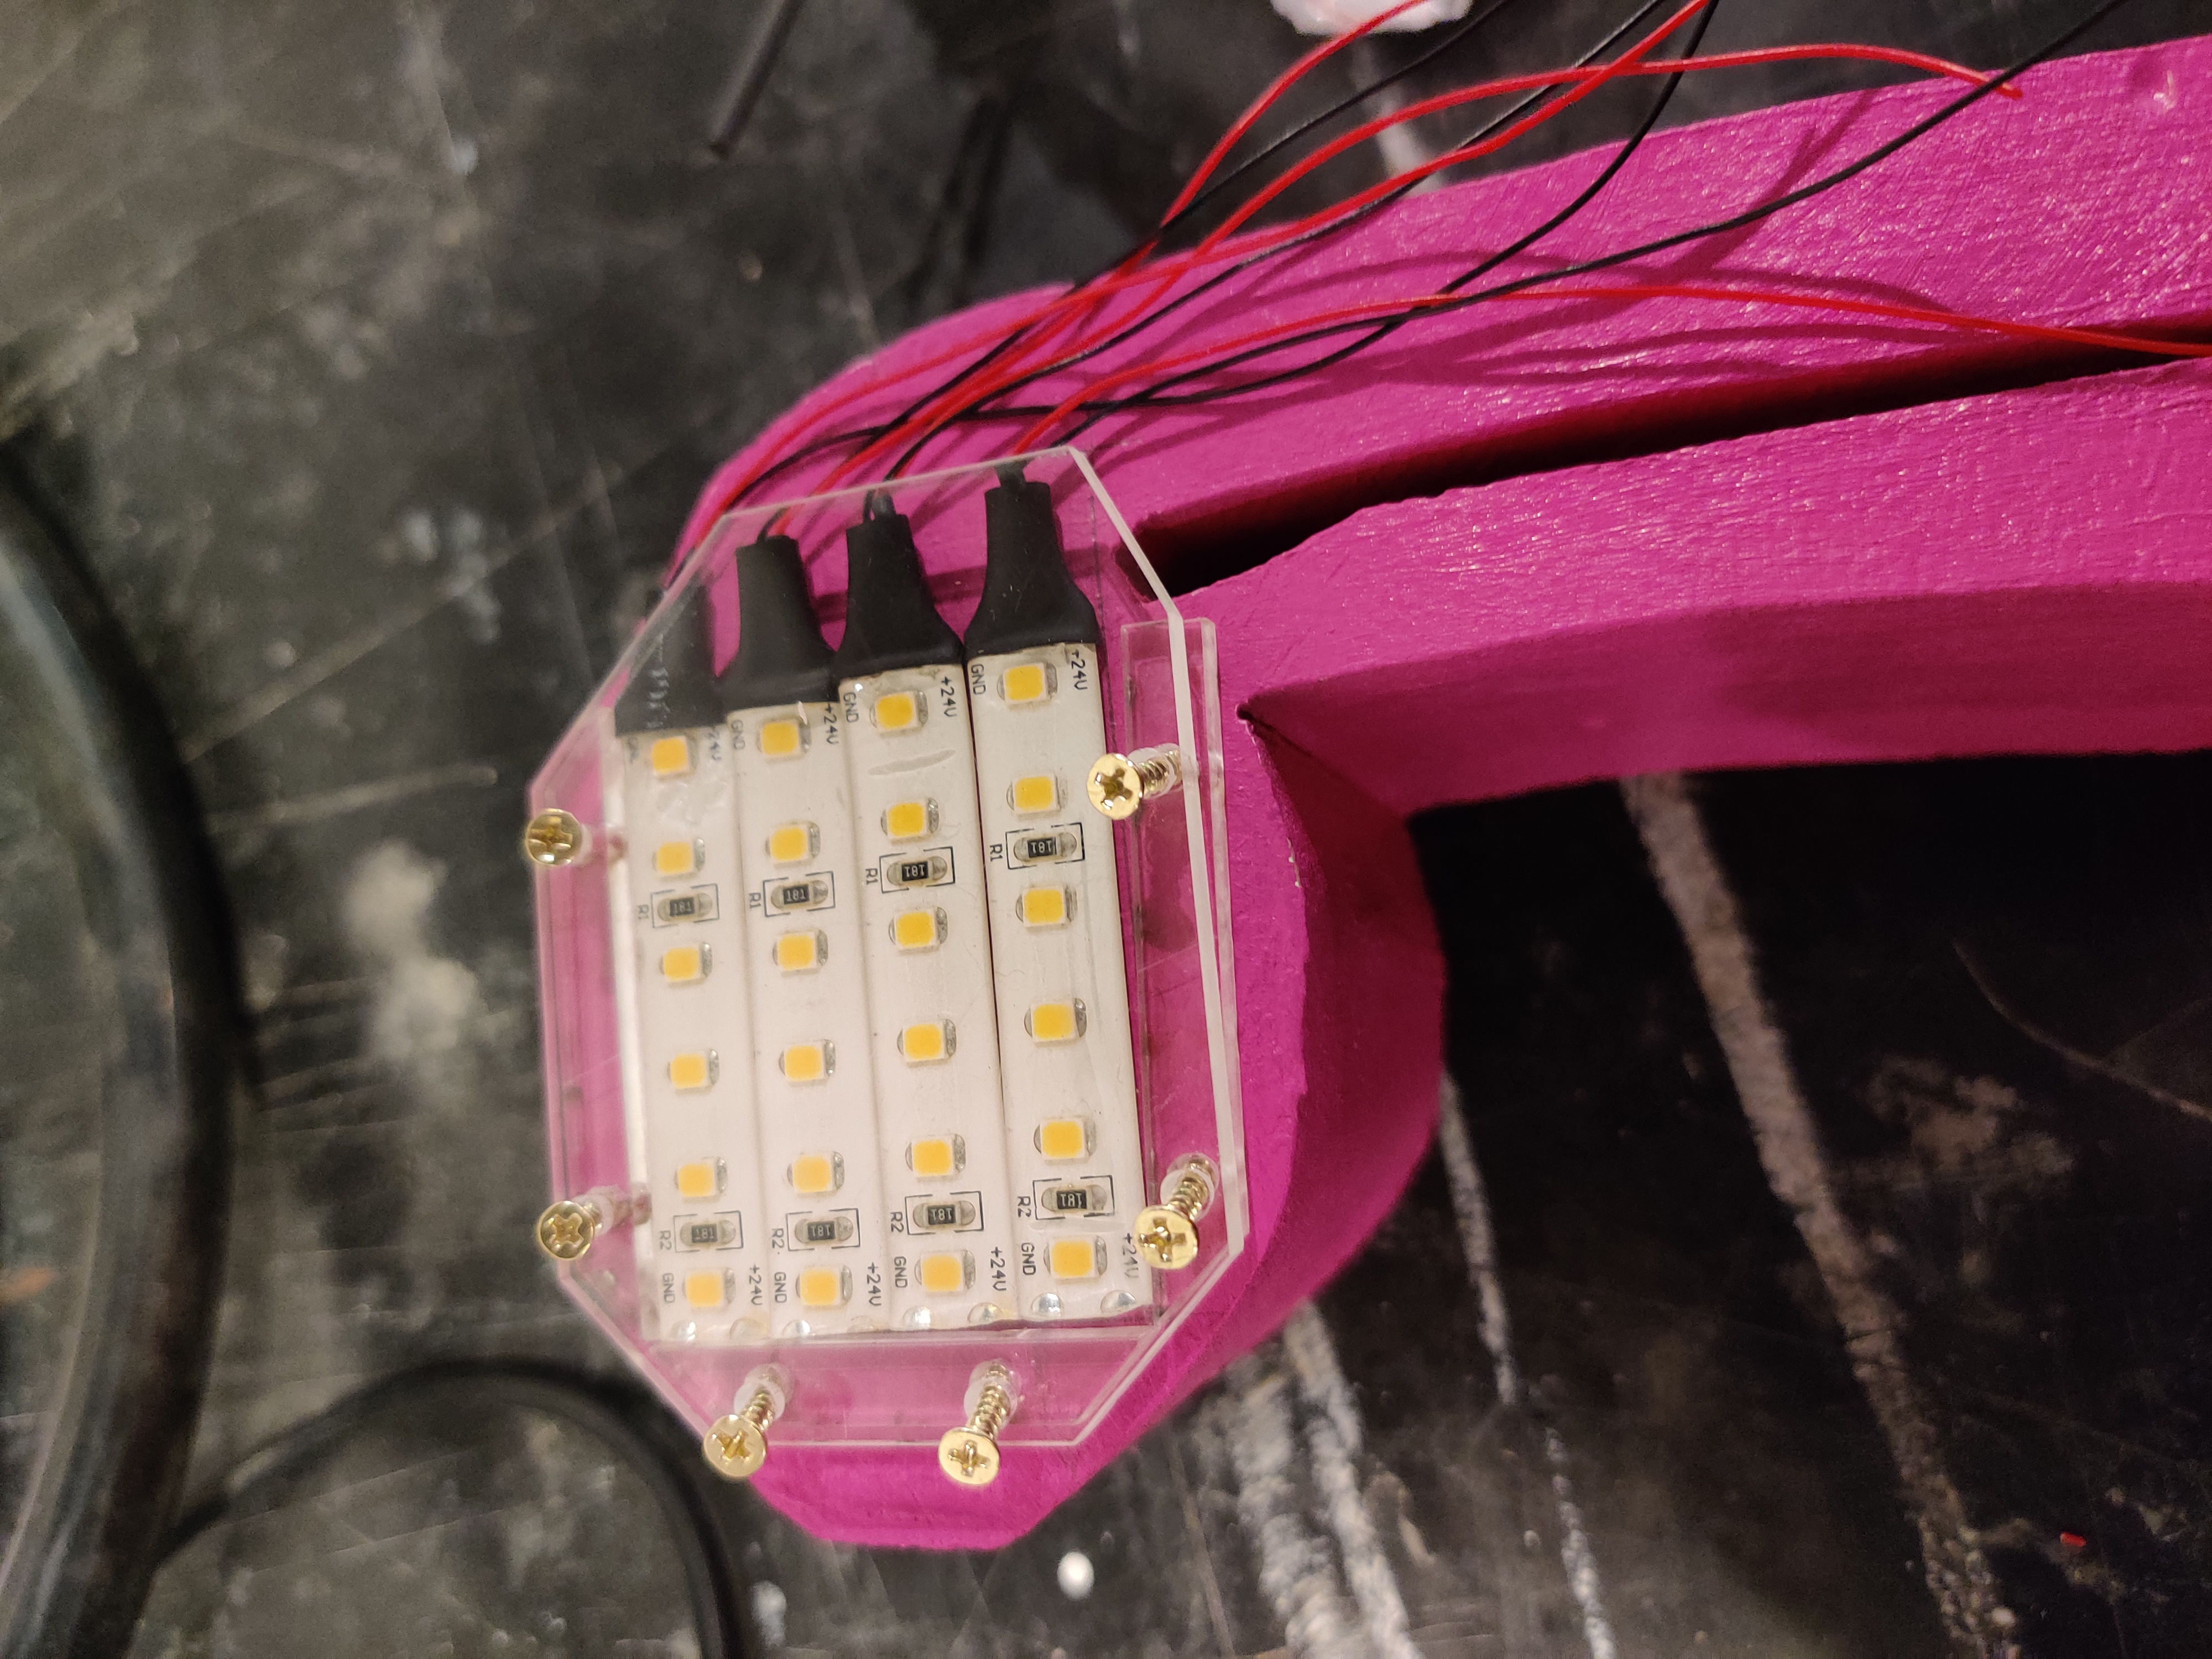
First, I realized that I needed to shield the LED strips. They shouldn’t be exposed. So on the second round of 2 prototypes I quickly designed some acrylic housings on Fusion 360.
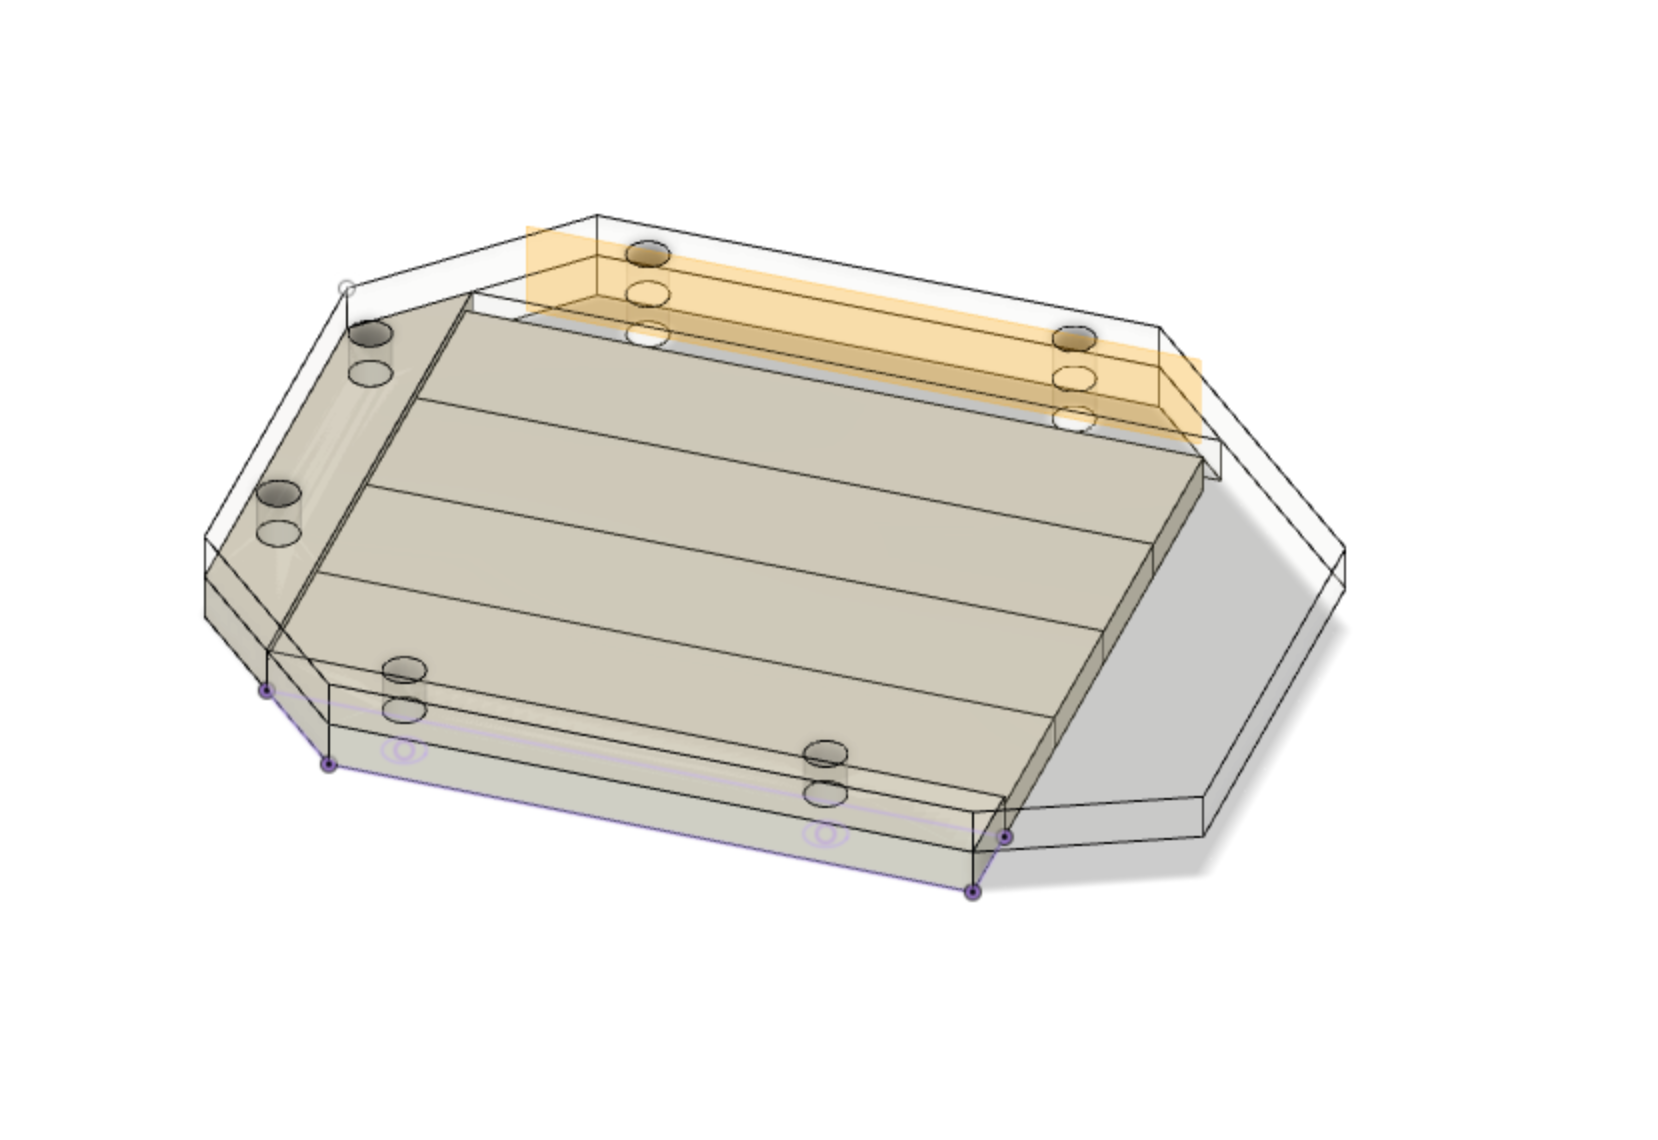
Then I used the Glowforge to cut them out, and mount with some brass screws I had bought from Harbor Freight.
Standardizing for production
Planning the work
Beginning to plan actual production flow, I started to try and take some insights from Shigeo Shingo’s work. First was the idea of breaking down a process by “work motion” rather than by subassembly.
After protoyping, I started decomposing the product in my head. The easiest way to do that (in my own cognitive context), was to slice the finished assembly into conceptually similar subassemblys. I started by writing down this list:
- Wood figure
- LEDS
- Housing
- Cord
- Converter
This is a pretty decent mental model. But it’s not helpful when you start planning how to make it. The boundaries of the conceptually similar subassemblies don’t really represent the boundaries between types of production.
So I went through each element of those subassemblies and tried to assemble a list of the “work motions” that they would require. After a bit of shuffling, this is where I ended up:
- Sketch
- Cut (BandSaw)
- Paint
- Drill
- Cut (Laser)
- Glue
- Strip
- Solder & Wrap
- Fasten
Each of these work motions could contain elements of different subassemblies at different stages and levels of completion. Since I control the whole process, I can do what I want!
After I filled out some of the details of this list, I could think about parallellizing tasks. I will be working on each part myself, but it’s good to think in terms of scalability.

s
Continuous Improvement
Some people have only heard of the Toyota production system through the concept of “kaizen”. In the 1980s, a generation of consultants interpreted the insights from Toyota with different degrees of faithfulness. A few buzzwords trickled into the US business environment. These include “lean manufacturing”, “six sigma”, “kanban”, and “kaizen.”
Kaizen just means continuous improvement.
When the Toyota guys would get contracted to do some outside consulting work with a factory, they would chat with management beforehand. “We need to know you’re fully on board,” they would say. Continuous improvement sounds good. But these guys had extreme methods. “You have to commit,” they would warn the owners. In order for continuous improvement to work you need to be able to actually make improvements. If there is a defect on a product coming off the line, you have to stop the line, assess the problem, and implement a solution. This seems like a very scary prospect when you do it for the first few times. When you solve all the problems, it was obviously a good idea.
Everytime I do any work I find like 6 problems with the way I planned to do it. I just wing it in real time, and then try to document my insights. This has already produced a whole lot of positive effects. I can co-evolve the planning along with the execution, tightening both.
Where are we at?
Right now I am finishing up the first run of 10 lamps. From there my partner Ben will try and sell some. Then we will re-evaluate and figure out fruitful next steps.
I plan to update soon with further documentation from doing some batches at slightly bigger than prototype scale in the next week!