Resurrecting a junkyard ebike
Gallery

The beginnings
The first EV project that I started trying to do was to build my own custom version of an electric unicycle.
I detailed the start of this process in some early posts:
Ultimately, the project stalled because I lacked the fabrication skills/experience to make the custom frame elements that would be necessary to “hang” a battery pack and control module in an inverted pendulum to make a modern Electric Unicycle.
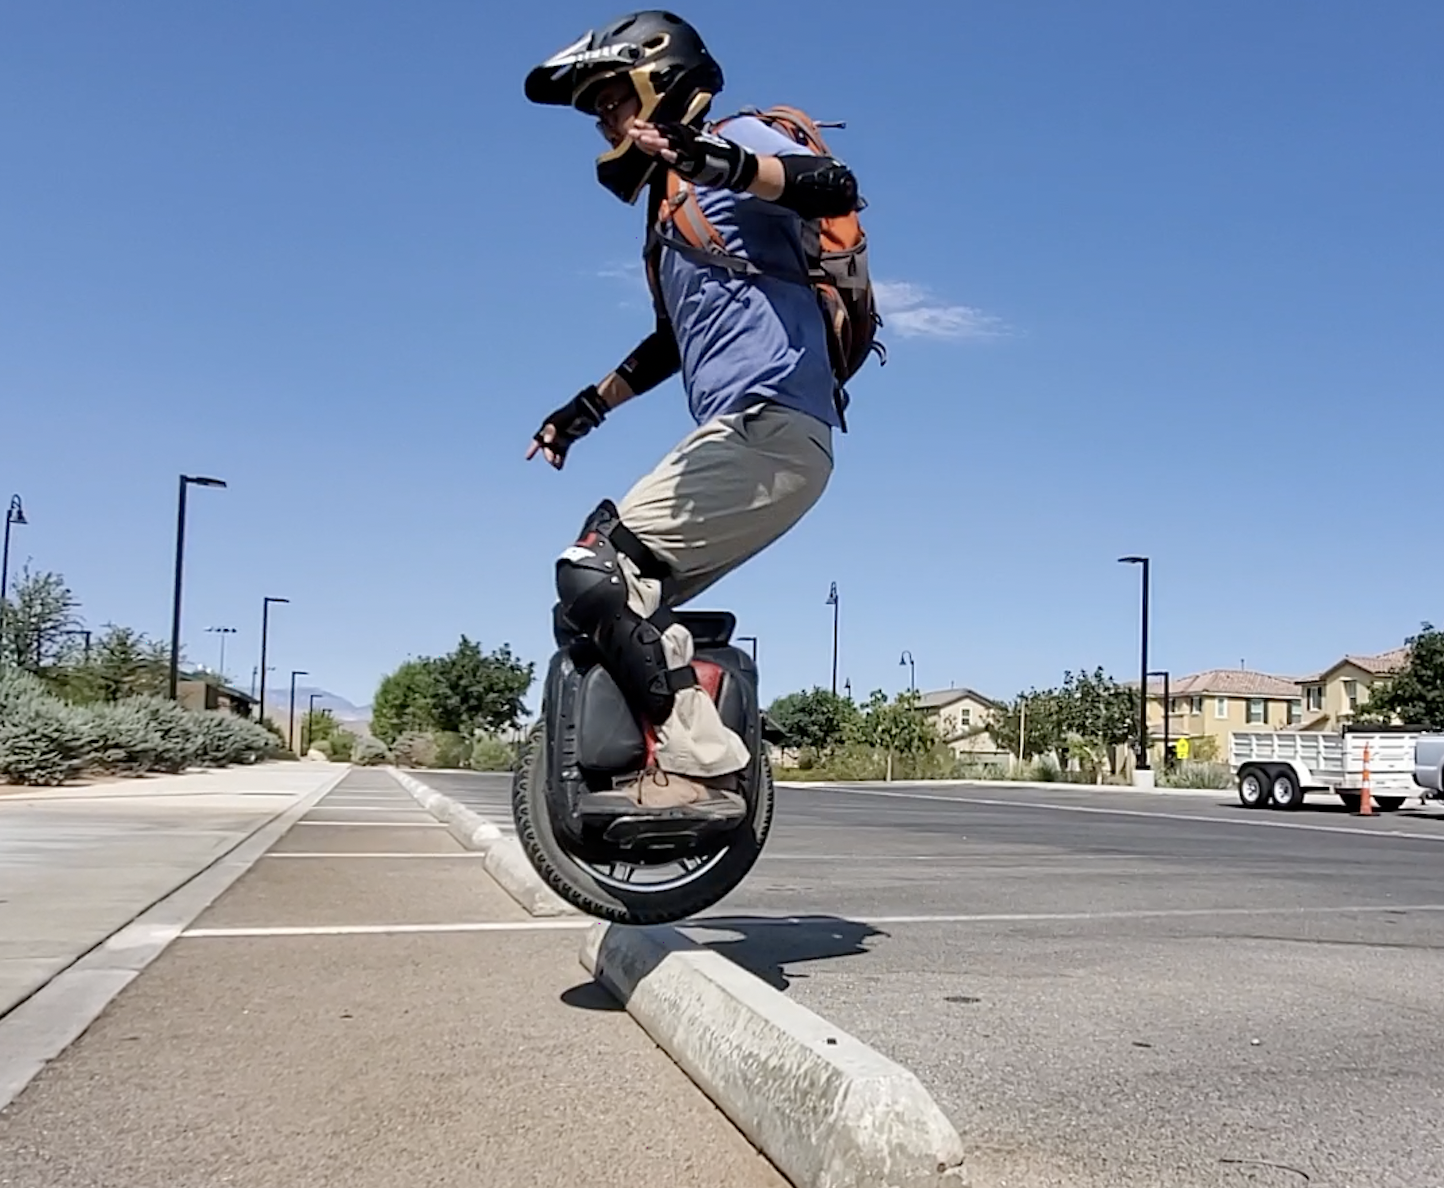
But, I figured Light Electric Vehicles would be an increasingly popular mode of personal transport, so I set out to be able to build my own.
Junkyard Ebike
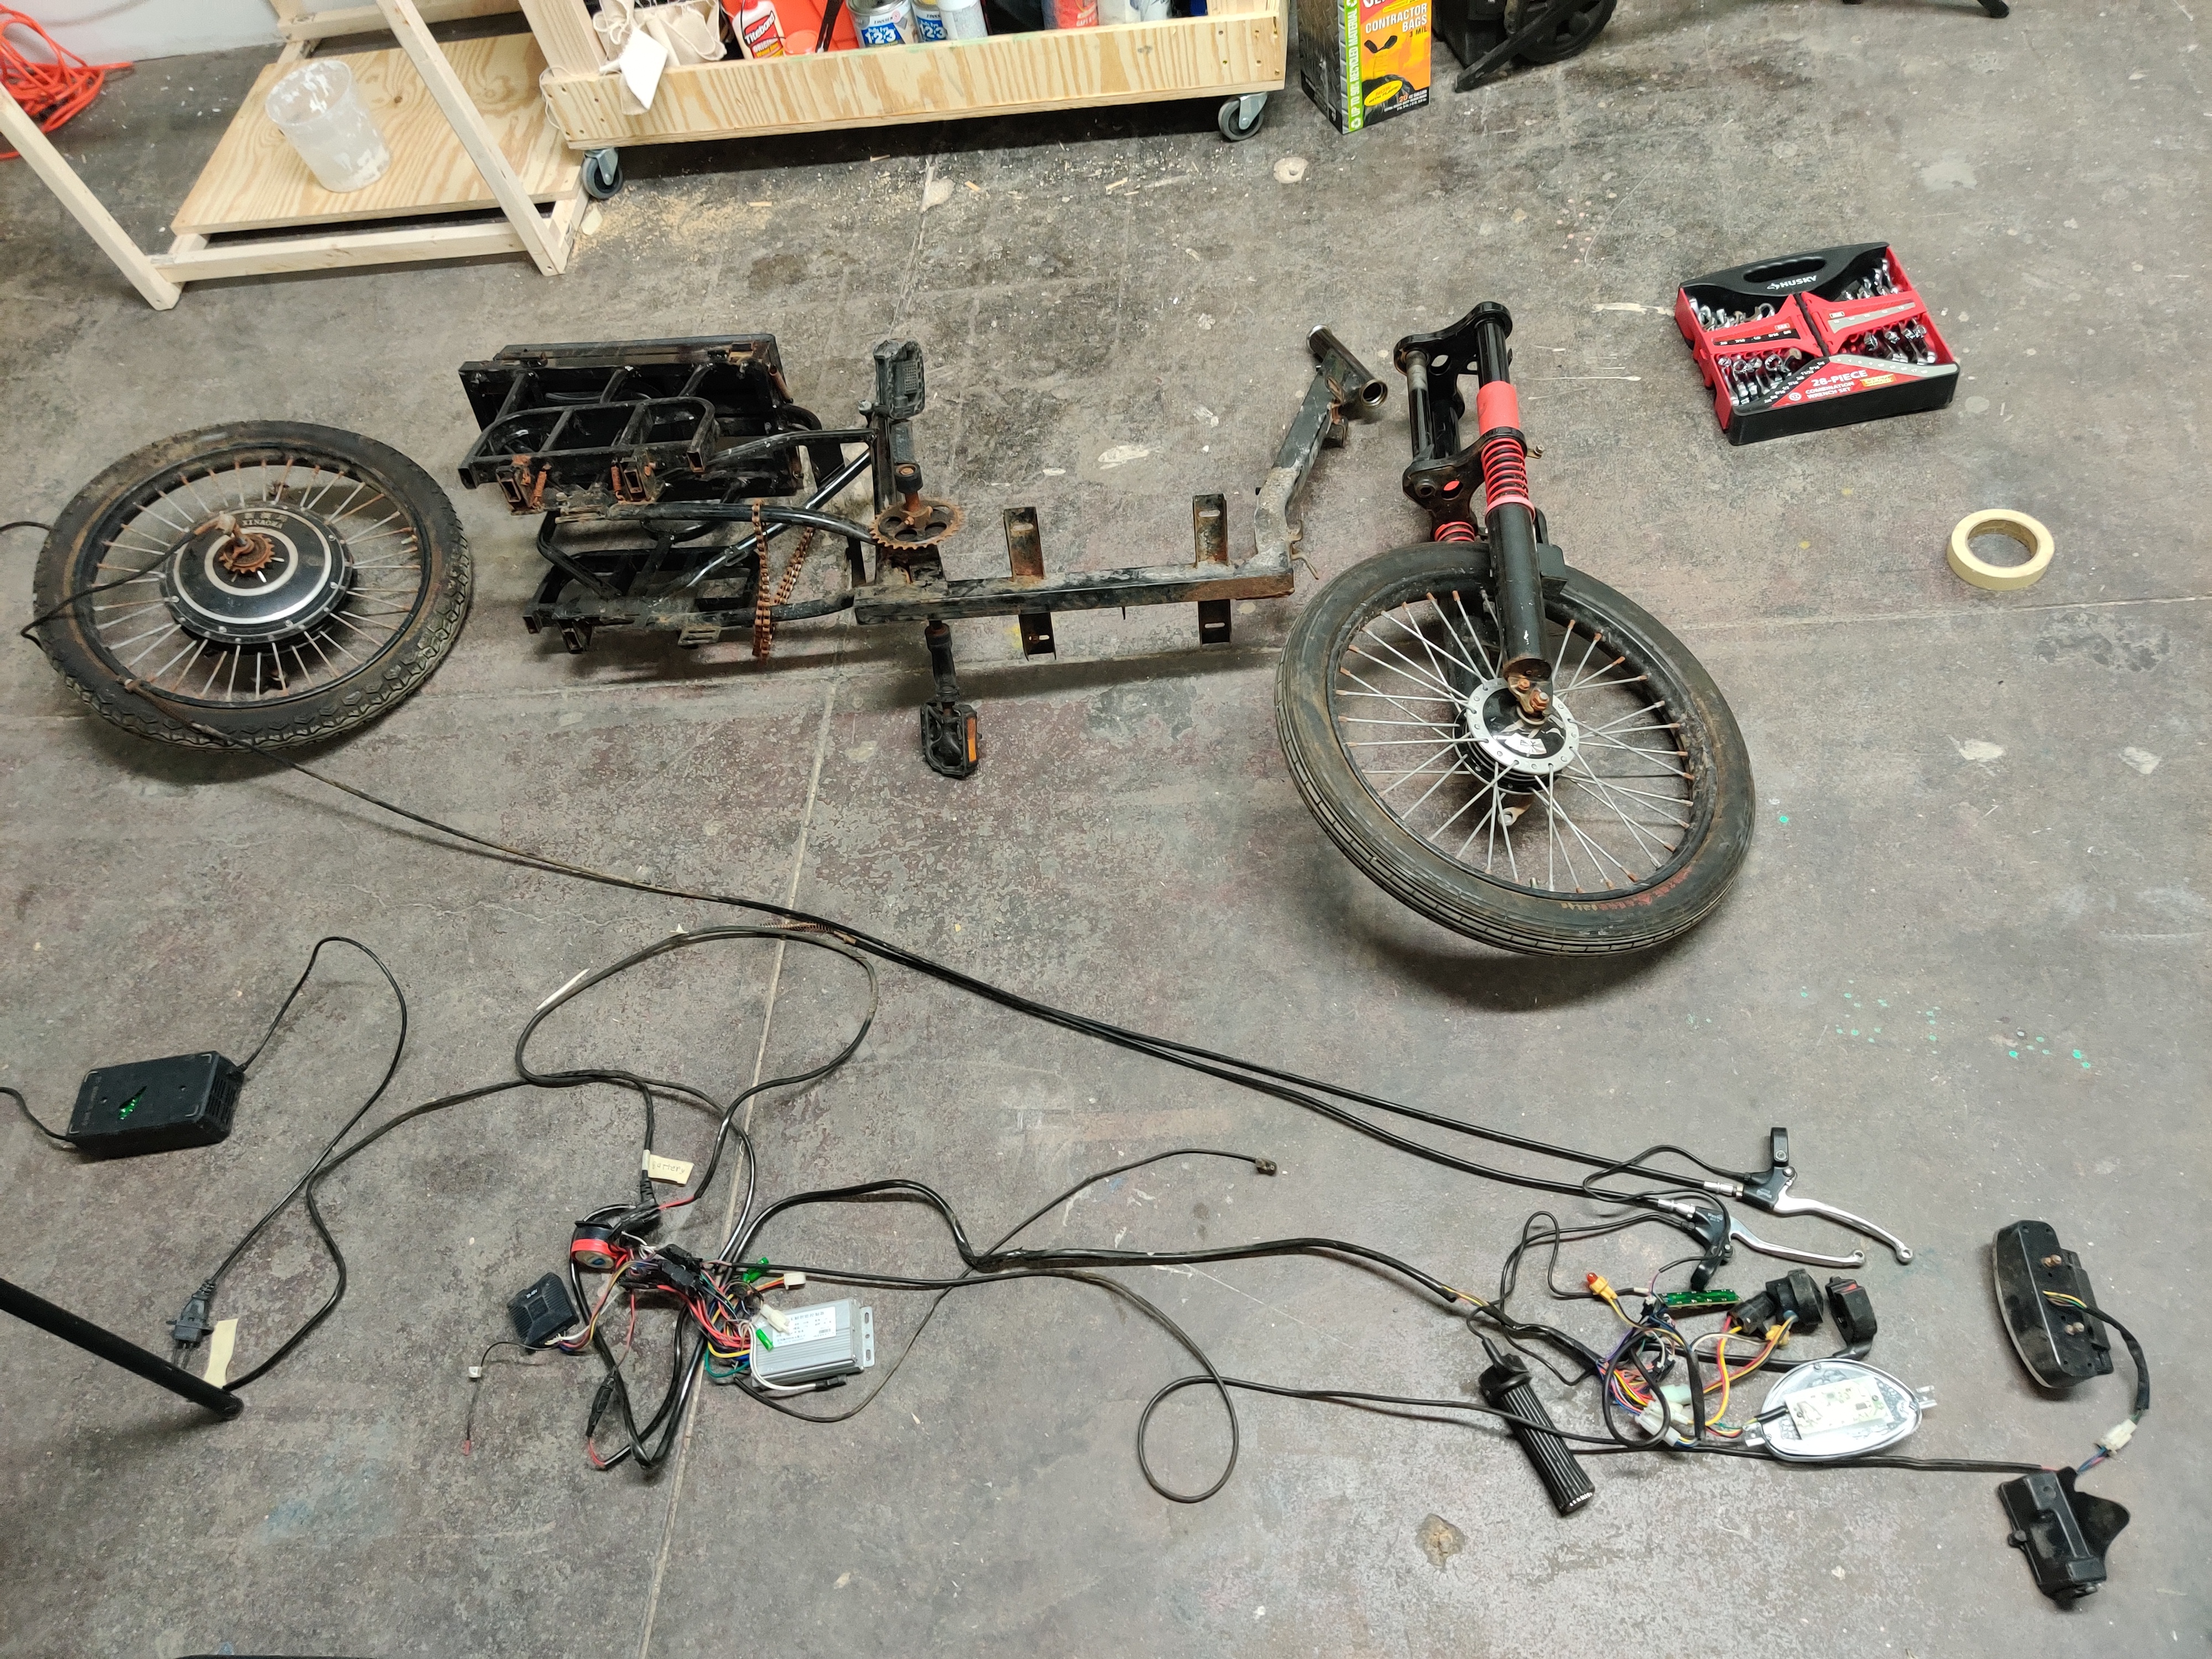
To get to the first studio I ever rented, I had to pass by a scrap metal aggregator. One day, walking there, I saw a truck with a junked Electric scooter. I asked the guy to buy it off him directly, and took it off the truck for a few bucks. My plan was to build off this frame module and create a platform to work on my own system.
This is the first picture in the gallery, complete with broken plastics and rusted out electronics. Actually, the whole frame is pretty rusty, but it’s ok.
Recycling batteries
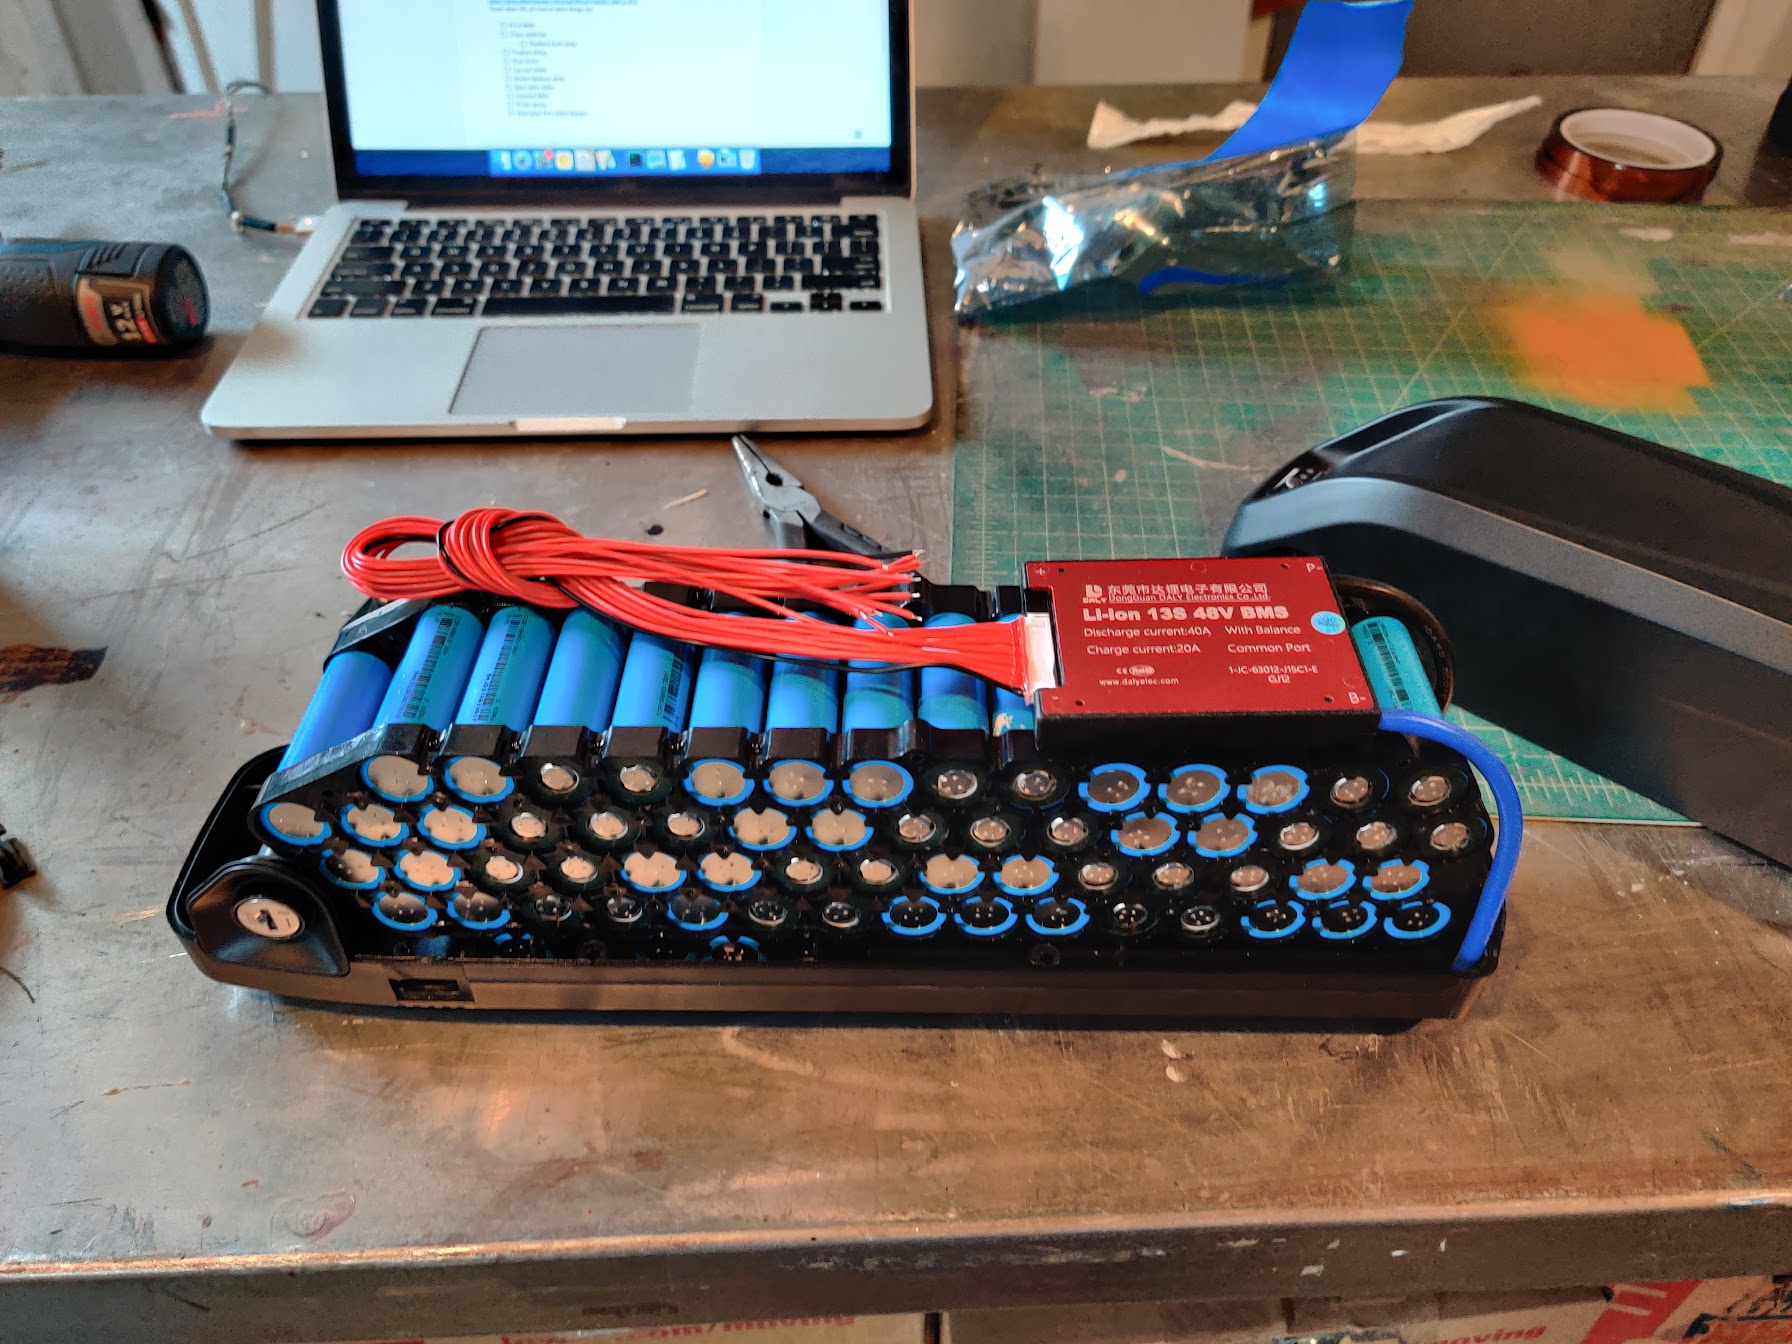
I knew that I wanted to use recycled batteries. I bought a lot of cells from a used battery wholesaler. They came inside battery packs off of electric scooters, that had been injected with a liquid rubber which had cured to fill every crack of space inside the pack.
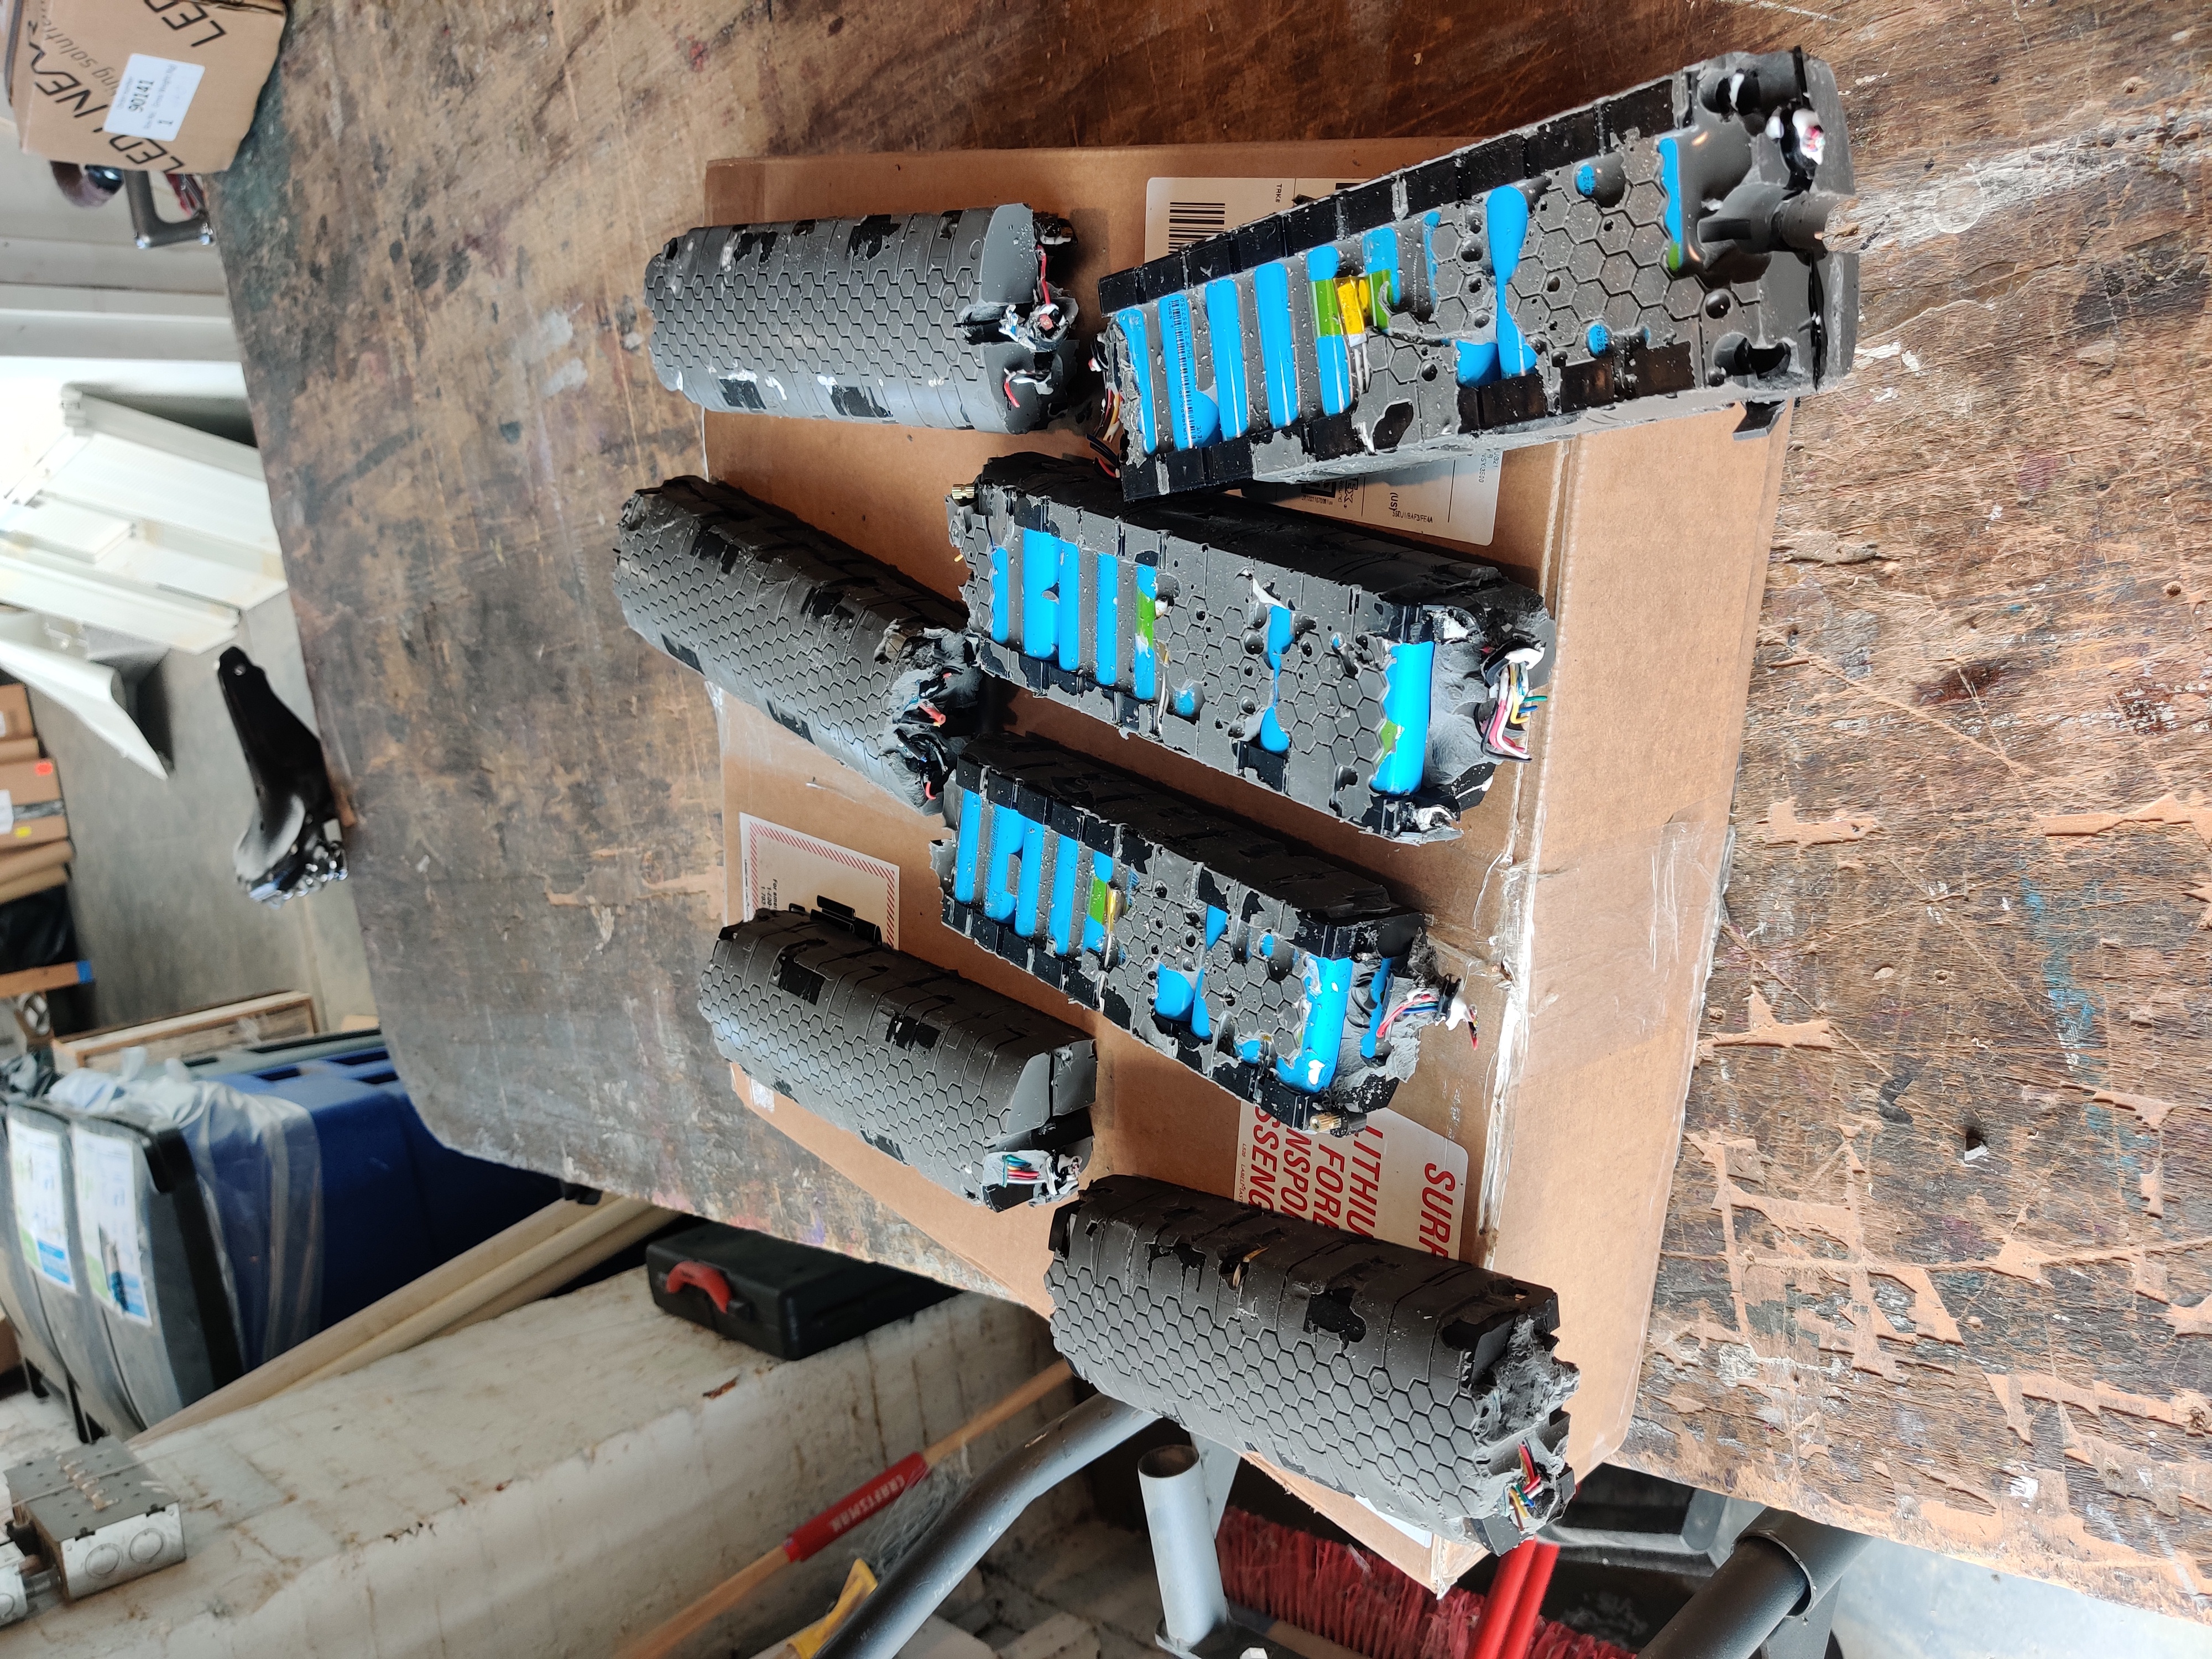
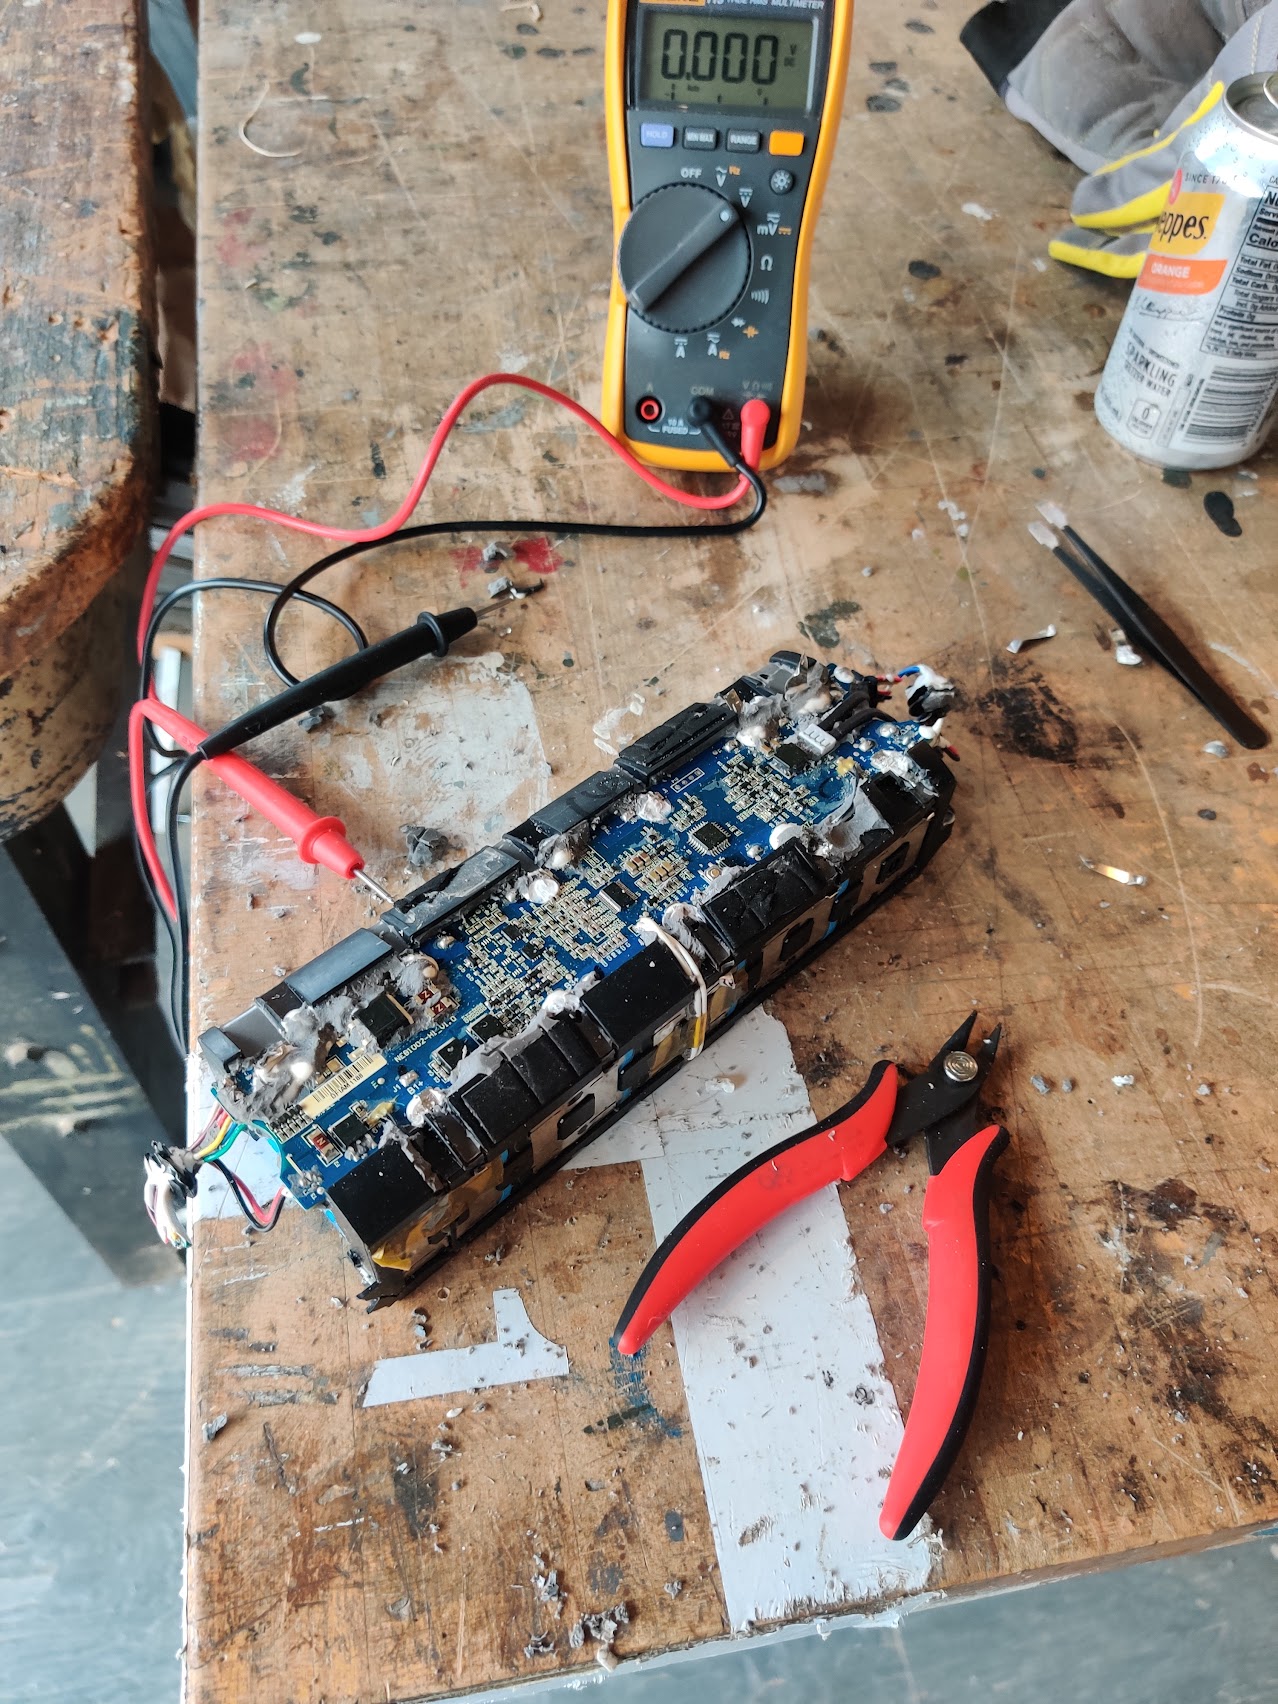
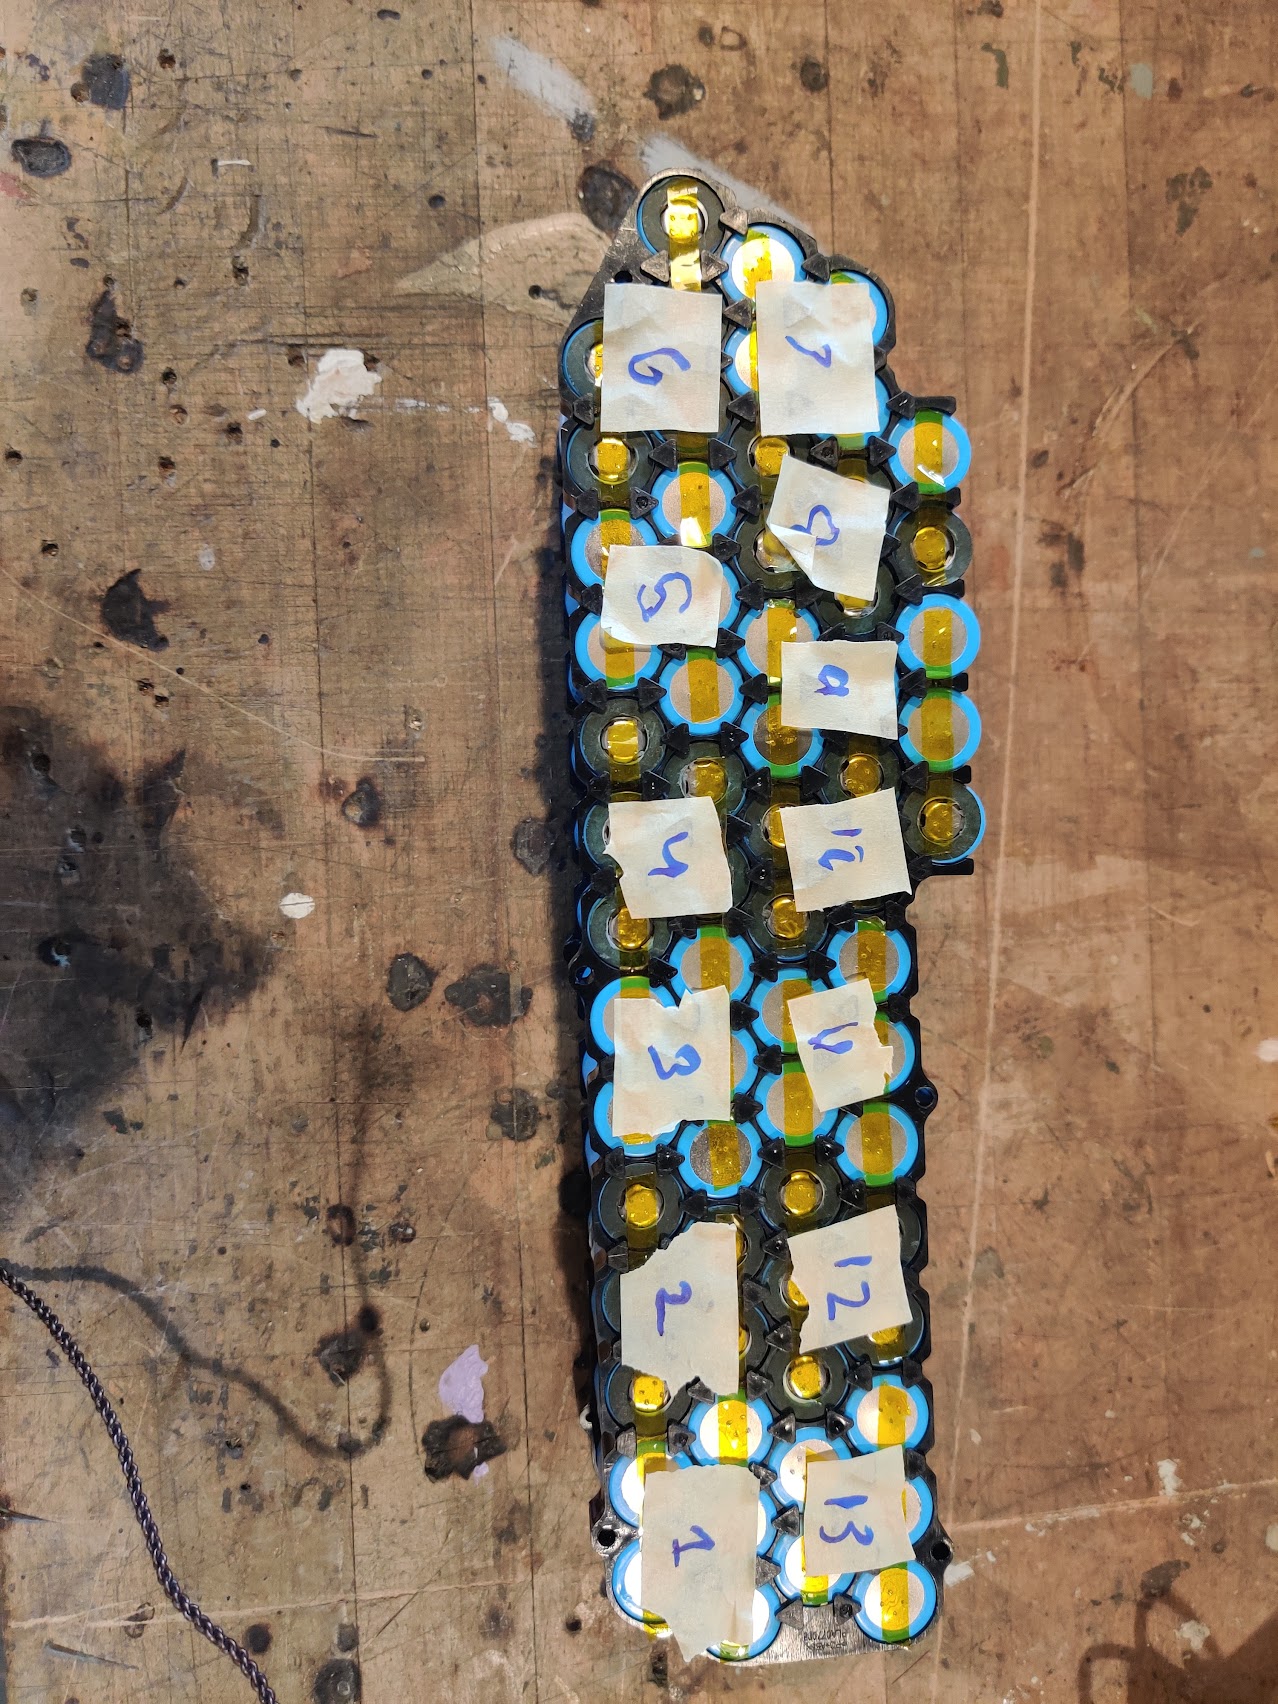
The batteries all got tested for voltage, and categorized by cells that had probably retained good capacity, and those that had self-drained over time.
From there, I ordered a plastic EBike battery case to arrange the cells.
KWeld
When I was interested in this previously, I ordered a spot welder kit from a company that made small, assemble-it-yourself machines. Check out the KWeld here.
This will allow me to weld nickel strips on to the surface of the battery cells. These will serve as the wiring that carries energy from each individual cell out to the motor.git
The controller (VESC)
Searching for a low cost, flexible motor controller, I came across an open source project by a single engineer.
VESC stands for Vedder Electronic Speed Controller. The engineer who developed this project is named Benjamin Vedder. He released schematics for an ESC and a software tool to configure and test Brushless DC motors. Brushless DC motors are similar to the simple brushed DC motor in your blender or corded drill. But instead of being commutated by a brush, they are electronically commutated. This means they can be controlled in more fancy and precise ways (see Field Oriented Control), and have easier maintenance because there are less mechanical parts to wear over time.
If you have never heard of an ESC or BLDC Motor, don’t worry. This animation should explain everything:
Just kidding, but check out the site its from, play around, and the concept is simpler than it appears.
You could magine holding a magnet in your fist, and pulling it front of a piece of ferrous metal like iron or steel. The metal will follow the magnet, perhaps along the surface of a table. If you move your hand in a straight line, the metal will be dragged along with the magnet in a straight line. Now, imagine moving your hand in circles. The metal will travel in a circle path along with the magnet. If you put a rotating shaft in the middle, you could imagine moving a magnet around it with your hand. If the shaft was attached to that little piece of metal that you were pulling earlier, you could probably coax the shaft to start spinning.
The BLDC is a complicated way to do that. Instead of moving one magnet in your hand around a shaft a circle, it’s like if you had a bunch of magnets in hands statically arranged in a circle, and you turn on each magnet one after the other in a circular pattern. So the shaft is constantly being dragged a little more forward in the circular rotation.
Roadblock: I don’t know how to weld
When I started this project, I was an educated layman who watched a lot of Youtube videos of people making things. At some point I realized that I would need to know how to weld in order to make electric vehicles.
It has been a long process of learning to weld. I detailed some thoughts in a recent post:
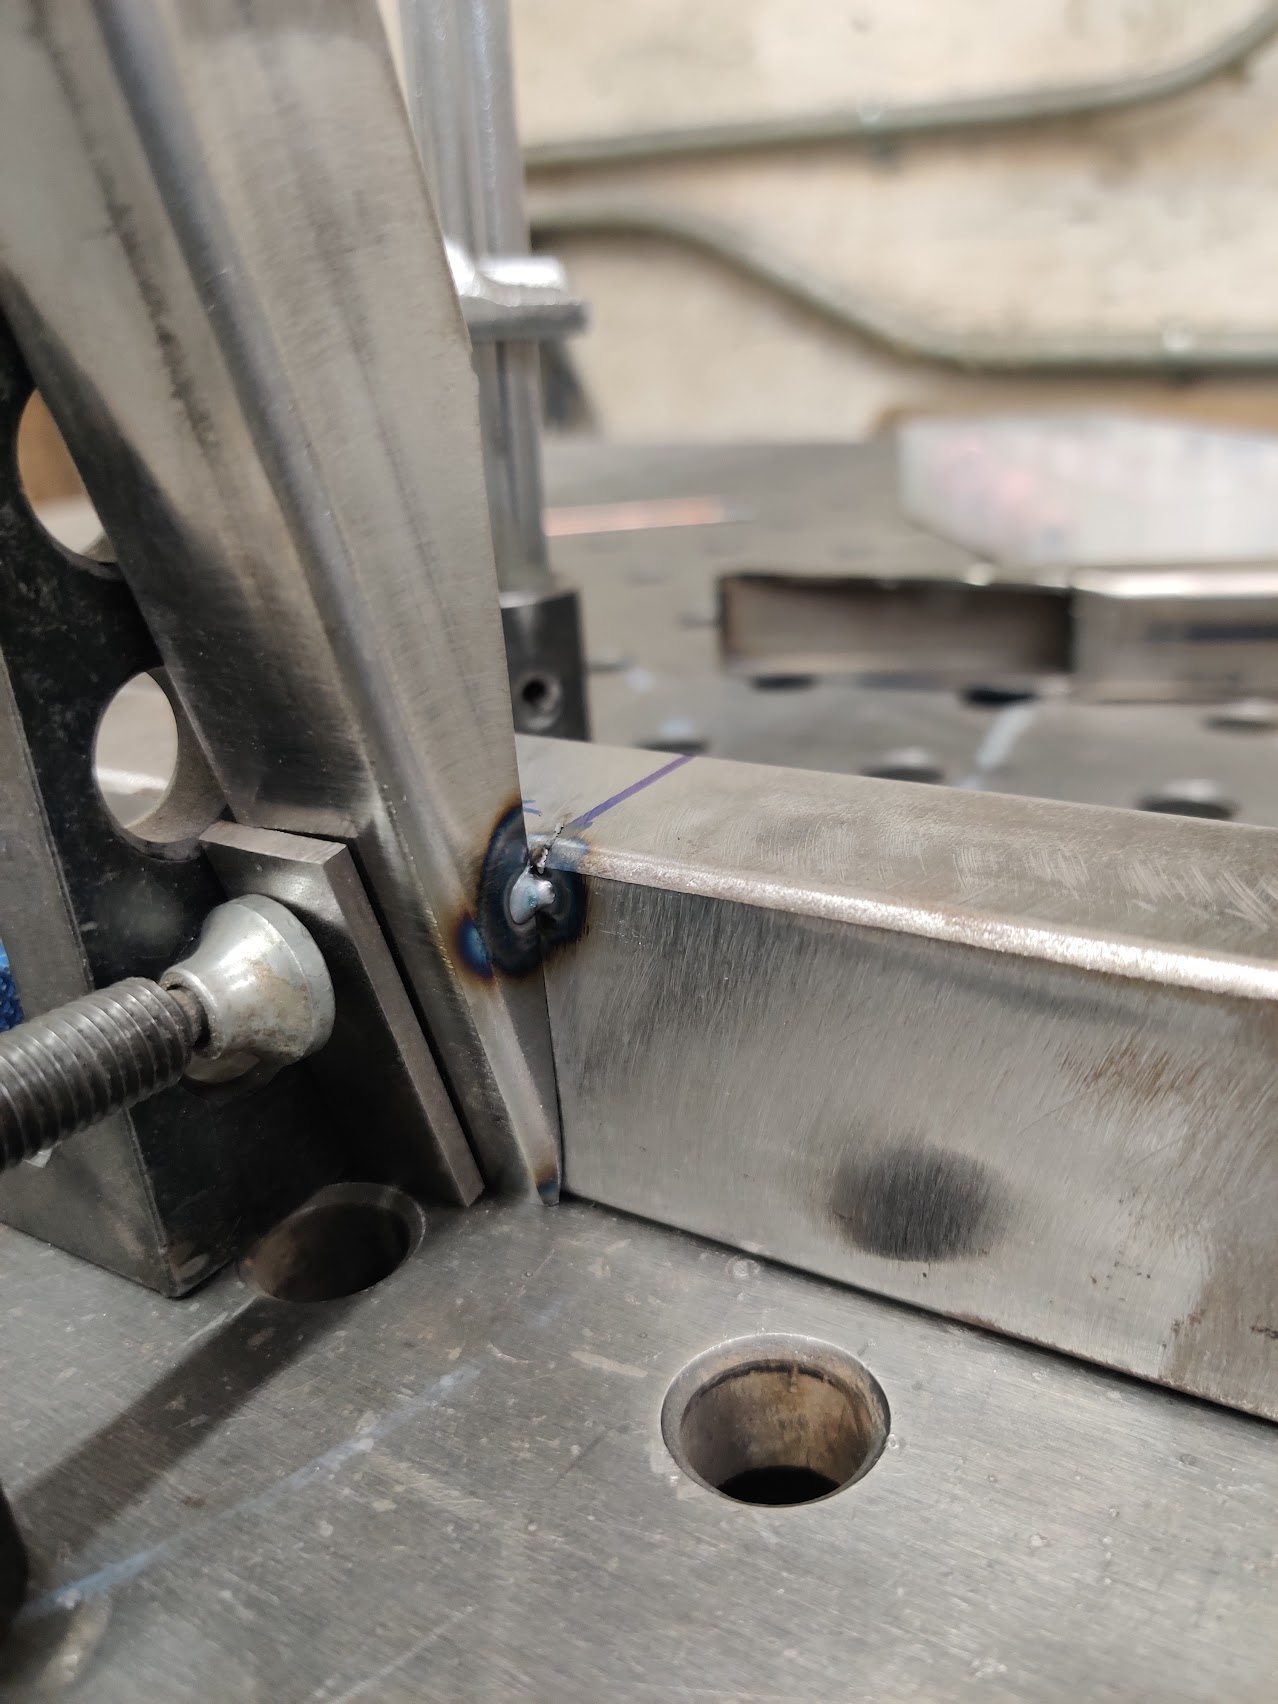
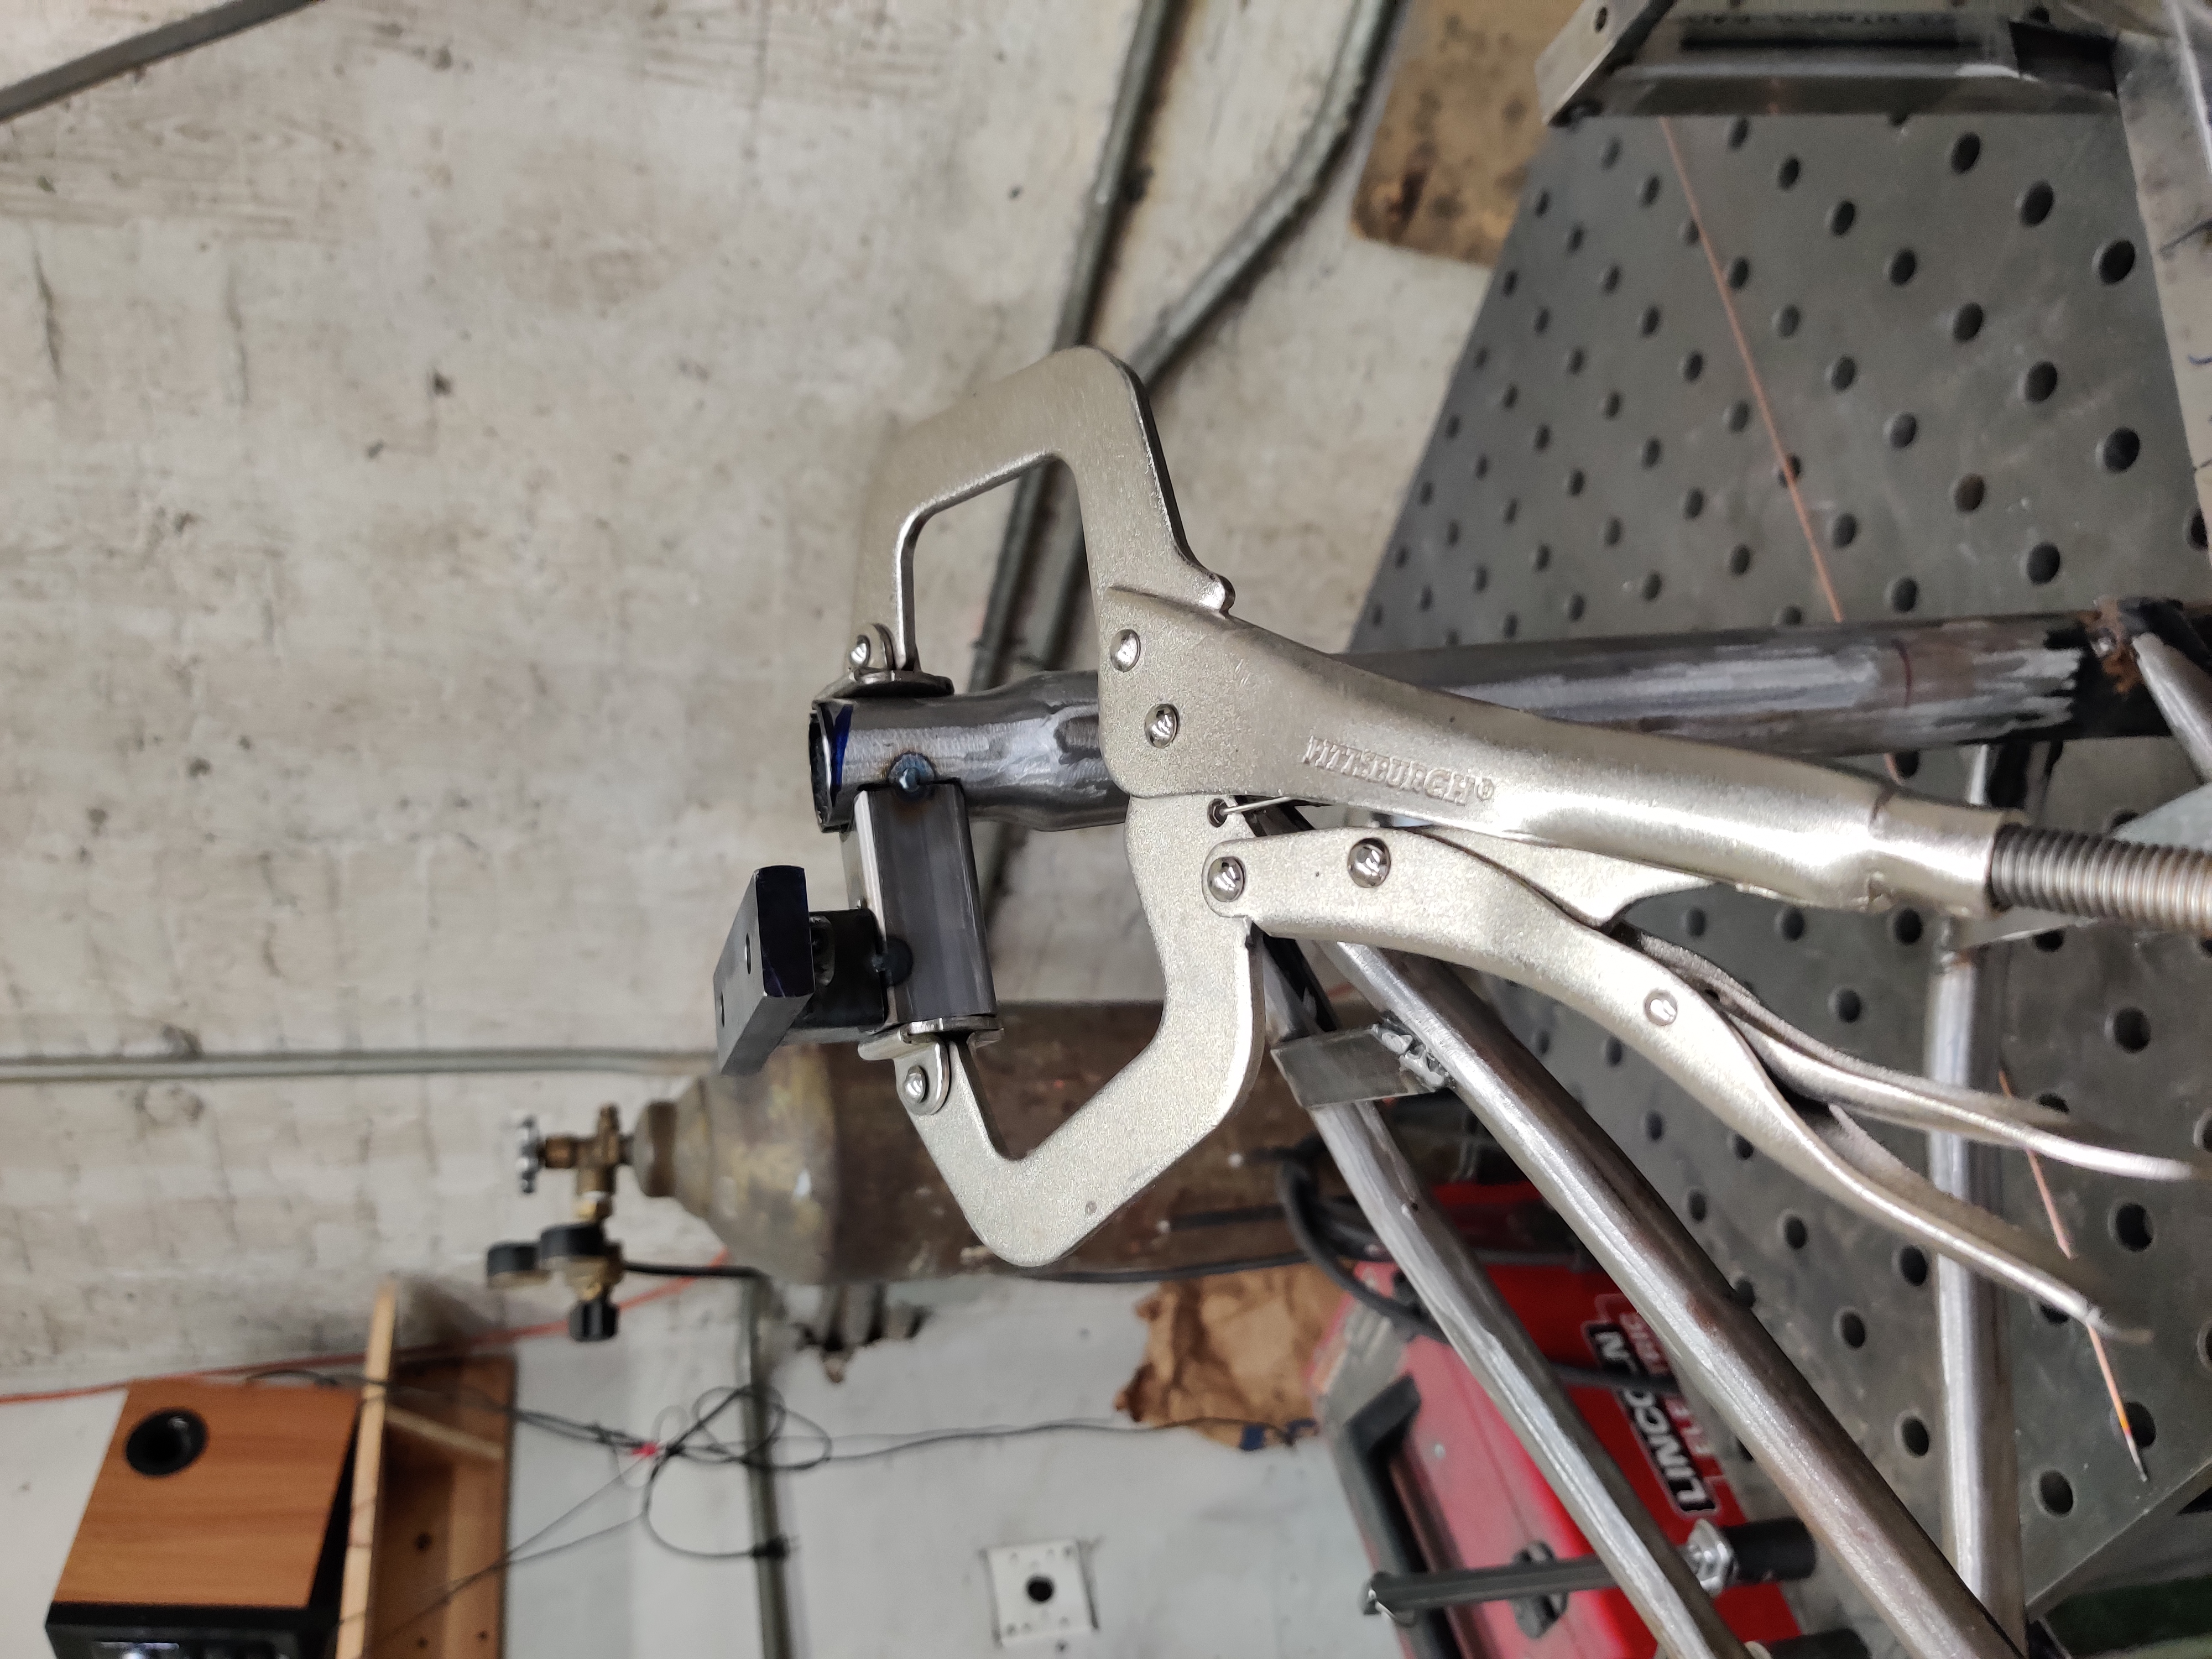
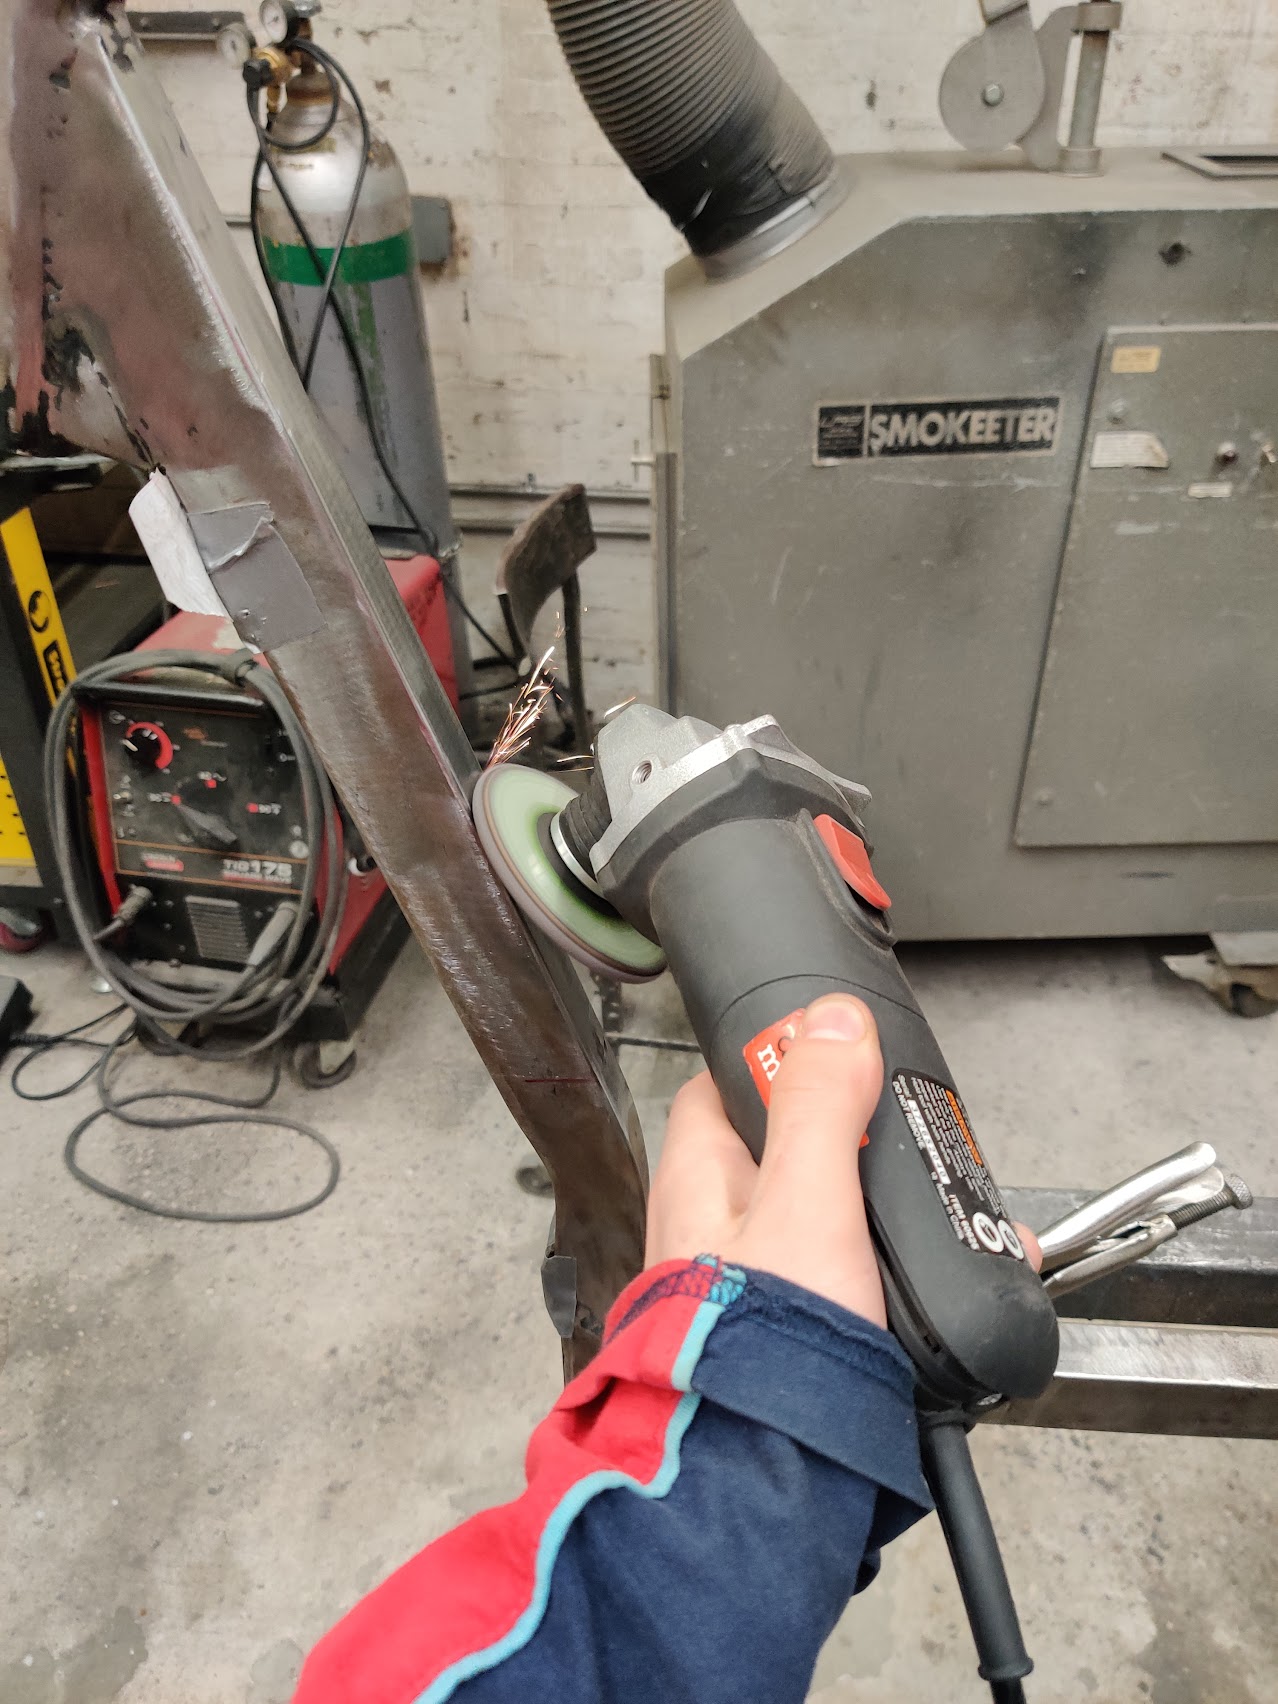
The hardest part was finding a workshop space that had welding equipment. Once I was a member of a space that had a TIG and MIG welder, I waited some months to build confidence to try and learn. A kind studio member showed me the basics. After a lot of hours failing, I have enough comfort with the TIG machine to tack up and start to weld the frame.
Mounting the bench seat
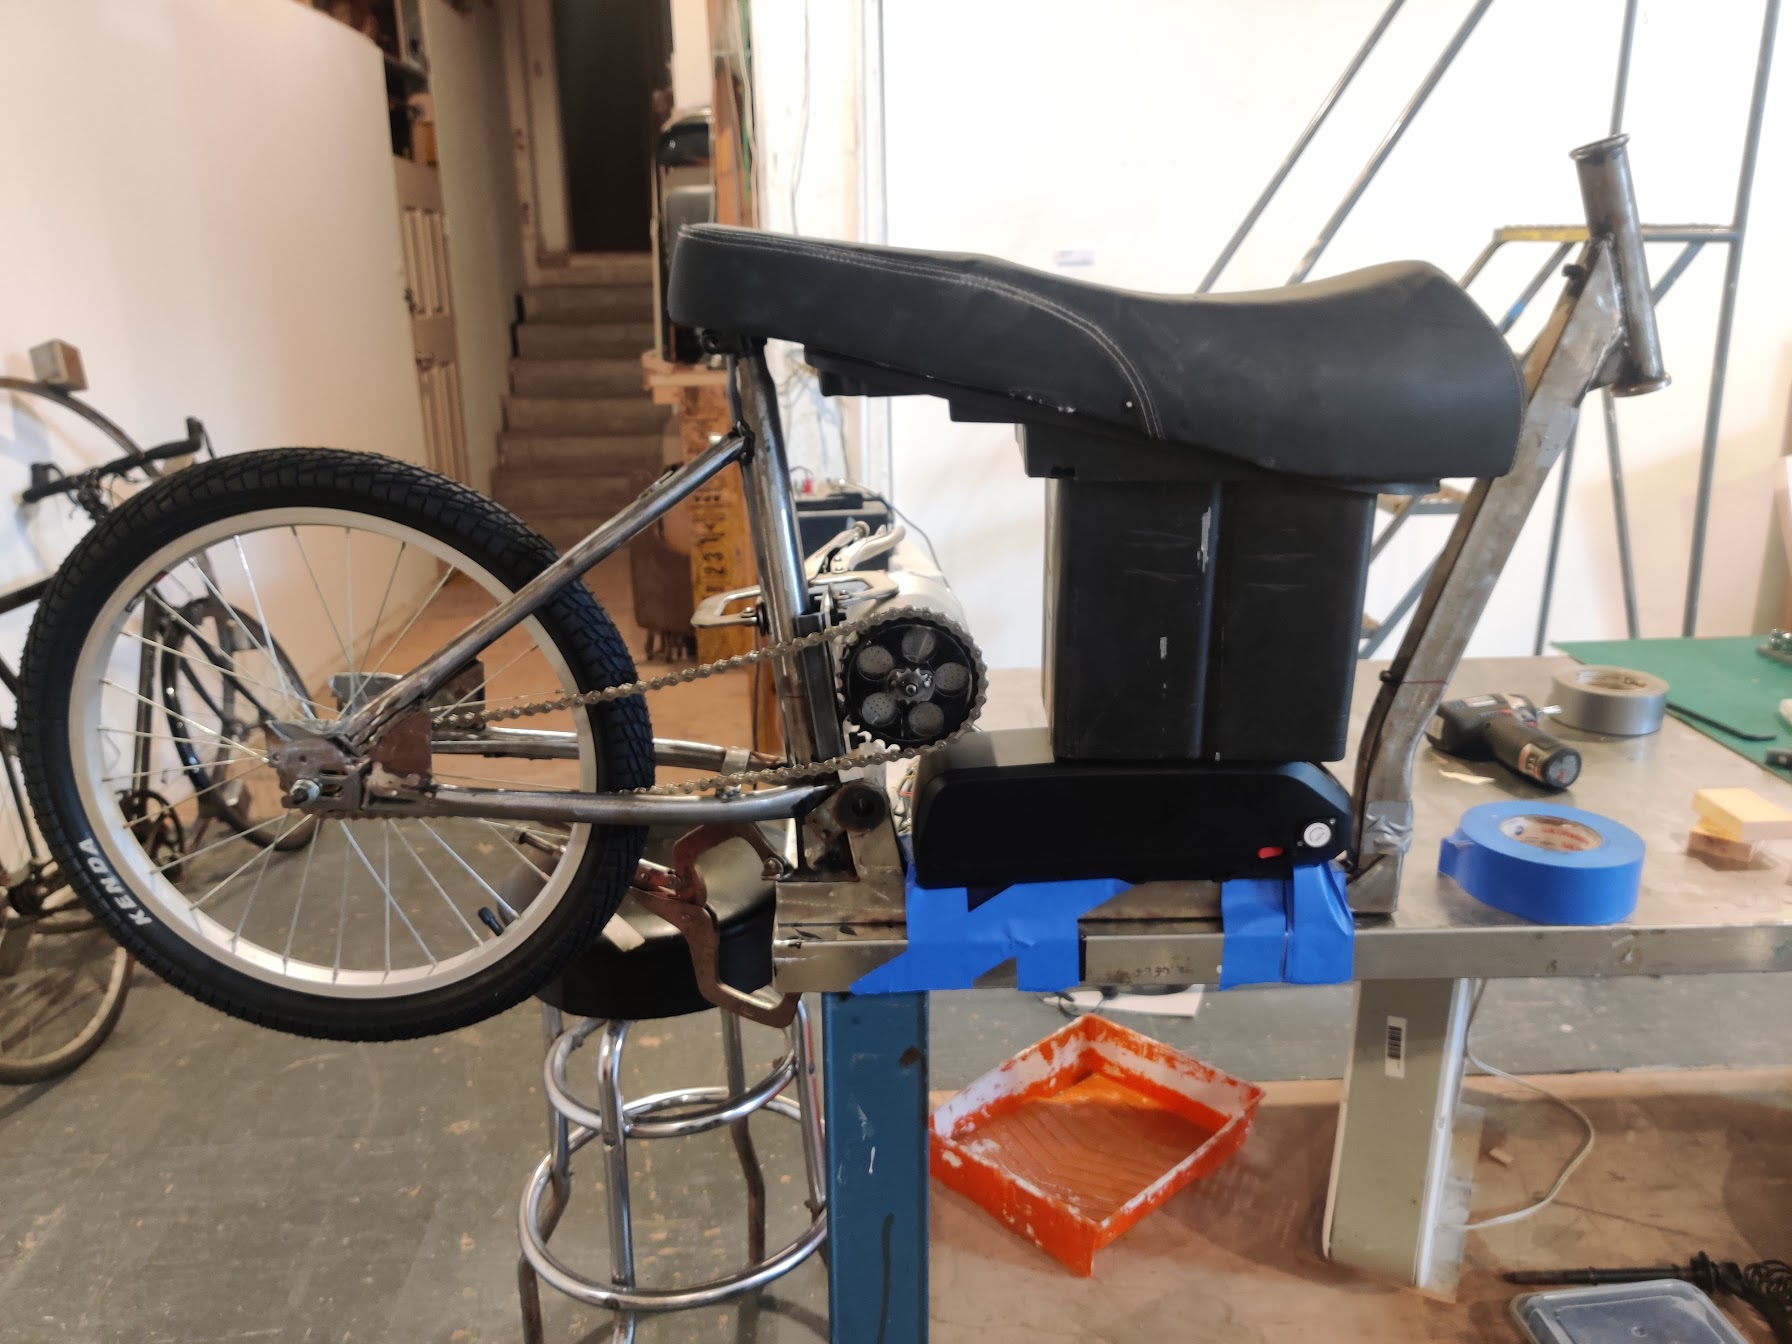
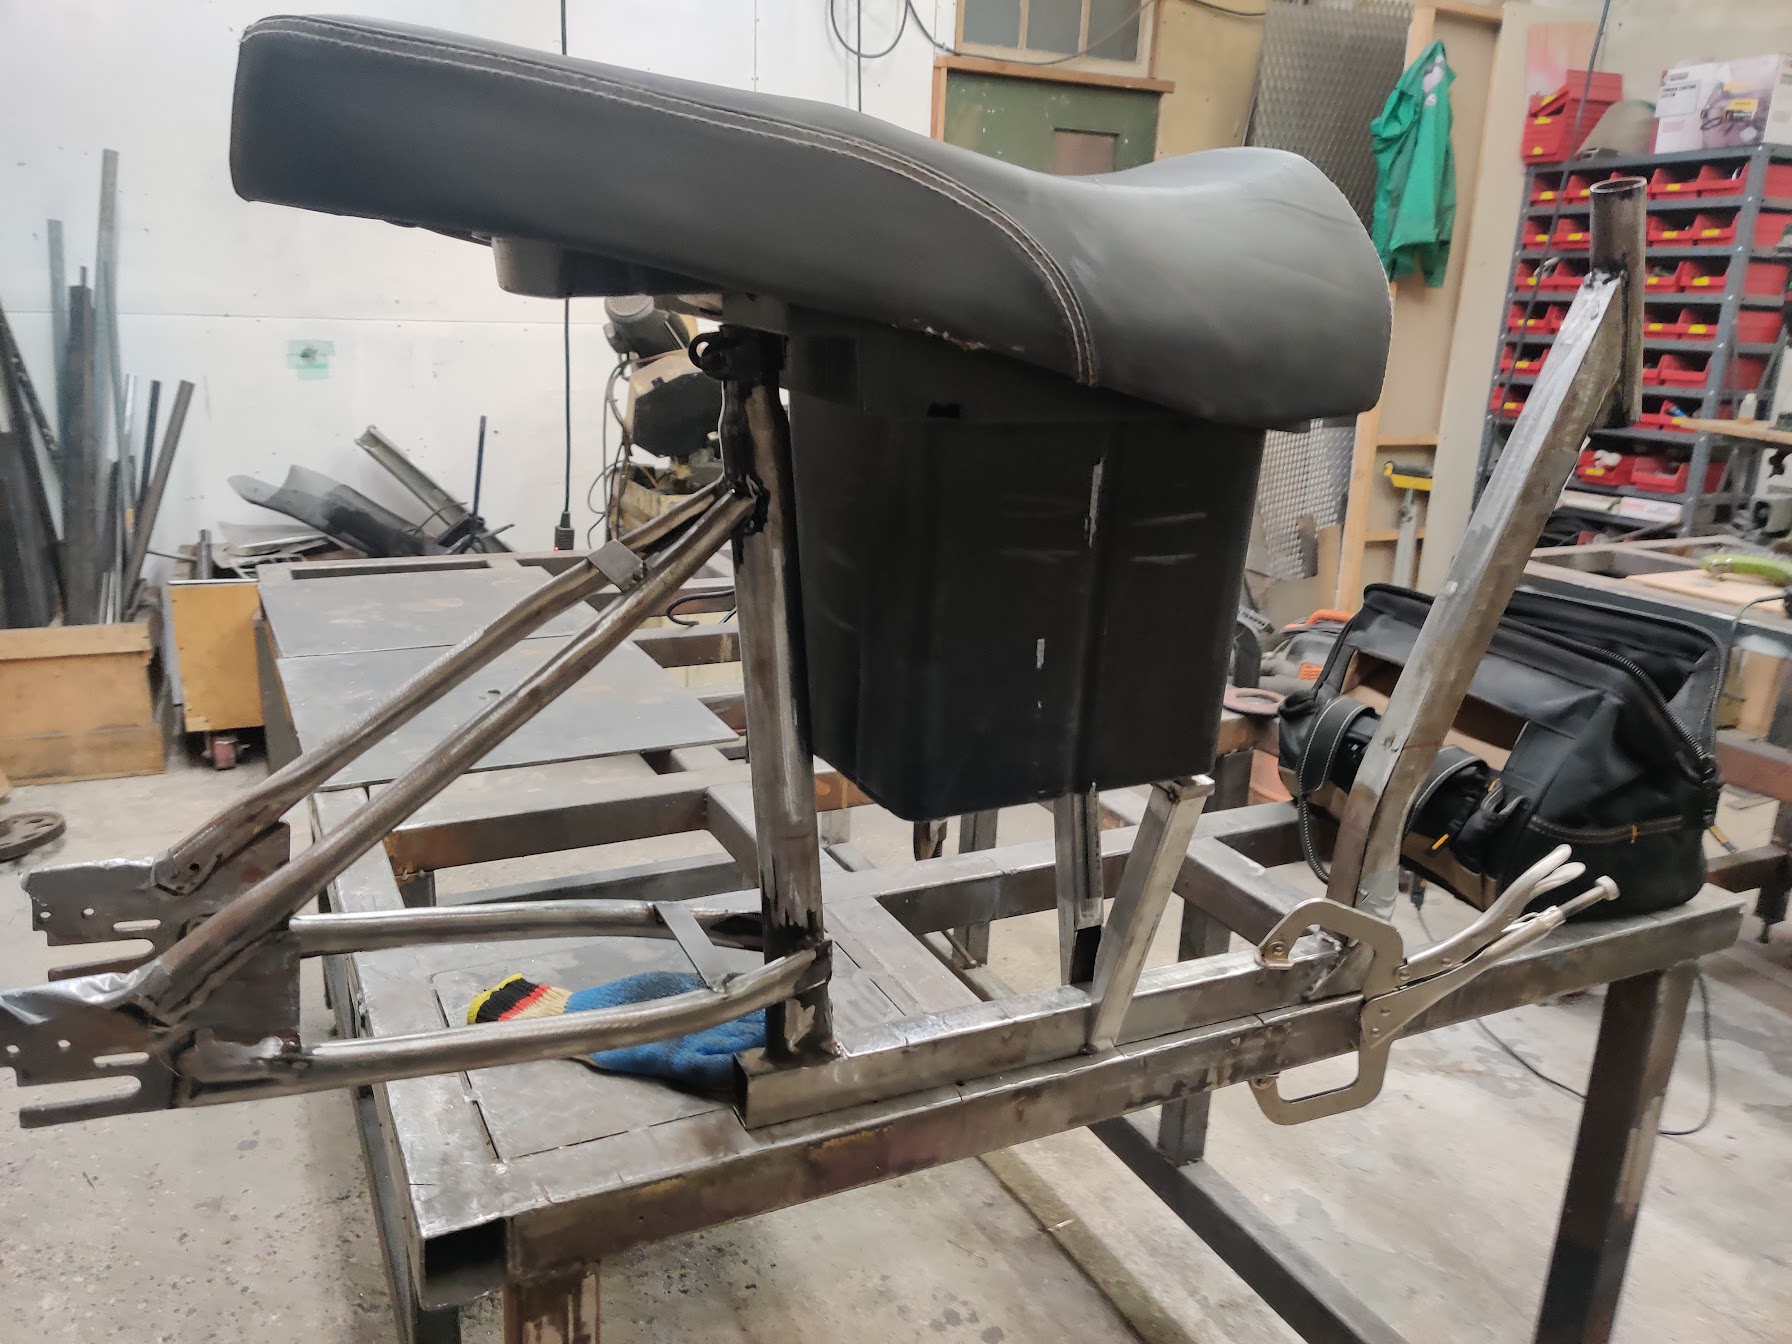
The first order of business was to add a bench seat to the junk-frame. I scavenged the bench seat off of another trashed E-scooter outside of a restaurant, and I think it will make the bike a lot more comfortable than the poor quality bike seat in the seatpost originally.
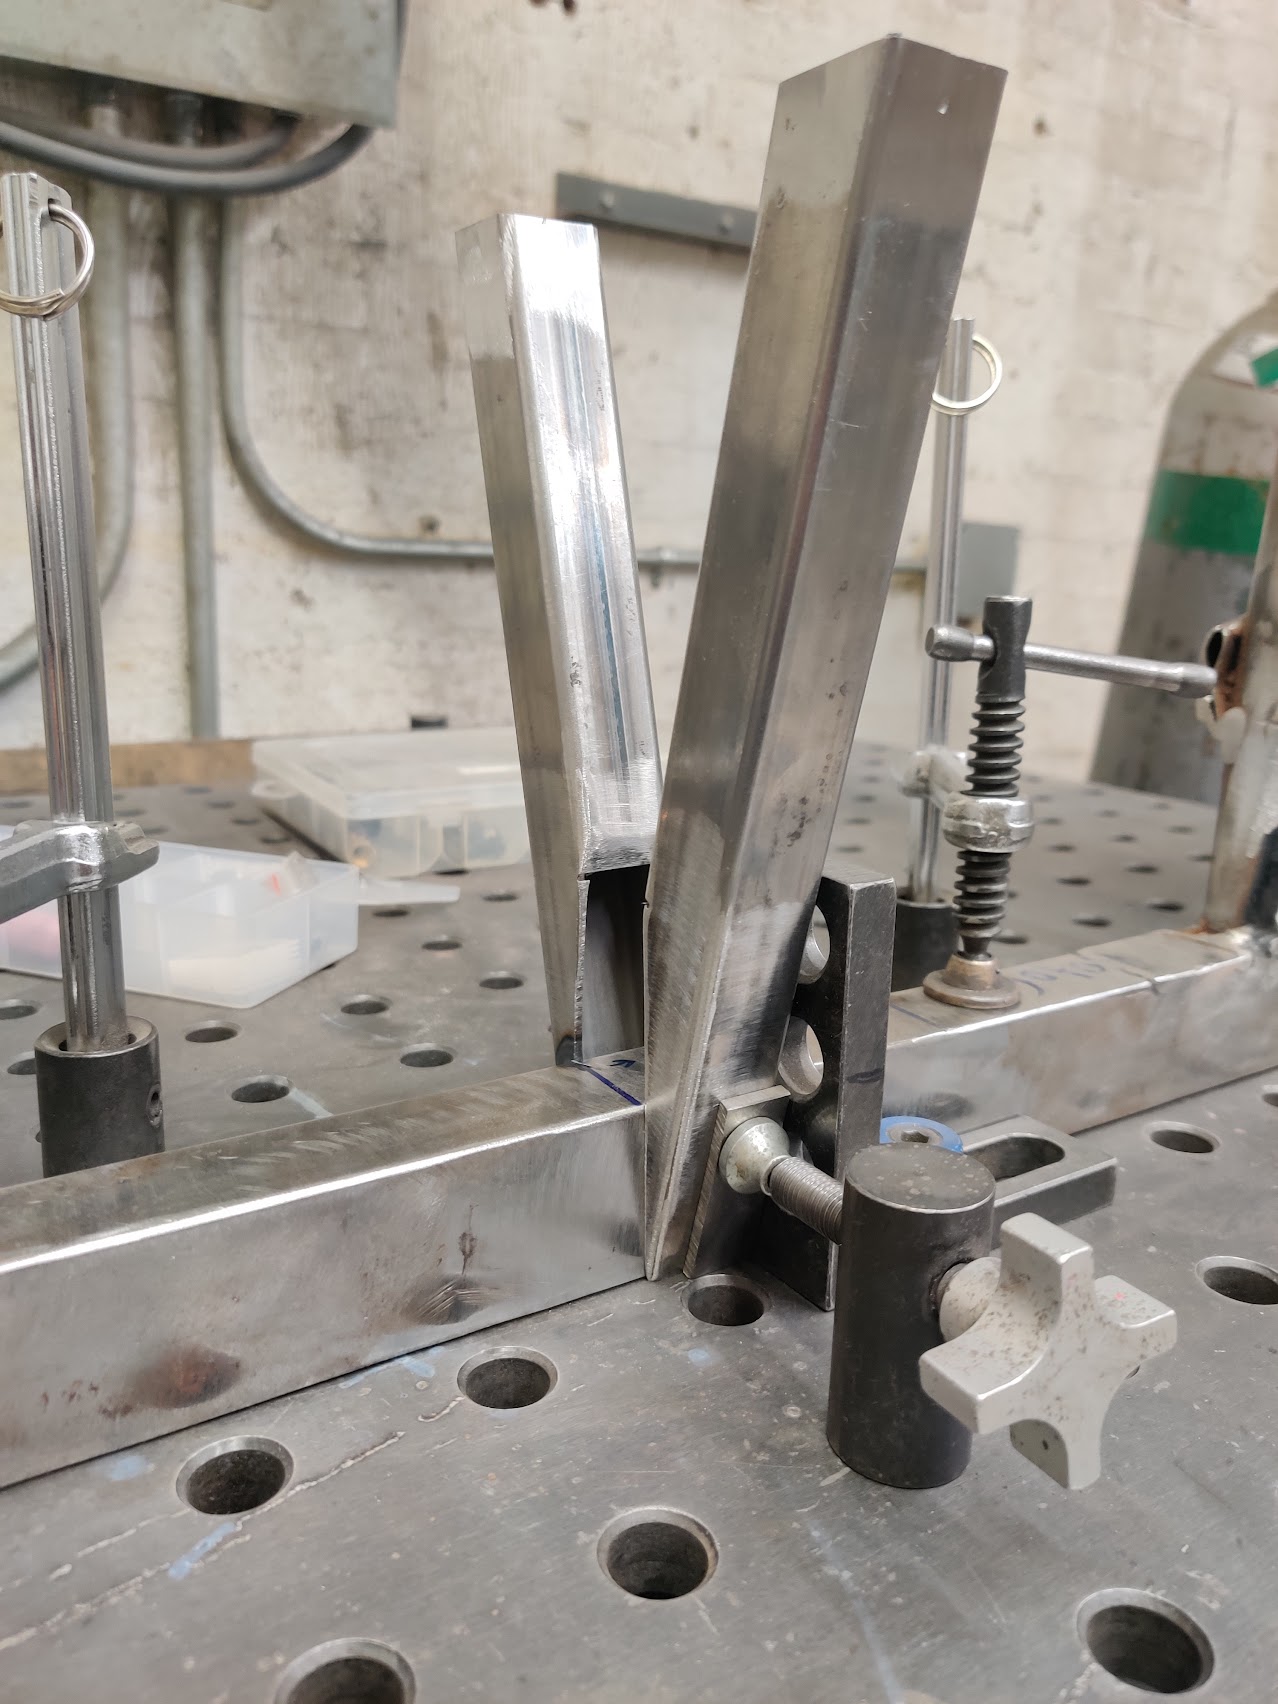
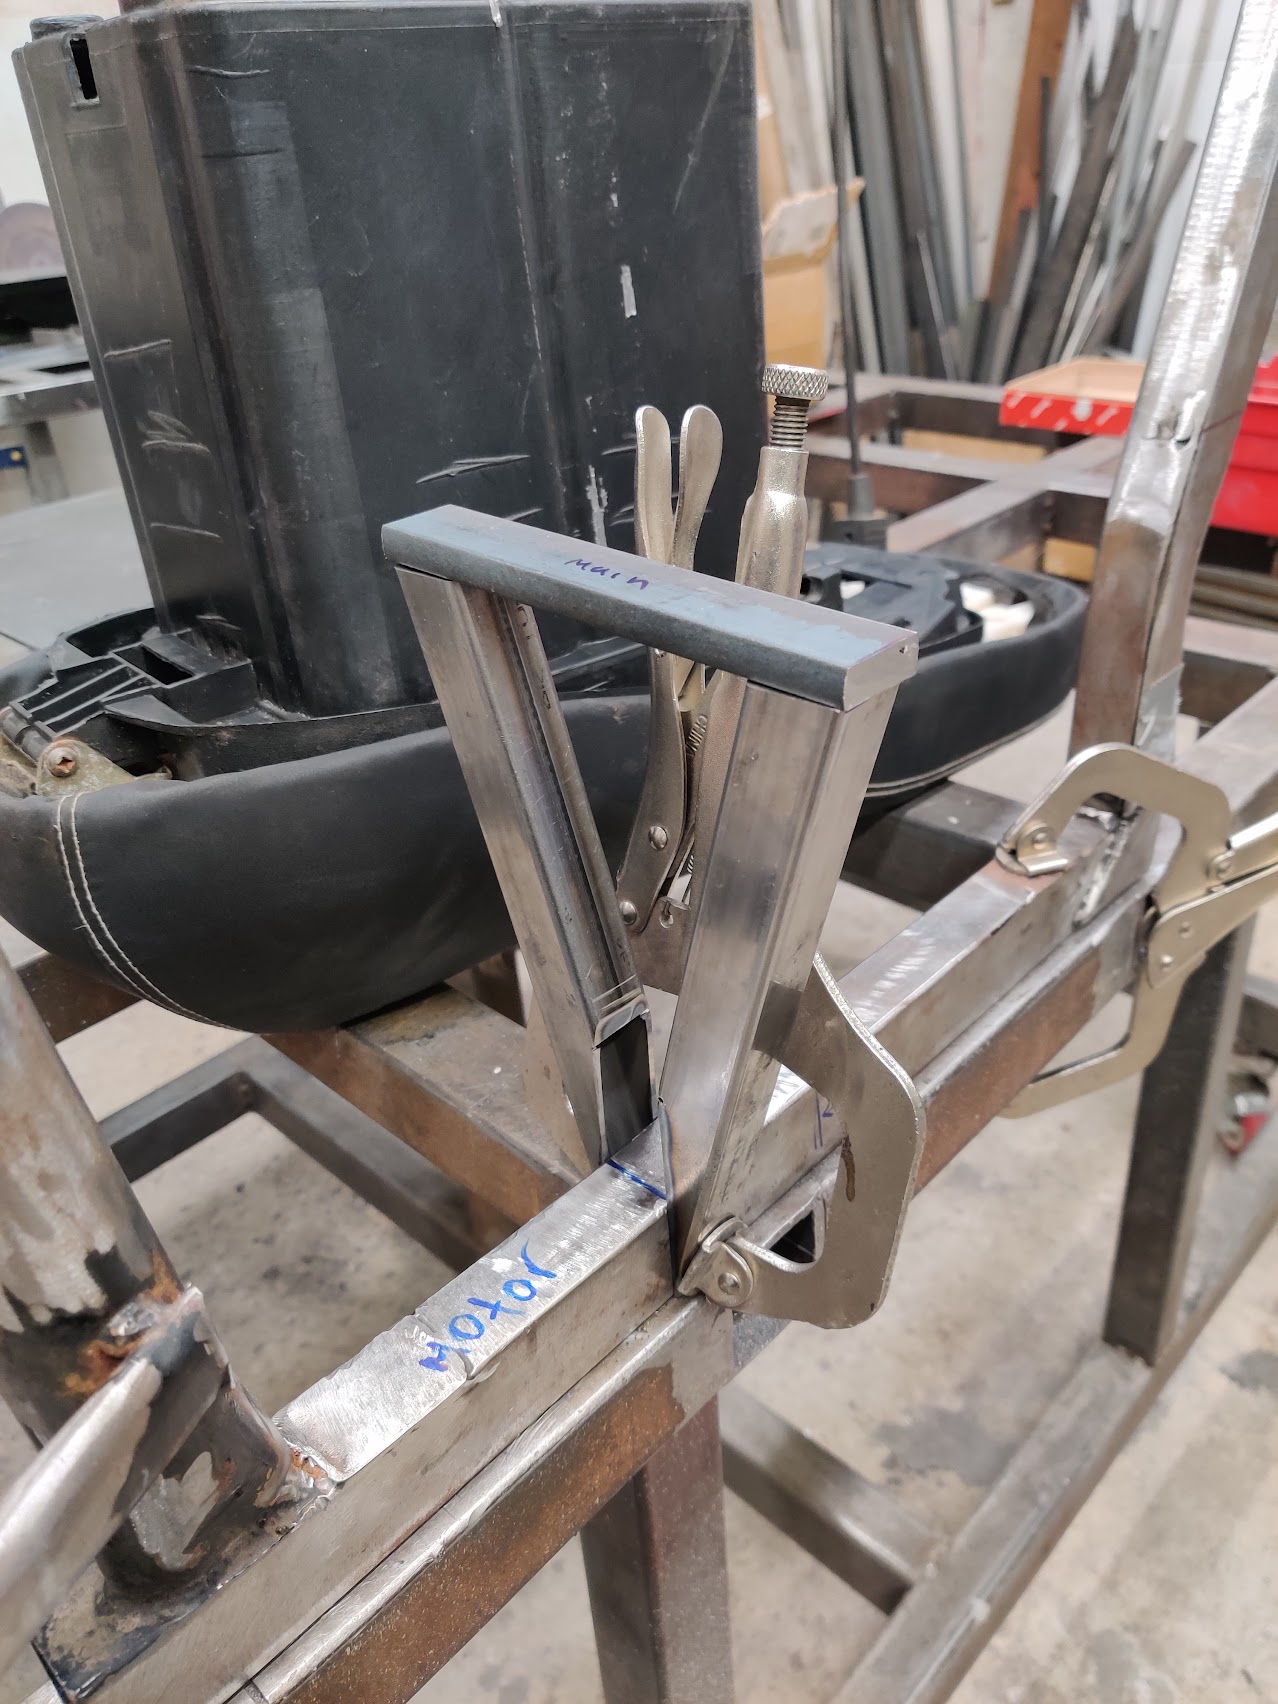
I started building mounting brackets by fitting up the seat with the battery and motor in place.

I drew out and fabricated the first mounting bracket. After fitting the seat to that bracket, I measured, drew up, and fabricated the second bracket. The second bracket juts out behind the original seatpost.
Next Steps
First, I will finish weld the seat post mounts. When I do that, I’ll update the gallery with some nicer pics.
- Mount the motor (with chain alignment)
- Finish internal assembly of the battery
- Mount the battery box
- Brakes?
In the future, I would also like to add some more description of how to set up the software that interfaces with the speed control and sets up configuration with an unknown motor.